

Hi everyone!
I’m so excited to be participating in another Waffle Flower Link Party! This month’s party – and my card today – feature products from Sneak Peek Club #04!
In case you hadn’t heard, the Sneak Peek Club provides Club Members with a super fun monthly kit of Waffle Flower products. Members get the products about a month earlier than they are released to everyone else! So, if you’re interested in being a Club Member, you can sign up here: Club
To make the party even more fun, Waffle Flower is generously providing a GIVEAWAY* to one of my blog readers (that would be YOU) if you comment on this blog post by April 30th, 2023. The GIVEAWAY* is Kit #04 – the same kit I used to make my card for today! Winners are picked at random and will be announced on Waffle Flower’s Link Party post! *The GIVEAWAY can only be shipped to the US.

My card for the Party is a shaker card featuring several items from the new kit, including the balloon and string dies and the sentiment strip. I love interactive cards with lots of bling and, they are so perfect for a birthday!
To make this card:
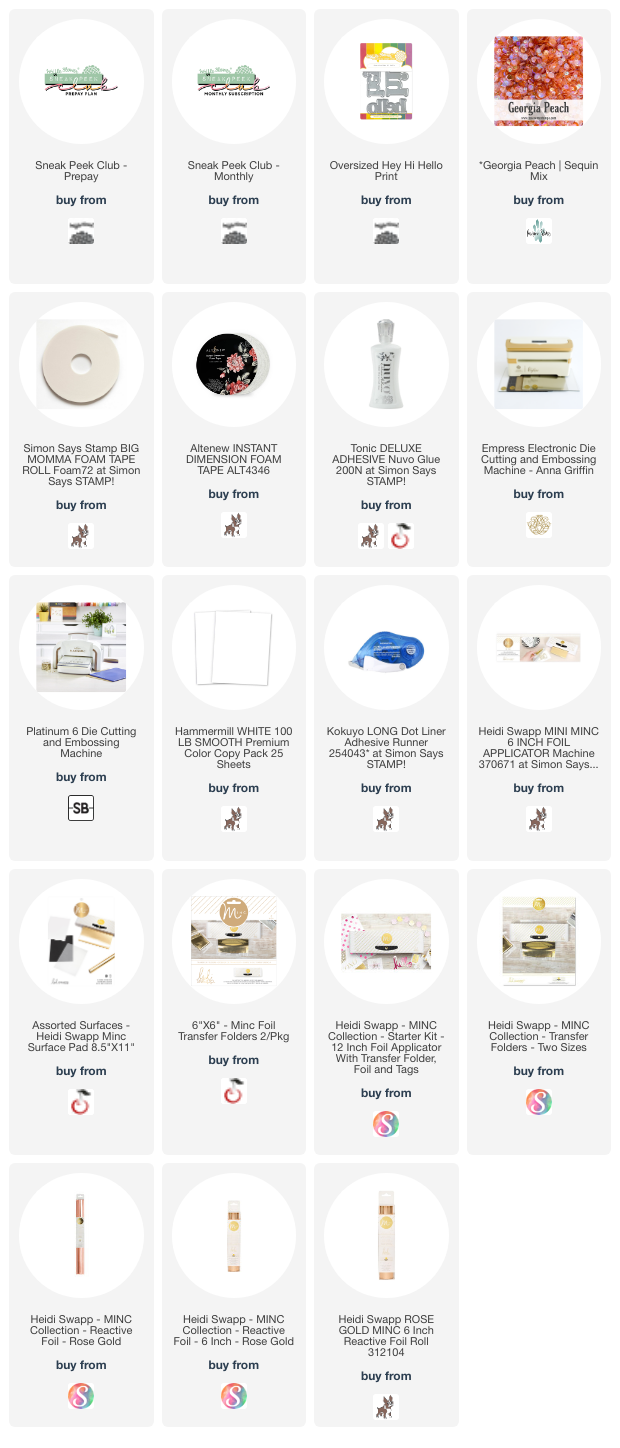
1.Ink blend a panel using a confetti or dotted stencil.
2.Die cut the balloons and dotted strings from the stenciled panel.
3.Ink-blend your card front with colors that coordinate with your confetti. You can use
 the die cut panel to gauge your color placement for the balloons or do what I did and
 just pick a gradient of colors.
4.Create the shaker by adding acetate behind the balloon cut outs and create “wells”
 for your shaker material with foam adhesive.
5.Add your shaker material and assemble the shaker card front.
6.Die cut the “hey” die from white cardstock and it’s shadow from vellum. Assemble
 them with liquid glue.
7.Cut out your sentiment strip from the sentiments included in the kit.
8.Use a Minc machine or laminator and transfer foil to foil the sentiment. I used rose
 gold foil to coordinate with the colors on my card.
9.Adhere the “hey” to your card front with liquid glue and add the foiled sentiment with
 foam adhesive.
10.Add a few gems for even more sparkle!
I hope you like this card and that it inspires you to create something today! I can’t wait to see what you make with this kit (and any of the others)!

For even more inspiration, be sure to head over to the Link Party and check out what other designers have made using this kit. Pssst: you’ll have more chances to win the GIVEAWAY if you visit and comment on their blogs too!
Have a wonderfully creative day!

Awesome card, love the mostly white
I just love how you shaded the balloons. GORGEOUS
I love this card! Thank you for the directions on how to make it!! My parents both turn 80 this year in August and I would love to use these balloons on their cards!
ooh what a great card – love shaker cards!!!!
Love this card from color to the fact it’s a shaker and those balloons. Thanks for the inspiration.
Love this shaker card, Jean, how fun! Beautifully done.
Love everything about this. Shaker, colors, white lettering…. wonderful!
Aw! Thank you! ♥️ ♥️ ♥️
Great card. Love the shaker balloons and confetti background. Thanks for sharing!
Thank you so much ♥️
Such a beautiful shaker card!
Thank you! ♥️
That’s a sweet card! It’s a great shaker card, and the confetti looks like one of the balloons popped.,
Thank you ♥️! I love how the confetti turned out, too!
Fantastic card! Love the shaker!
Thank you so much! ♥️
So pretty! I love the balloons and dots, and your color combo is beautiful!
Thank you so much! ♥️. It’s one of my favorite color combos!
Thus definitely looks like a fun new kit! Your card is so sweet.
Thank you so much! I can’t wait to see the full release! ♥️
Rosey gold goodness. Well done!
Thank you! ♥️♥️♥️
The sparkle makes the card extra festive!
Thank you! ♥️. I love sparkly added touches!
I love shaker cards
and yours is just
delightful!
Carla from Arizona
Oh! Thank you so much! ♥️
I LOVE your shaker! What a great confetti background and gorgeous colors and sentiment!
Thank you, Meghan! ♥️♥️♥️
Sweet card! Can’t wait to see the full kit!
Thank you ♥️. I can’t wait either!
Love the confetti panel, love that it’s a shaker, love the foiling, love the big HEY and its shadow, and love the color choices…. a superb card! Excited to see the new WF items!
Lori S in PA
Thank you! This is a great kit and is going to be an awesome release! I can’t wait to see the rest of it! ♥️
What a fun shaker card. I tend to shy away from them but you make it sound so simple. I really like the subtle, dotted strings to the balloons.
They are super easy! I hope you try them! And… I love those subtle dotted strings too! ♥️
Your card is fabulous! I can’t wait to see the full reveal!
Thank you! I’m looking forward to the full release too! ♥️
This is adorable!
Thank you! ♥️
I really, really love simple cards. They’re so pretty. <3
Thank you! ♥️