

Hi everyone!
I’m so excited to be participating in the Waffle Flower Link Party! This month’s party – and my card today – feature products from Sneak Peek Club #03!
In case you hadn’t heard, the Sneak Peek Club provides Club Members with a super fun monthly kit of Waffle Flower products. Members get the products about a month earlier than they are released to everyone else! So, if you’re interested in being a Club Member, you can sign up here: Club
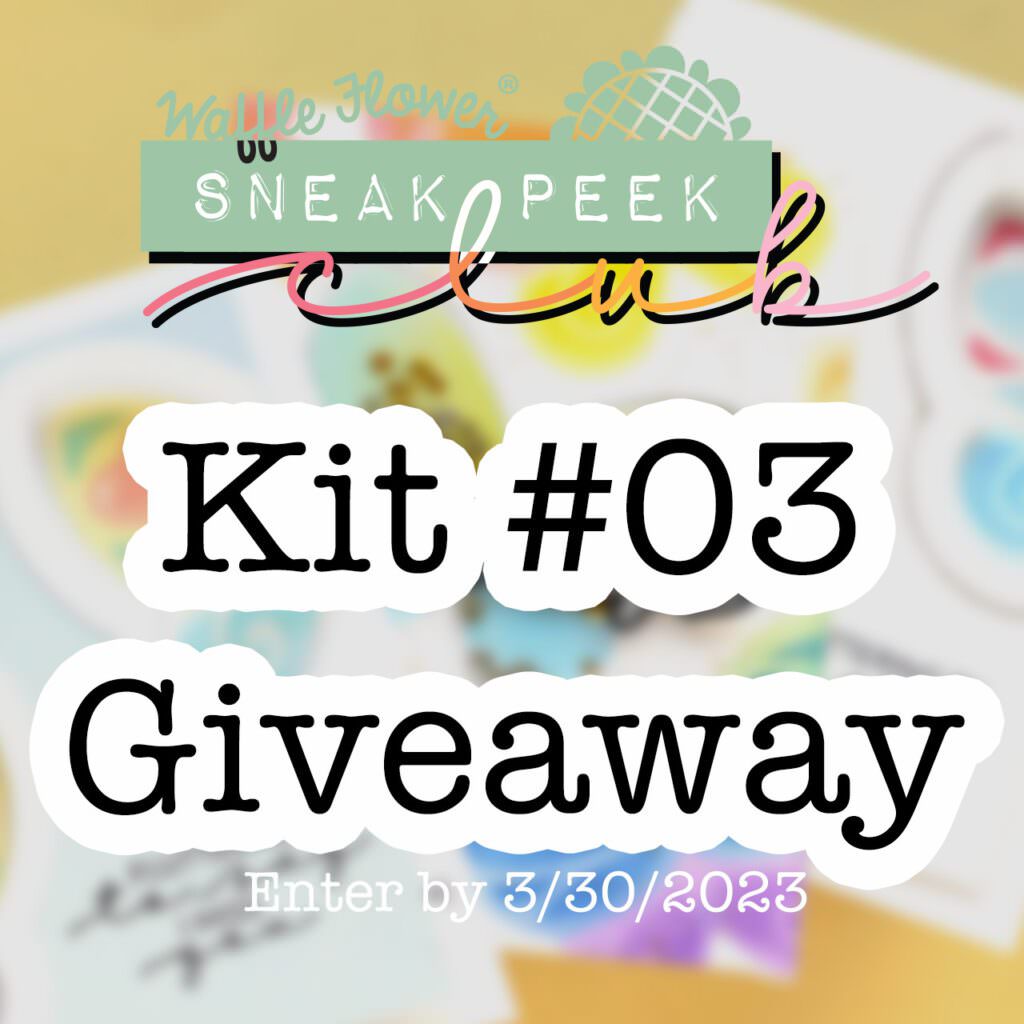
To make the party even more fun, Waffle Flower is generously providing a GIVEAWAY* to one of my blog readers (that would be YOU) if you comment on this blog post before the deadline (3/30/2023). The GIVEAWAY* is Kit #03 – the same kit I used to make my card for today! Winners are picked at random and will be announced on Waffle Flower’s Link Party post! *the GIVEAWAY can only be shipped to the US.
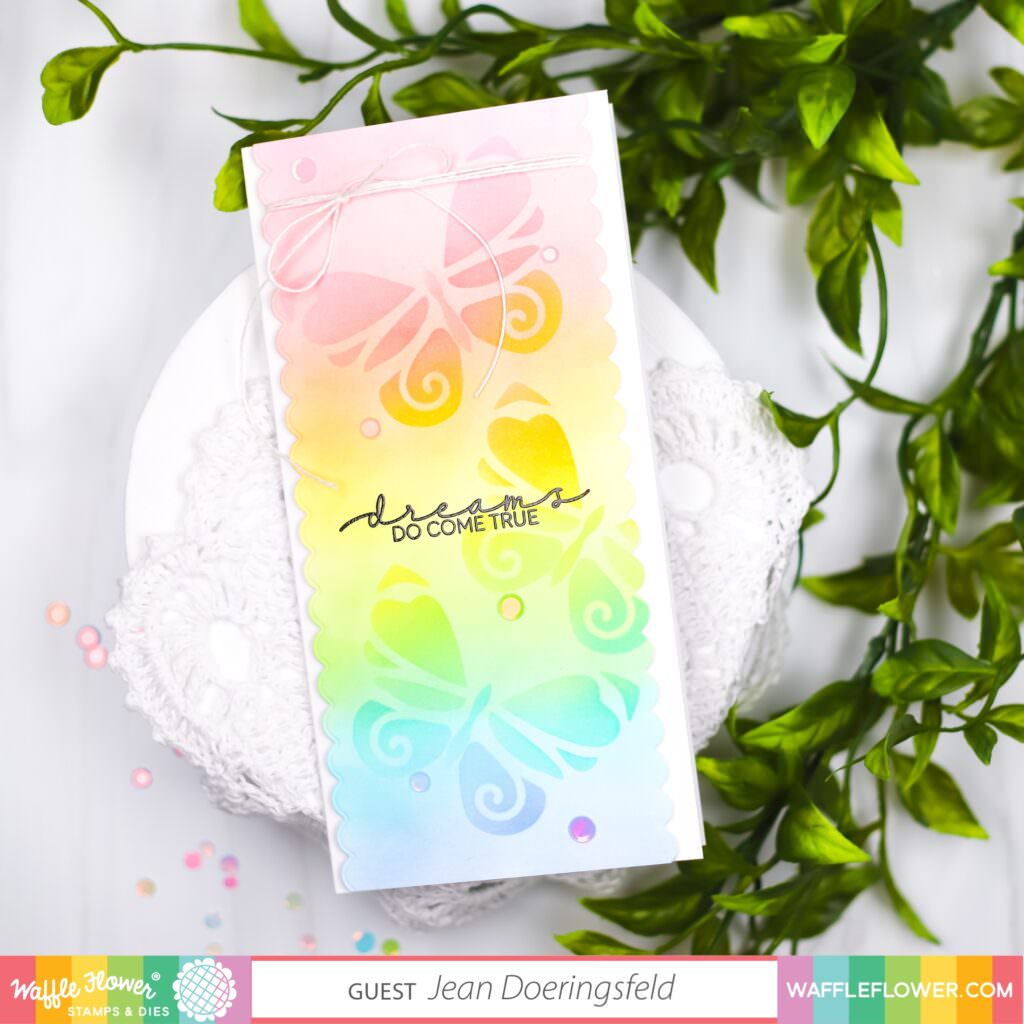
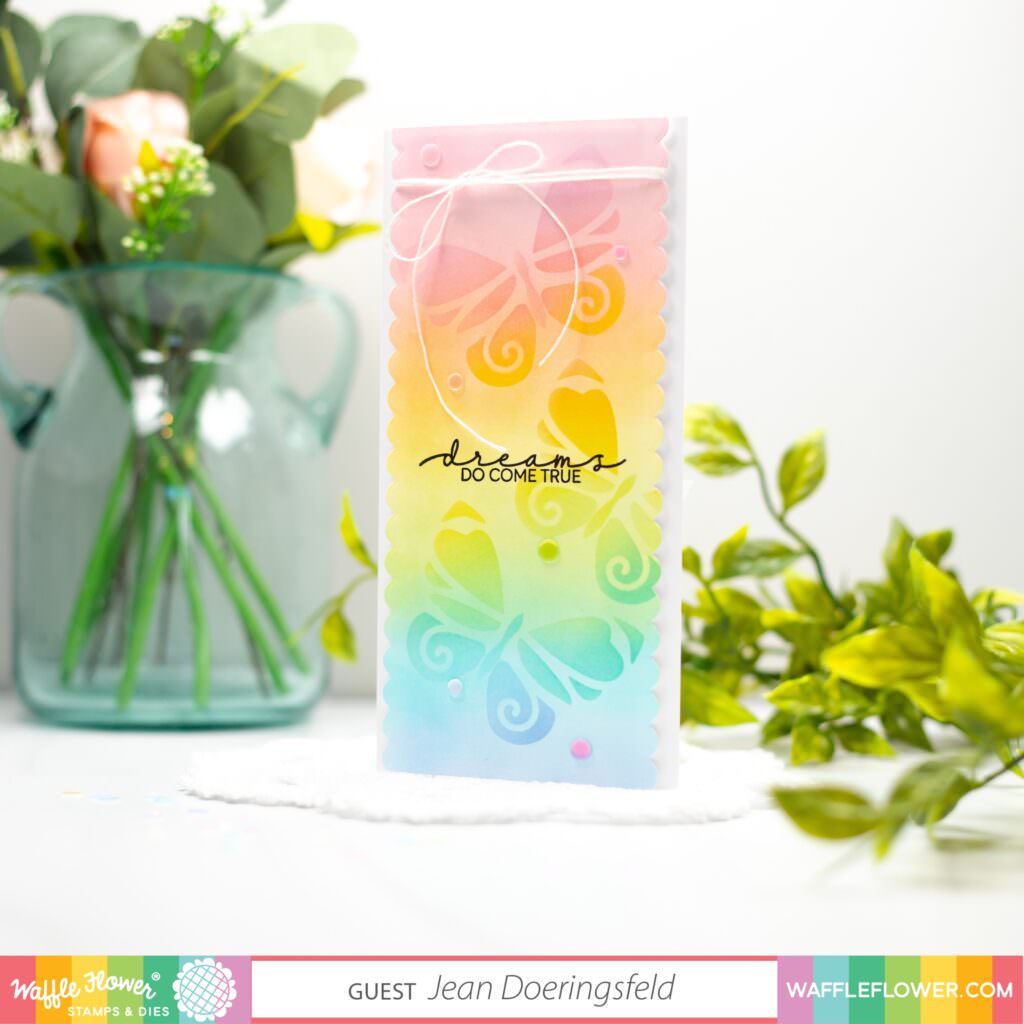
My card for the party is a slimline card featuring soft rainbow butterflies. I created this card using only two of the items that came in the kit: the stencil and the sentiment stamp set. The kit has dies and shaker pouches and more sentiments, too! And while I didn’t use them on this card, you should stay tuned to my blog because I’ve already made other cards using this kit and I’ll be sharing them in the upcoming weeks.
I used tone-on-tone ink-blending to create the soft butterfly background on this card and realized when I was done that the sentiment “dreams do come true” from the included sentiment stamp set seemed to fit the dreamy soft feel of the card perfectly.
To make this card:
- 1.Ink-blend a panel using soft pastel rainbow colors (the inks I used are listed in the supplies below).
- Ink-blend again – this time using the butterfly stencil – with the same colors but putting a bit of extra ink on your blending brushes so that they butterfly is a shade or two darker.
- Die cut your panel using a scalloped edge die. I used a slimline die but cut off the top and bottom scallops to make a long thing panel that went from top to bottom of the card front.
- Heat emboss your sentiment on your panel using permanent black ink and clear embossing powder. Be sure to treat the panel with antistatic powder so you don’t get stray specks of embossing powder where you don’t want it.
- Tie some twine around the top of the panel and make a bow.
- Add foam adhesive to the back of your panel and adhere it to a slimline card front.
- Add a few pastel confetti gems for some shine!
I hope you like this card and that it inspires you to create something today! I can’t wait to see what you make with this kit (and any of the others)!
For even more inspiration, be sure to head over to the Link Party and check out what other designers have made using this kit. Pssst: you’ll have more chances to win the GIVEAWAY if you visit and comment on their blogs too!
Have a wonderfully creative day!

The stenciled butterflies are so cute and simple. I love it.
Thank you ♥️♥️
This is so pretty with the soft rainbow colored butterflies.
Thank you ♥️♥️
Your card is so bright and cheerful.
Thank you ♥️♥️
So pretty! Love it! These look like so much fun!
Thank you ♥️♥️
I love how you used bright colors yet it’s such a delicate design. Love the 🦋 .
Thank you ♥️♥️
The colors are so dreamy & I love how they blend right into one another. Such a beautiful butterfly card & you did a wonderful job with your creation, thank you for sharing with us!
Aw! Thank you ♥️♥️
Your card is beautiful! What a great one to send out for easter or just happy spring. I can’t wait to see what else comes in the kit❣️
Thank you ♥️♥️. I’m looking forward to seeing what’s in the full release too!
Gorgeous butterflies/colors/sentiment….love it all!!
Aw! Thank you! ♥️♥️
Such a gorgeous card! Love the colors and butterflies.
Thanks for sharing.
Thank you ♥️♥️
Your card is beautiful! I’m looking forward to this new kit.
Thank you ♥️♥️
I LOVE the rainbow colors! The butterflies are amazing! This kit looks awesome!!!!!!!!!! (meghan.kennihan@gmail.com)
Thank you ♥️♥️
Beautiful card–I wouldn’t have thought to ink blend the background and then ink blend the butterflies for the top layer. So lovely
Thank you ♥️♥️. I hope you’ll try this technique!
Very springy card! Beautiful colors!
Thank you ♥️♥️
So pretty and soft♥️♥️♥️
Thank you ♥️♥️
Wow! That’s beautiful! I’m inspired.
Oh good! Please be sure to share what you create! And Thank you ♥️♥️
So soft and beautiful!! Thank you for sharing your design tips!
Thank you! You are welcome and I hope they help!
That’s really pretty! I like it better than a stand alone butterfly.
Thank you ♥️♥️
Gorgeous card! I love the beautiful colors and the pretty butterfly design! Looks like a fabulous kit!
Thank you ♥️♥️. The kit is wonderful!
Beautiful card! I love butterflies.
Thank you ♥️♥️. I love them too!
Love your card!!!
Thank you ♥️♥️
Gorgeous tone on tone. Beautiful card!
Thank you ♥️♥️
This is so pretty! I love the butterflies in those lovely colors!
Thank you, Susan ♥️♥️
:your card looks so ethereal.
Love the delicate colors.
thanks for sharing.
Didn’t leave an address – txmlhl(at)yahoo(dot)com
thanks
Got it!
Thank you ♥️♥️
Such a beautiful card – love the colors! Thank you for sharing!
Thank you ♥️♥️