
Hi everyone!
It’s the 6th of the month and that means the NEW Spellbinders Clubs are released to NON Club Members!
Here is a bit of information about the Clubs, in case my cards today inspire you to join:
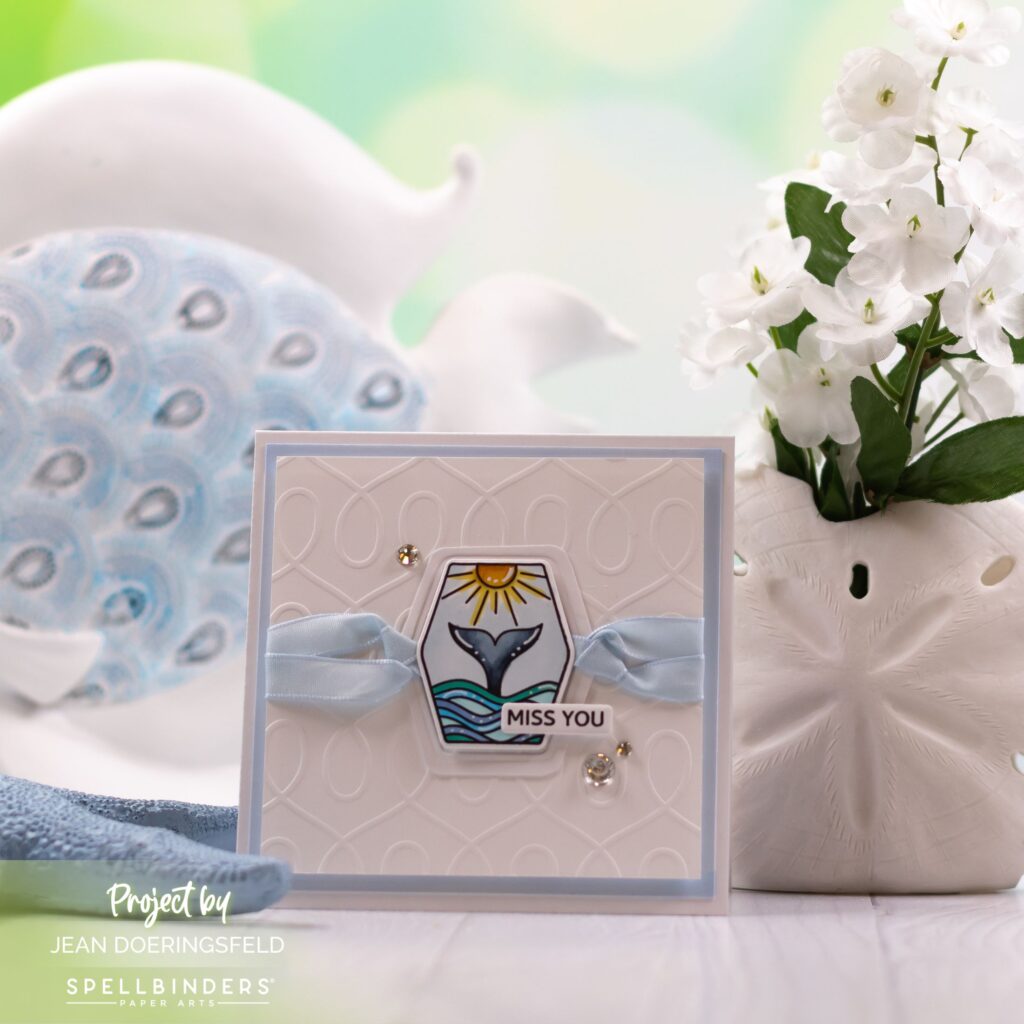
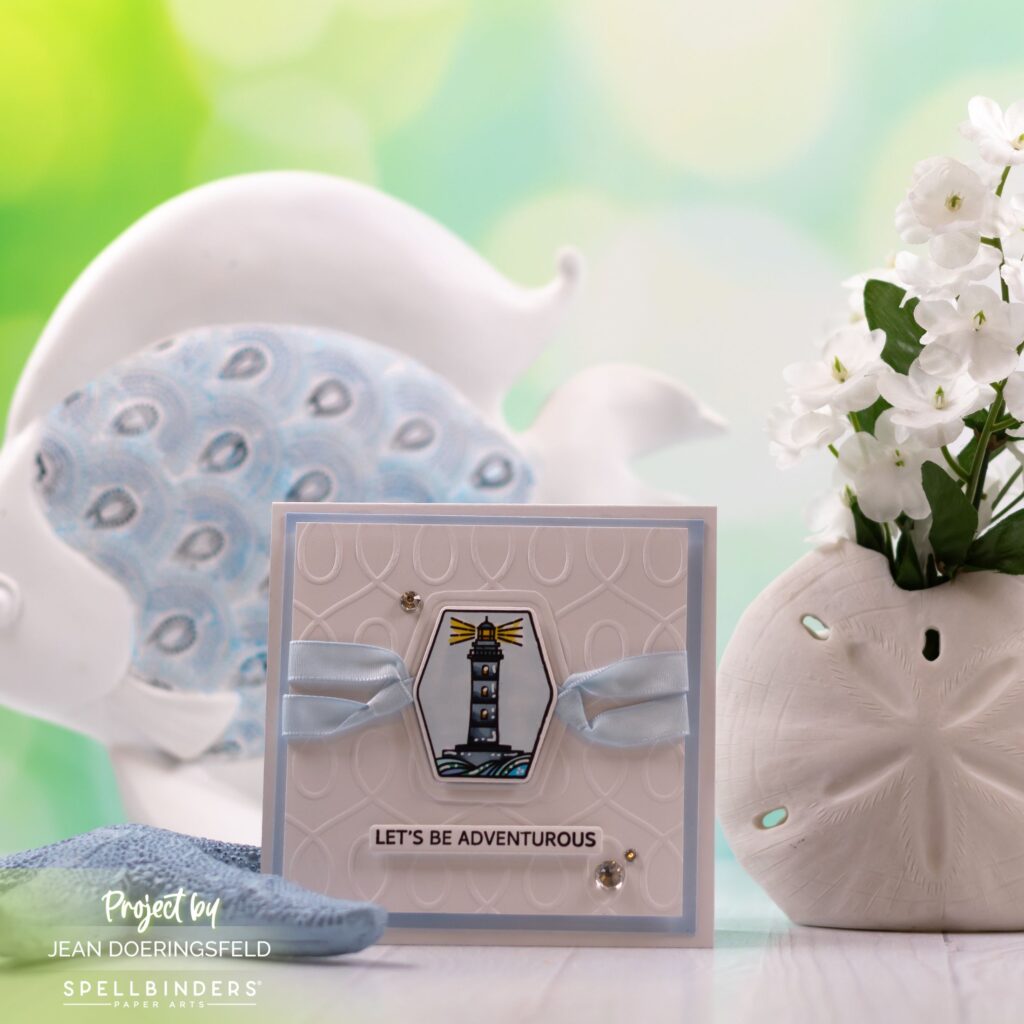
I was drawn to the three sun and sea stamps in this month’s Club set. To my eye, they look a little like some of the batik style prints I’ve seen when I travel and I just love that style!
I decided to make a trio of cards in order to best showcase the different images. I used several of the sentiments in the set as well, to pull everything together.

To make these cards:
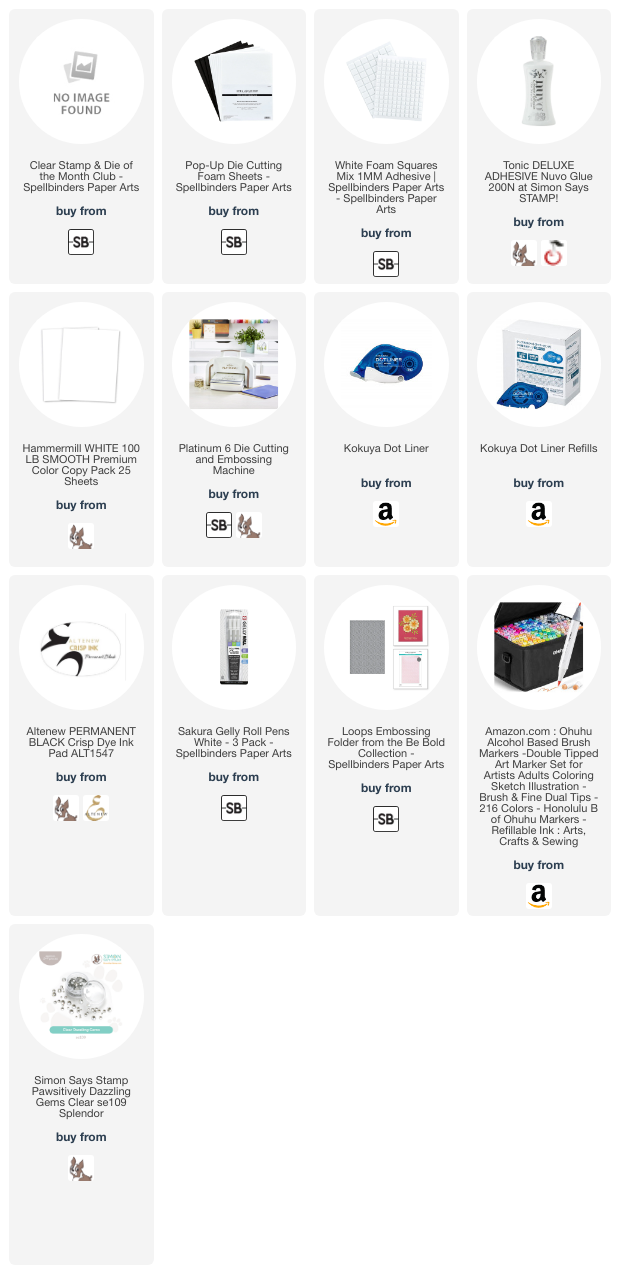
- Stamp, color, and die cut the images using whatever medium you like. I used my new Ohuhu markers and I used the same color palette for each image.
- Use the die to create a frame for each of the images. To do this, die cut the shape, then trim around it with scissors to make the frame. Since this is basic shape, cutting around it is fairly simple and I think this adds a nice touch to the cards.
- Cut 3 panels of white card stock that are 3.75 x 3.75 inches square and emboss them with the Loops embossing folder.
- Tie and loop ribbon around the edges of the frame. Tip: I didn’t have the right color ribbon so I used white ribbon and colored it with one of the Ohuhu markers I used to color the image.
- Glue the frame to the front of the embossed panel.
- Wrap the ribbon around the back side of the panel and secure it with a piece of tape.
- Cut 3 panels of white card stock that are 4 x 4 inches square and use your marker to color around the edges – this is a great way to make a matching layer if you don’t have the right color cardstock in your stash!
- Layer your ribboned panel onto the panel you edged in marker using foam adhesive.
- Adhere the entire panel to a 4.25 x 4.25 inch card front.
- Use foam adhesive to add your sun & sea images to the center of the frames.
- Stamp and die cut your sentiments and add them to the card fronts using foam adhesive.
- Add a few sparkly gems for some shine.
I hope you like these cards and that they inspire you to create something fun and beautiful today!
Have a wonderfully creative day!
")


Hi Jean, I adore your beach cards. They are so pretty and I love the ribbon accents. I am happy you featured the Loops Embossing Folder. I have it and use it often. I always enjoy seeing your beautiful displays you around the theme of your cards.