Hello everyone!
Today I decided to randomly select a stamp set from my inventory and challenged myself to make a card with it! Whenever I do this I usually surprise myself with what I create and today was no exception.
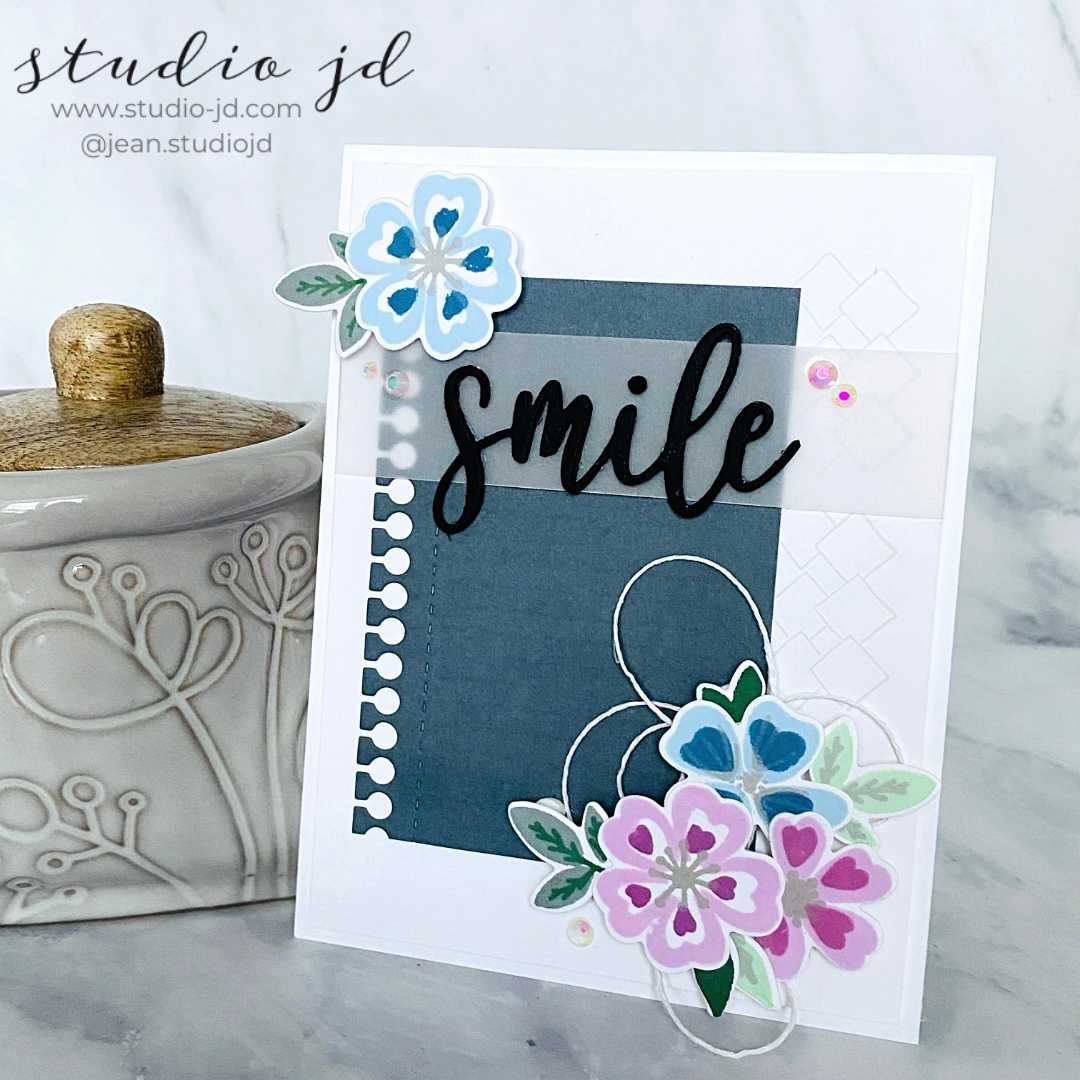
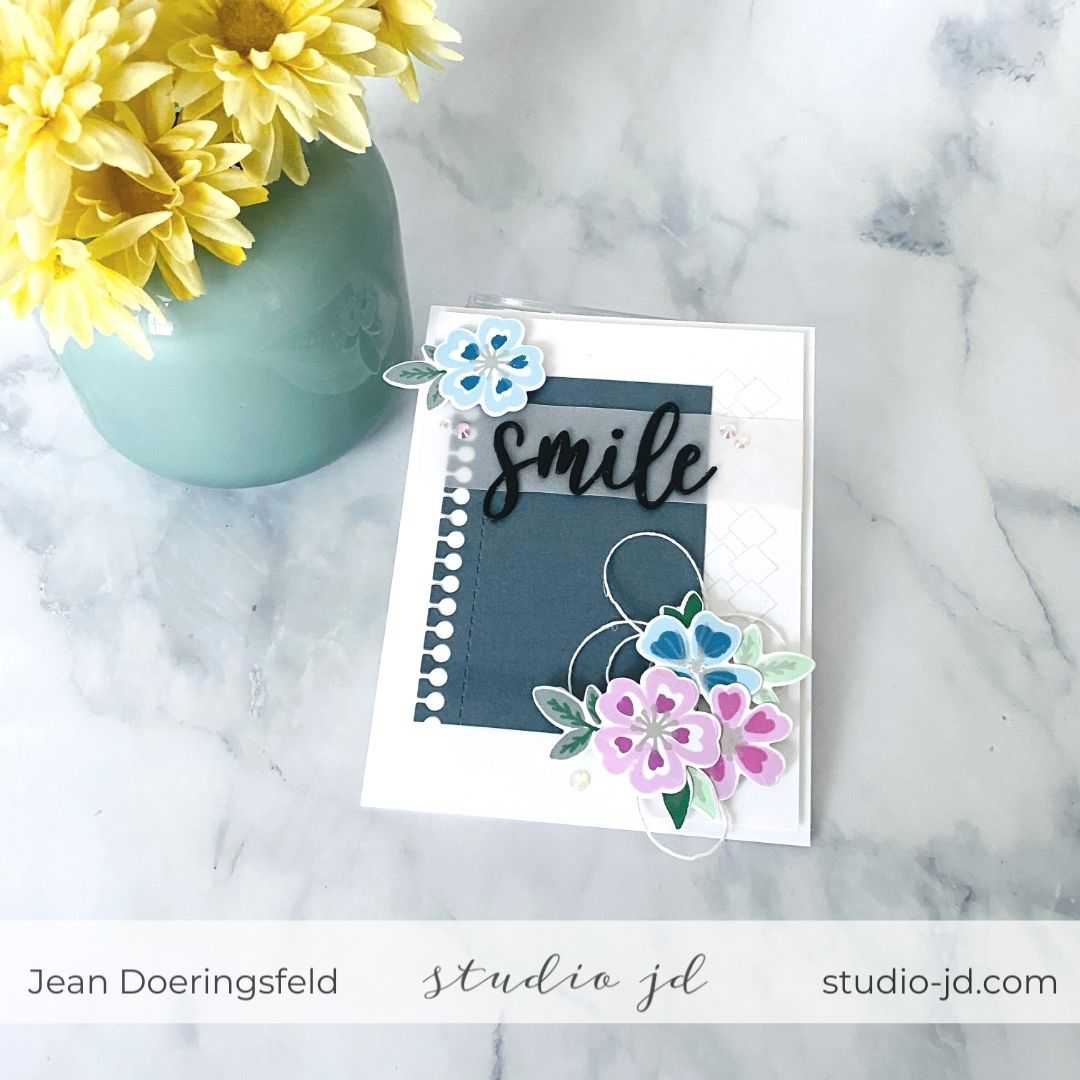
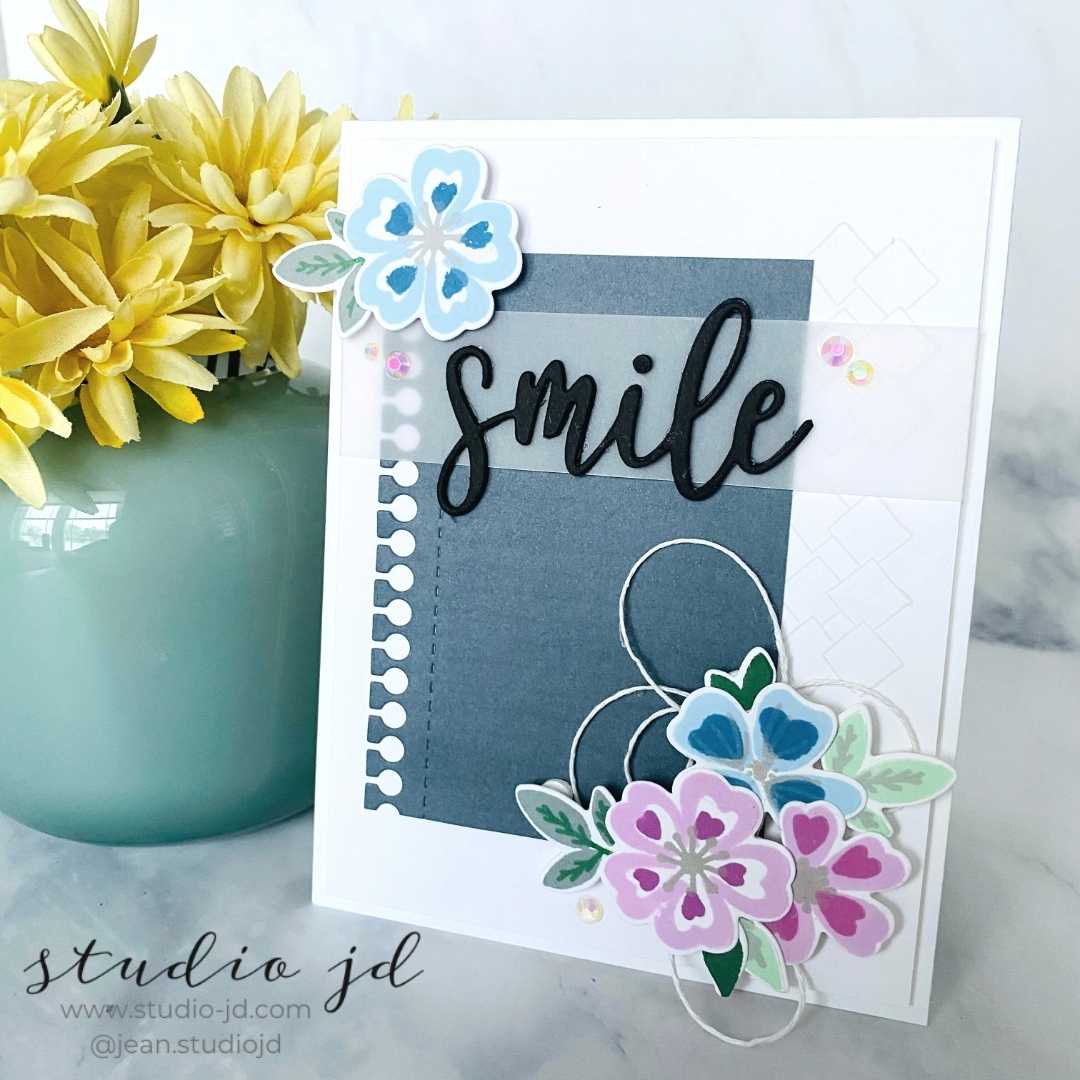
The set I selected was Altenew’s Heart Flowers. This is a layering stamp set and comes with coordinating dies. I love layering stamps and the flowers in this set are super cute!
I decided to go for a soft look with pale pinkish-purples, blues, and greys.
I used my MISTI to create a bunch of flowers and leaves using Pink Fresh Studio inks, and then die cut them with the coordinating dies.
I arranged the flowers and leaves and glued them together.
Next, I used an old script stamp set I had in my stash and stamped it in gray ink on gray cardstock, creating a very subtle, tone-on-tone look (which didn’t photograph well at all). I used the Altenew Creative Edges Notebook die to make this piece look like a sheet from a spiral notebook.

Originally, I was just going to put the flowers in the bottom corner of the notebook piece and add a sentiment, but I felt like the background needed just a touch more, so I used the small graphic diamond stamp from the Taylored Expressions Field Notes set to stamp a few diamonds down the edge of the card front layer. It isn’t obvious, but I think it adds a nice touch and a little interest to the right side of the card. I cut this card front piece to 5.25 x 4 inches so it could be layered on the card base.
I adhered the flowers with double-sided foam to the lower right corner of the notebook piece, tucking in a bit of twine behind the flowers.
I then adhered the notebook piece and flowers to the card front layer.
I die the cut Gina K Designs Smile die from black cardstock three times, adhering each die to the other to make the sentiment sturdy and give it dimension.
I wanted the sentiment to pop so I decided to wrap a strip of vellum paper across the card front layer and put the sentiment on top. I then adhered the card front layer to the card base using double-sided foam tape.

After putting everything together, I felt like something was missing. I decided to add another blue flower to the upper left corner of the card and put in a few gems. I think this really helped to balance out the card and bring out the colors.
It was so much fun to randomly pick a set and see where it took me creatively. I don’t do this often enough but I think it is definitely something I need to plan on doing more of this year. The randomness keeps me on my toes.

Thanks for stopping by today! I hope you find something to challenge you creatively today!
All the best,


0 Comments