Hi there!
A friend once told me that the cake is just a vehicle by which frosting made its way from the plate to her mouth. LOL! I think she’ll agree that the frosting on my card today looks good enough to eat!
This card actually came together pretty quickly – if you don’t count the time it took for the uber thick layer of Glossy Accents I put on the frosting to dry. 😊
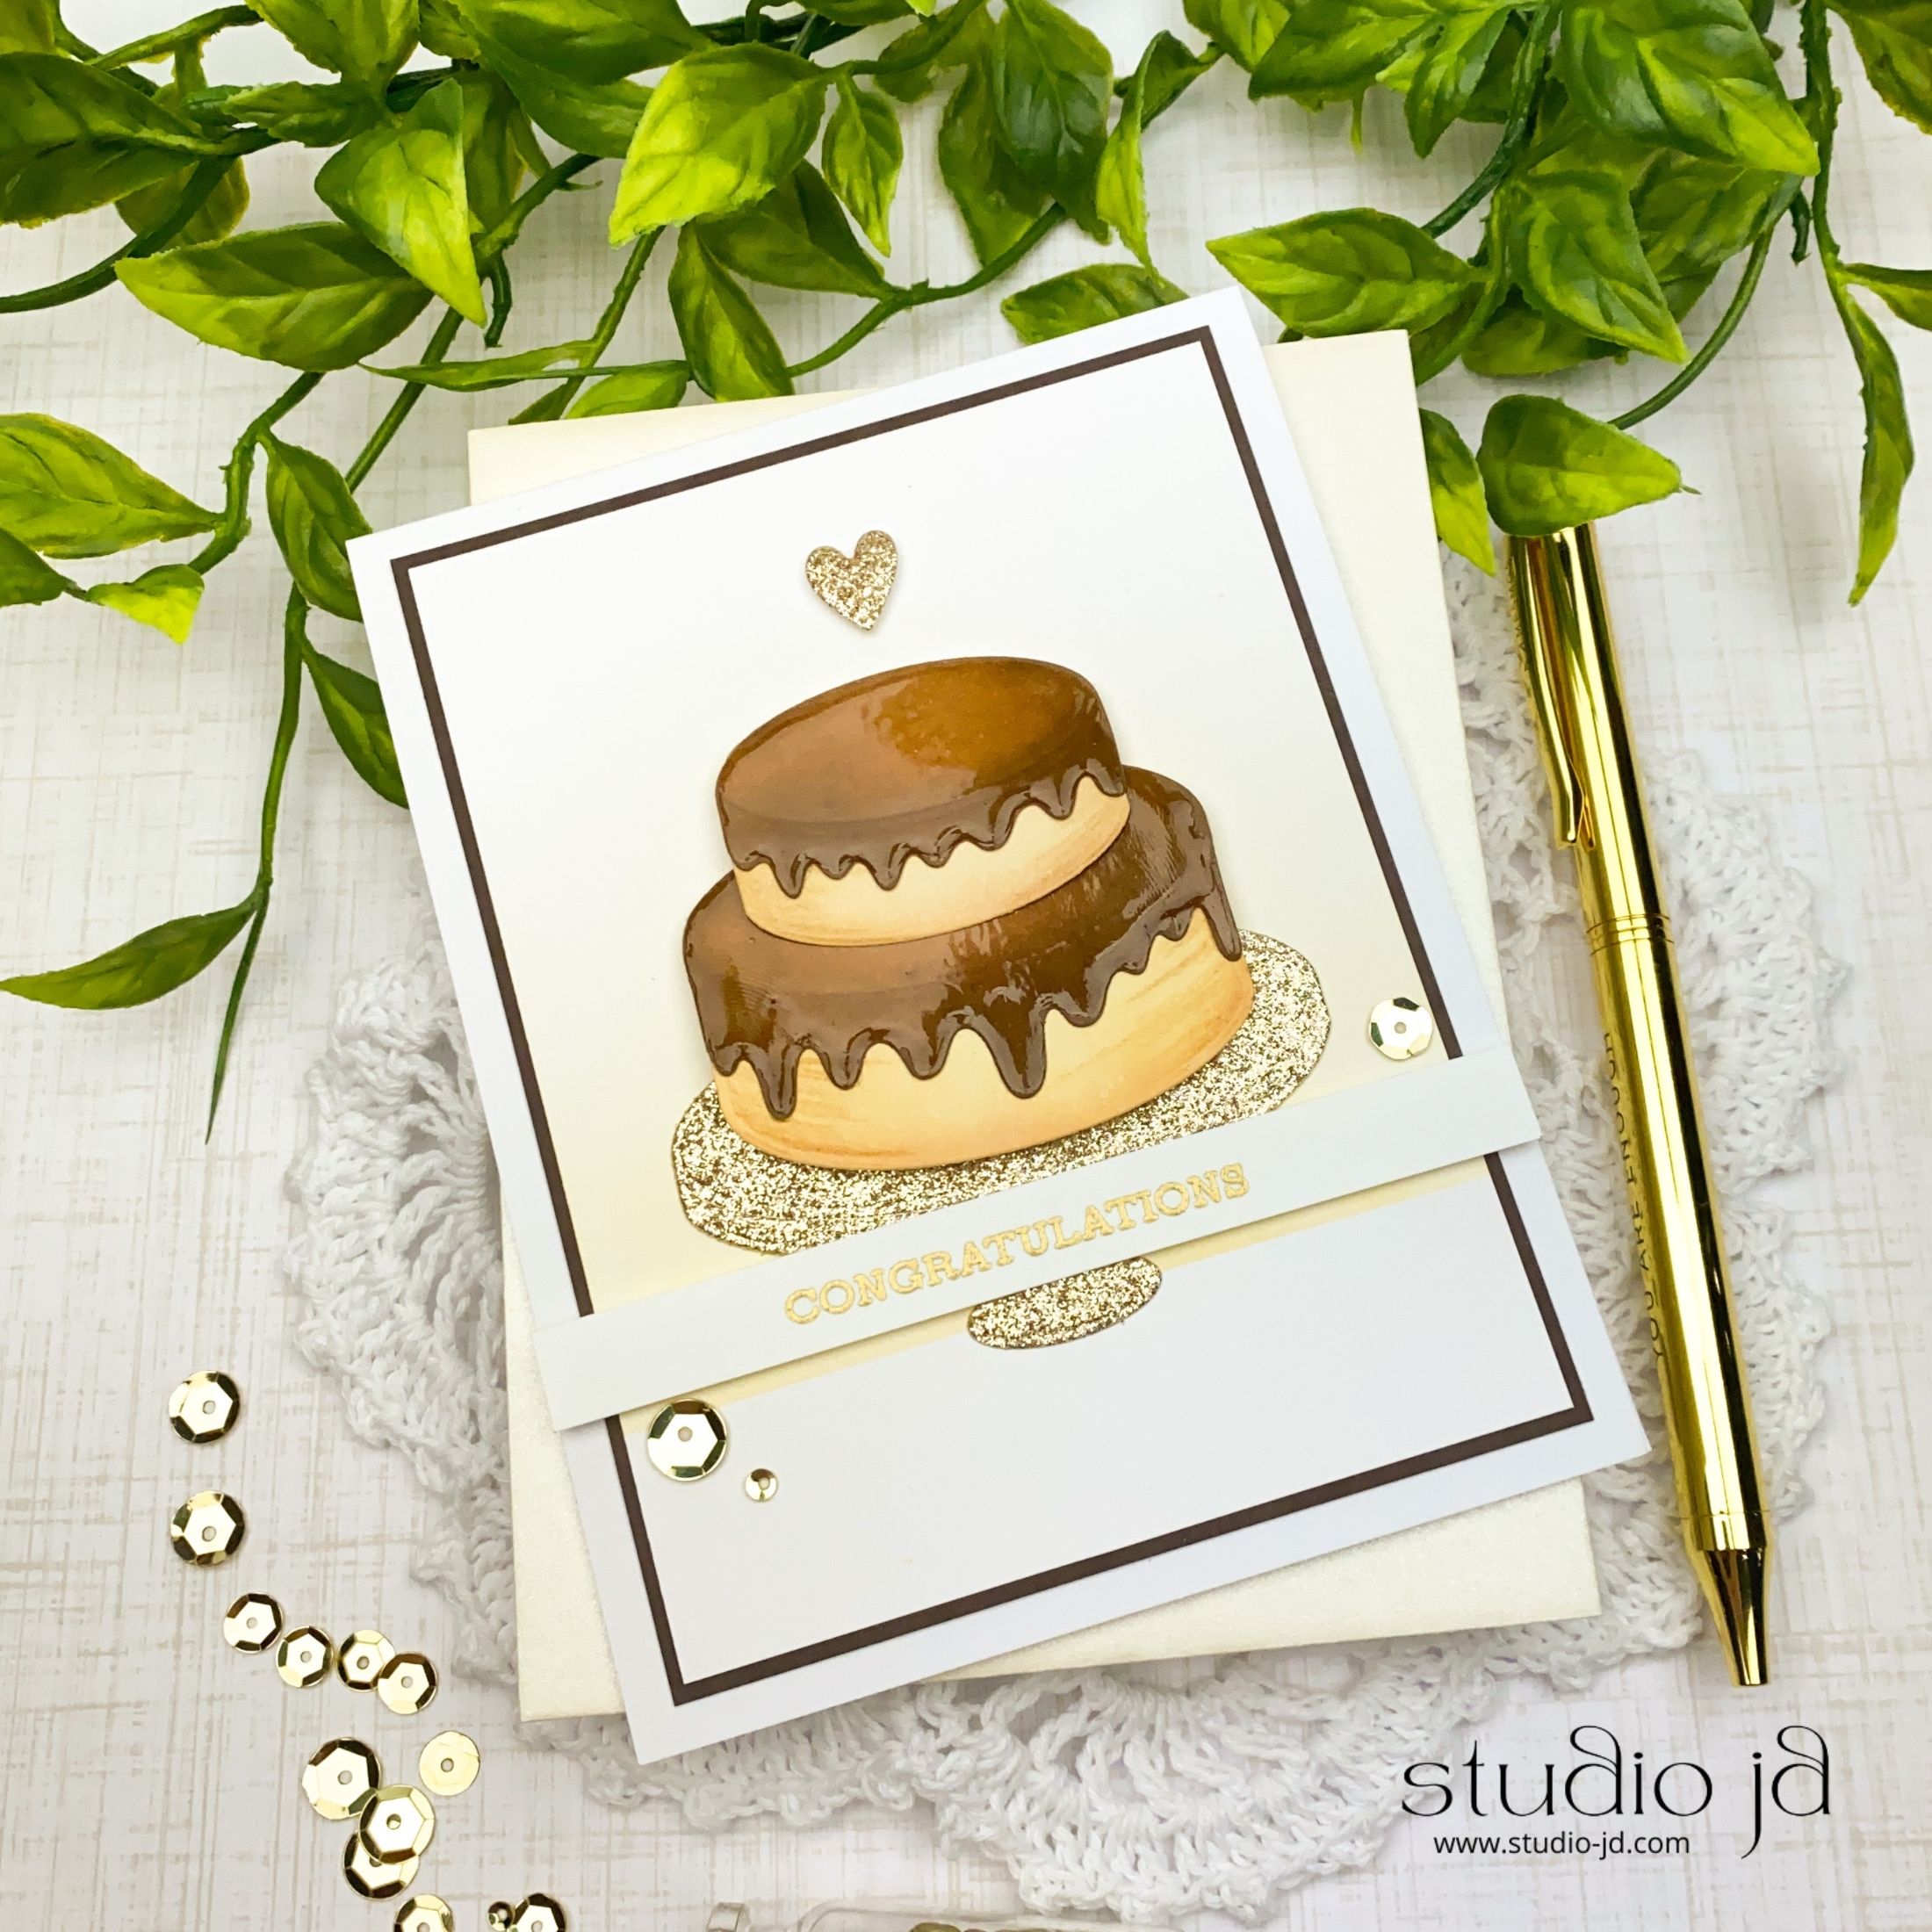
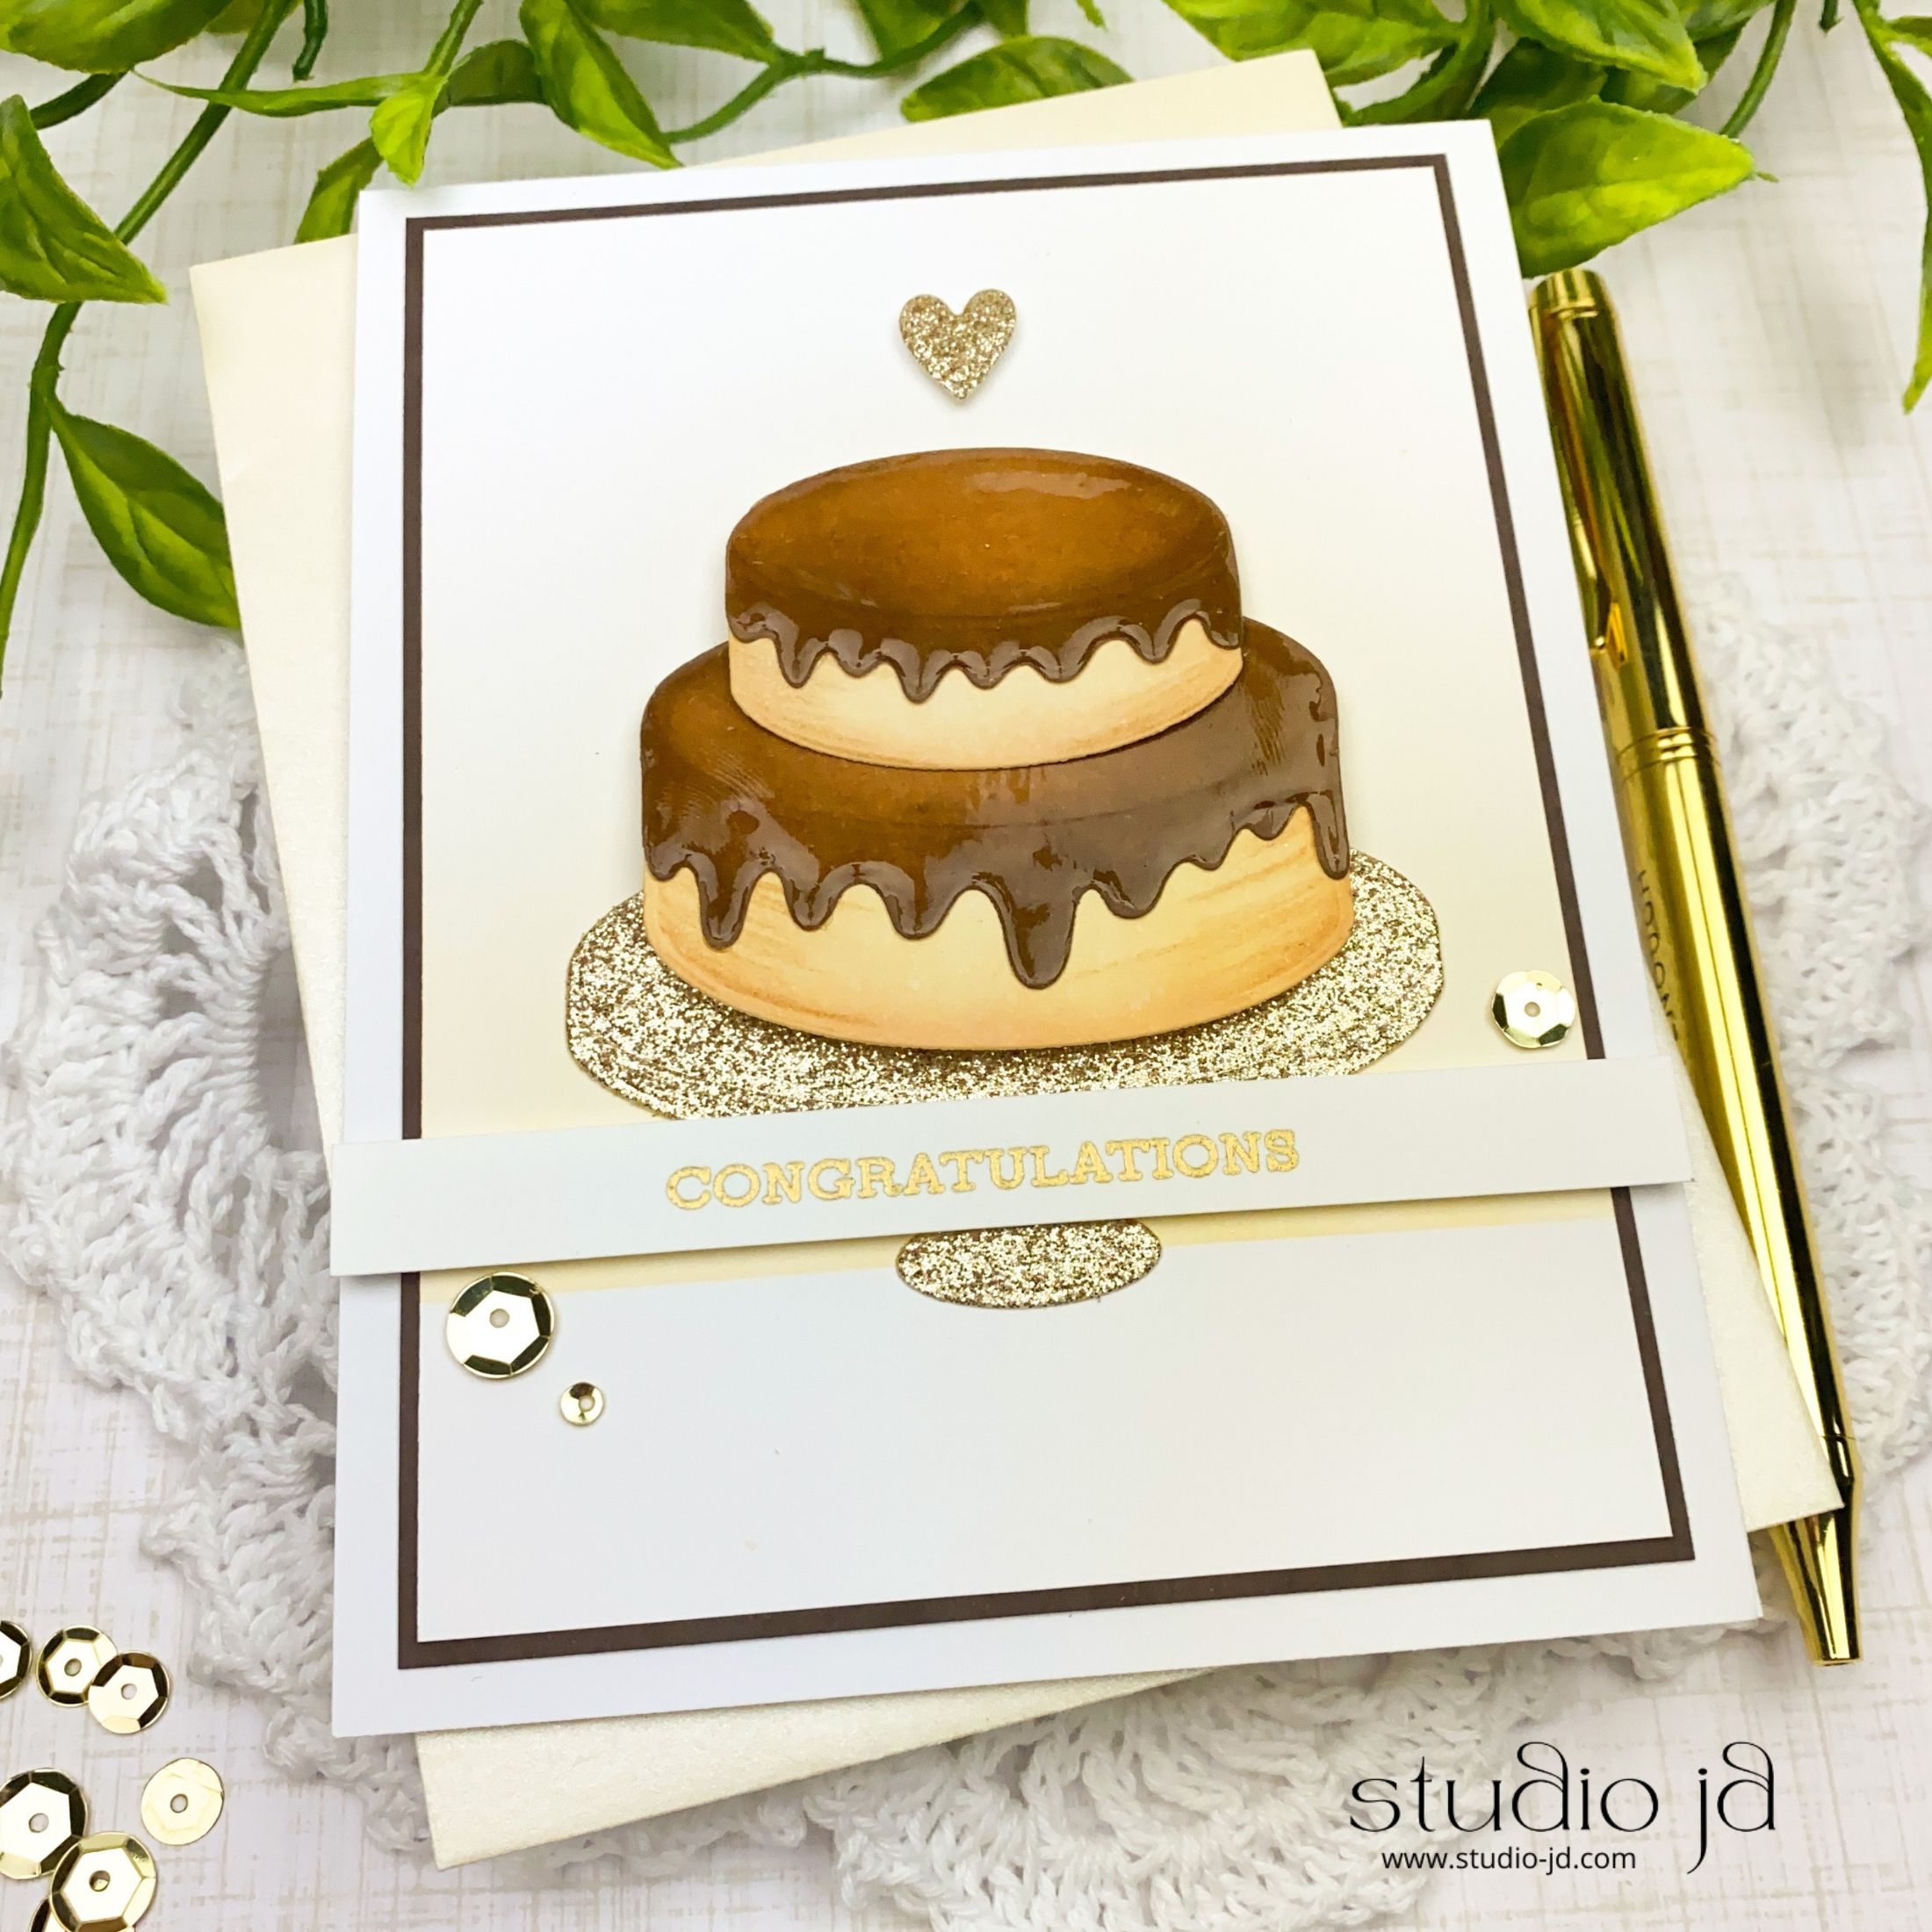
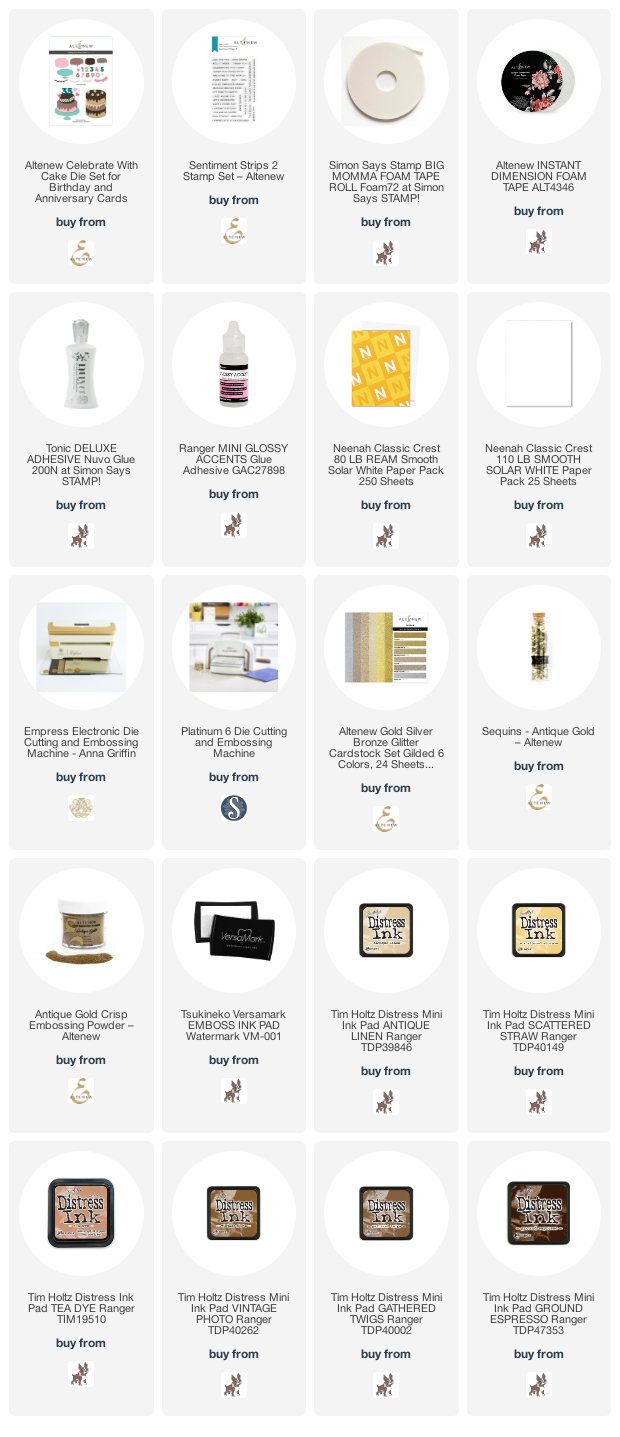
For the cake part of the cake, I ink-blended with Distress Inks (listed in the supply list below) and added just a tiny bit of detail with my colored pencils. For the frosting, I used Distress Inks again, but I coated each of the frosting pieces with Glossy Accents to make the frosting appear thick and shiny! I had to let the Glossy Accents dry overnight – if you touch it too soon, you’ll get a fingerprint in it (um…kinda like real frosting)!
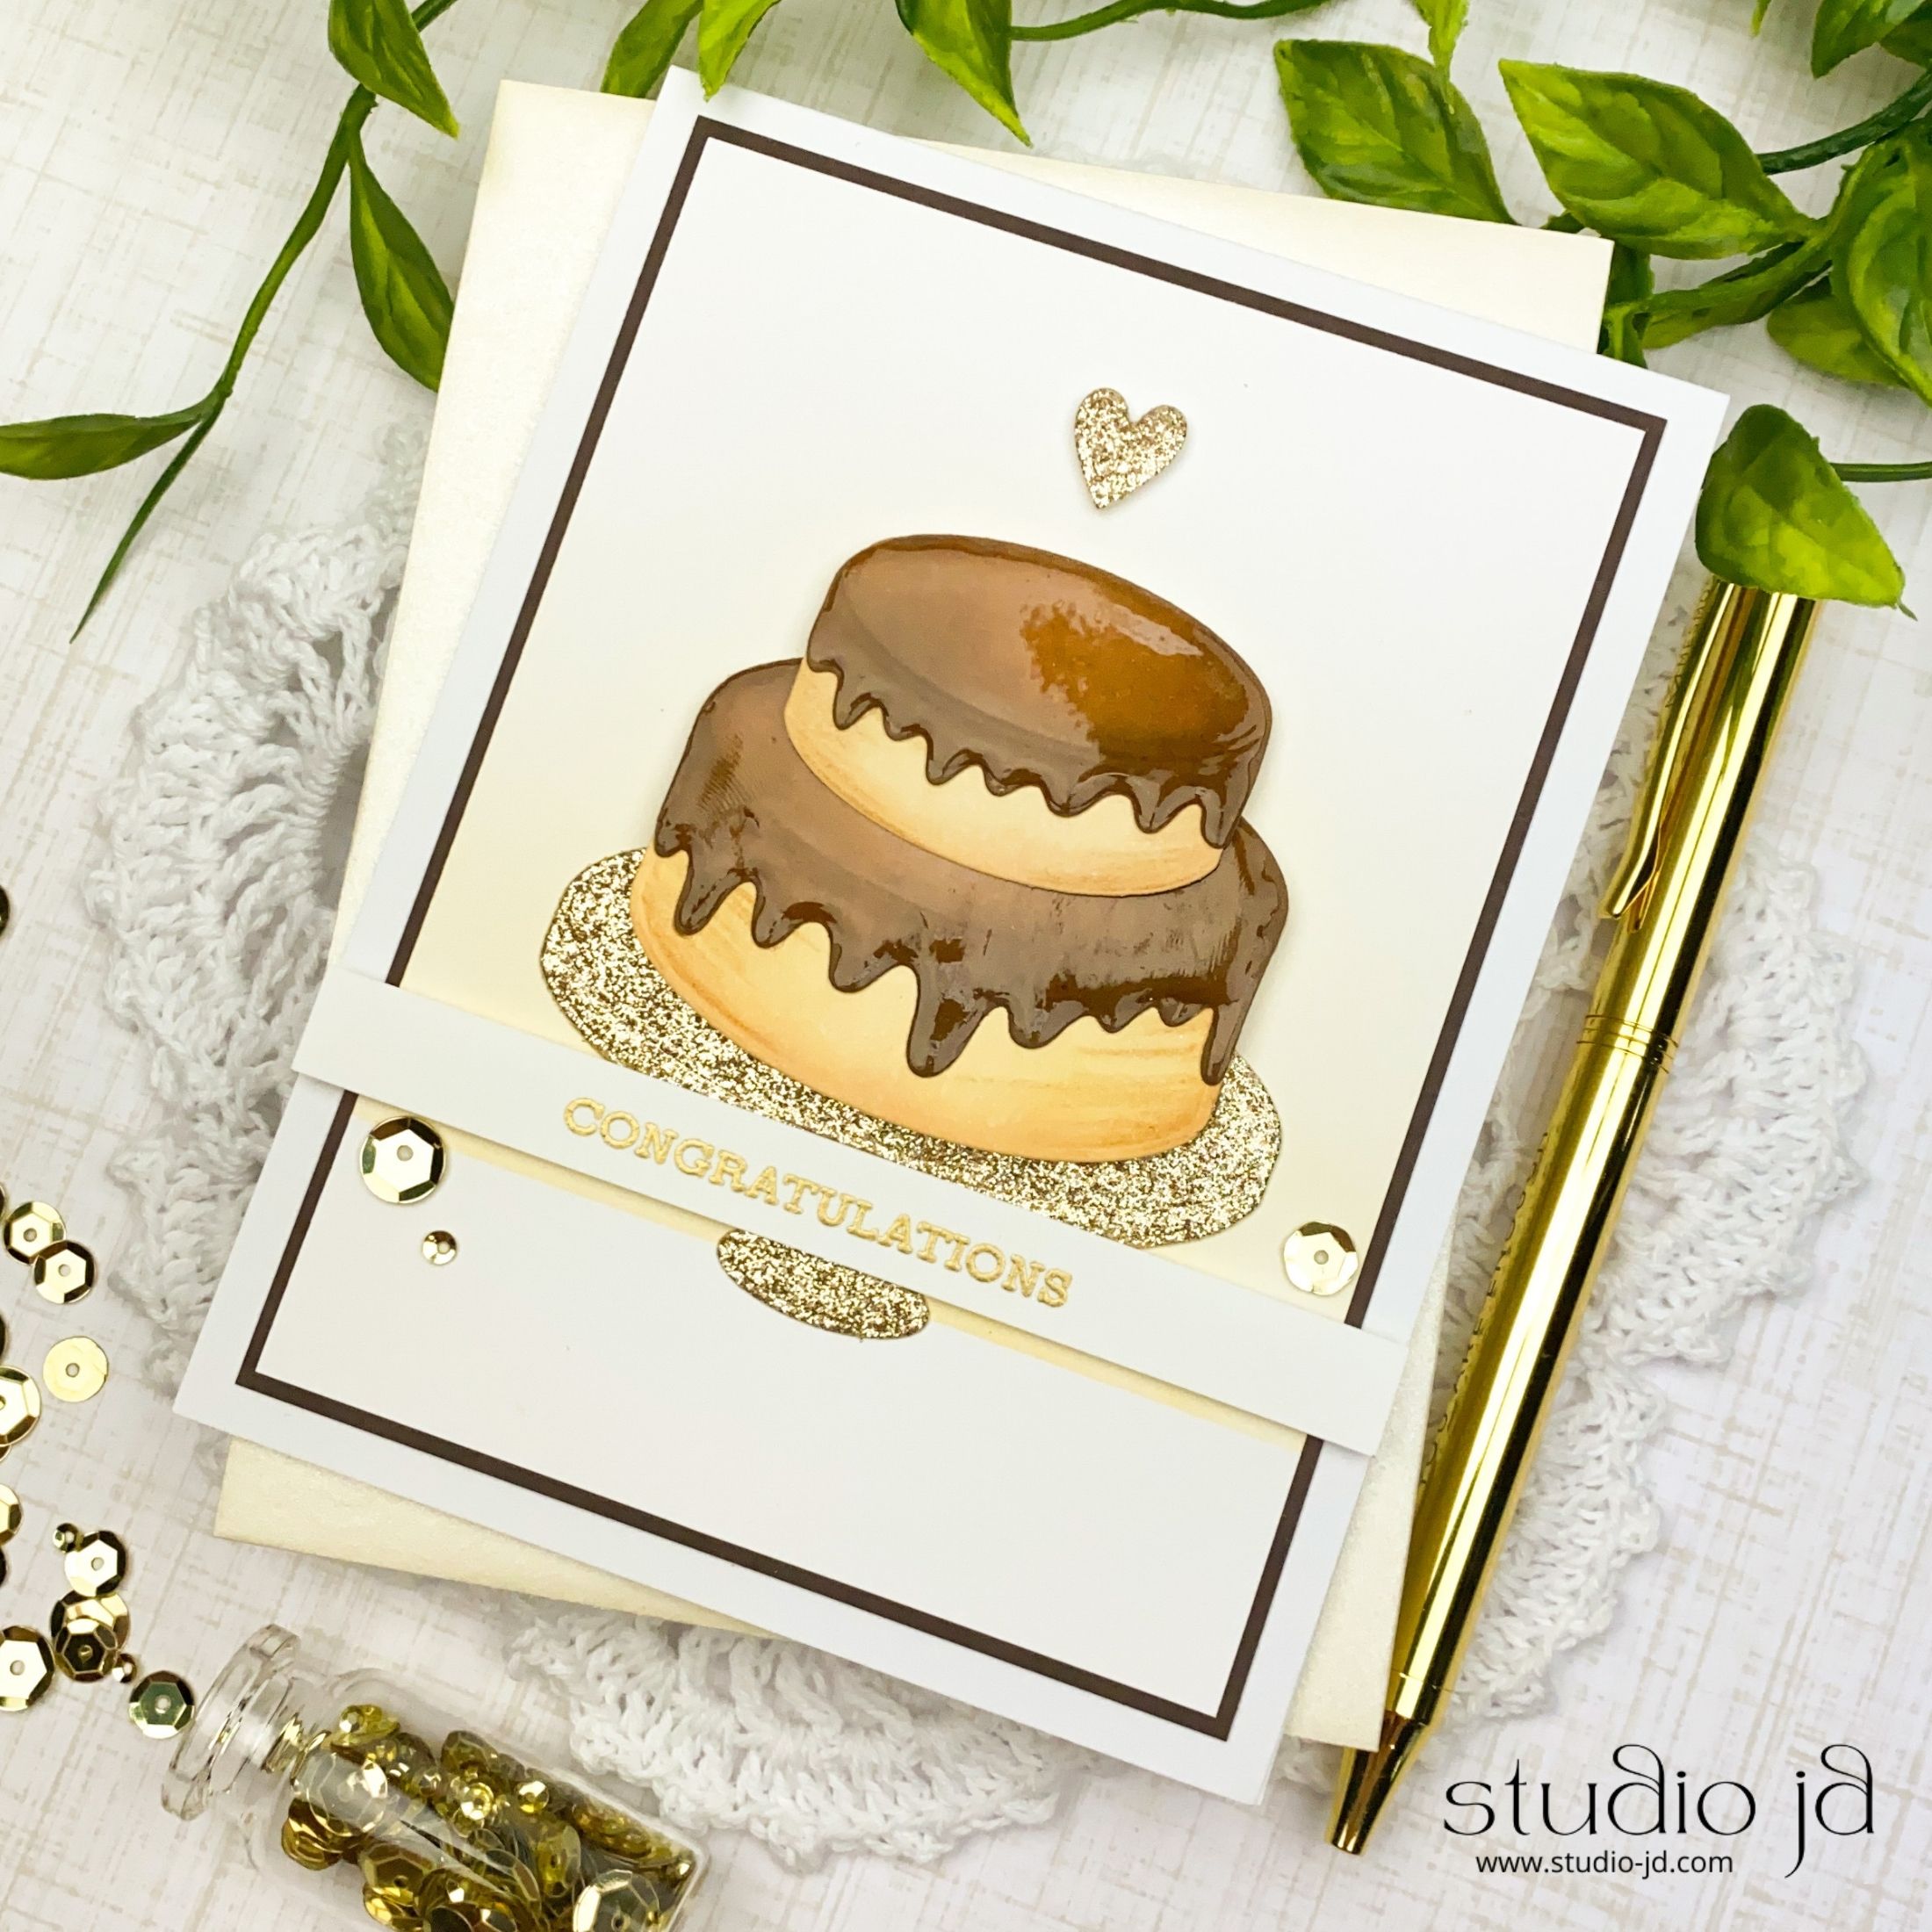
I added a tiny bit of ink blending to my background panel where the plate was sitting but this gets lost a bit behind the embossed sentiment. Still, I do like the hint of yellow behind the bottom part of the cake, so I think it worked out ok.
I assembled everything on my card front – popping up the cake, the heart, and the sentiment – and added a couple sequins just to complete the shine.
I hope you have a wonderfully creative day!



I love your card and couldn’t wait to get to the discription of what the cake plate and sentiment were made with. As an Altenew Academy student also,I was very impressed with your presentation and descriptions that were a perfect mix of HOW TO and humor.
Thank you so much! I’m so glad you like it! Did you get all the information you needed? If not let me know and I can send you a note with anything I may have missed.