
Hi everyone!
A few years ago, my best friend and I took a long weekend trip to Washington Island, WI. We toured the entire island, stopping here and there to take in the views. One of the places we stopped was Fragrant Isle Lavender Farm. It’s a vast, glorious, and fragrant farm featuring island-grown lavender. The fields are a sight to behold (and smell)! If you ever get a chance to go, I highly recommend it. The farm is low-key and relaxing and the little café is adorable (and delicious)!
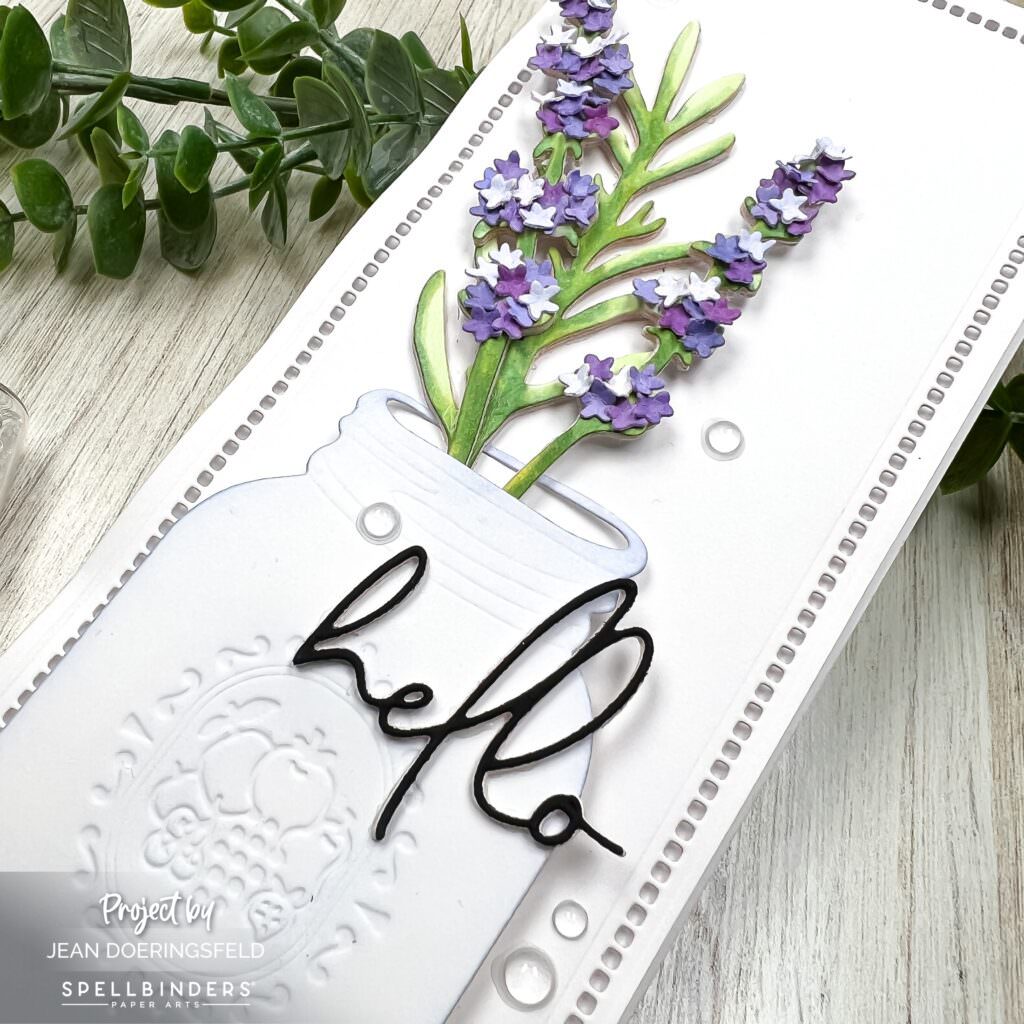
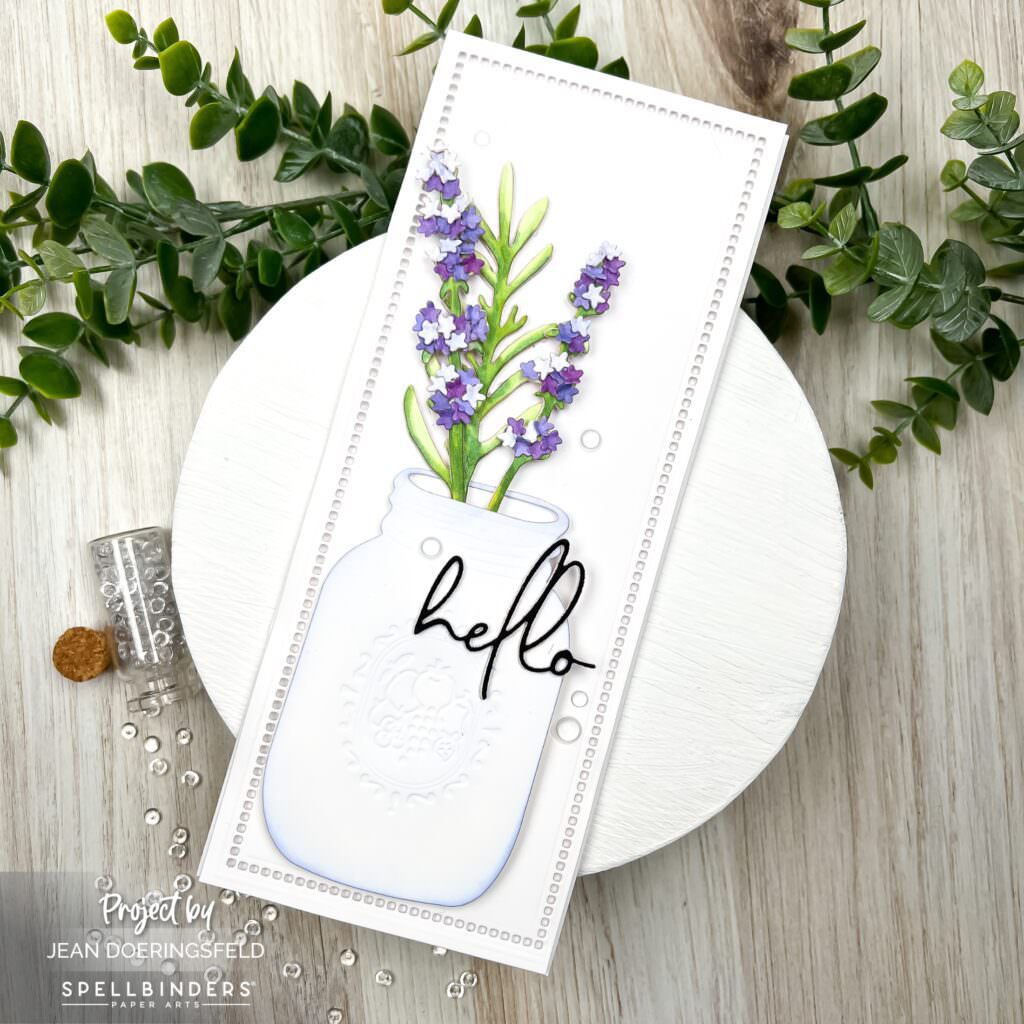
All this reminiscing brings me to the card I’m sharing today that features a few sprigs of lavender in a mason jar. Just like Fragrant Isle Lavender Farm, it is soft, inviting and unassuming, albeit not nearly as fragrant. I’m a lover of less-is-more and clean-and-simple (CAS) in my designs. I probably could have filled the mason jar to the rim with more lavender, but I truly think there is something beautiful in simplicity. I hope you do, too.
To make this card:
- 1.I used Distress Spray Stains in Shaded Lilac, Chipped Sapphire, and Seedless Preserves to cover a few pieces of cardstock and let them dry.
- I die cut the leaves and stems and colored them sloppily with my Copic markers.
- I due cut the tiny lavender flowers out of each of the different spray stained cardstock so that I could get a variety of lavender shades.
- I formed the tiny flowers using my tools from Susan’s Garden. Here is a video showing you how to form the flowers and the leaves: https://mail.google.com/mail/u/0/#inbox?projector=1. I did not form my leaves for this card, but you certainly can and it would look just as lovely.
- I layered my Copic-colored lavender stalks and leaves with several pieces of cardstock to give them some dimension, then began adding the tiny, formed flowers to the stalks.
- I die cut my mason jar and ink-blended the edges lightly with ink.
- I die cut my sentiment from black cardstock and stacked it using additional die cuts for dimension.
- I die cut my hemstitched panel and adhered it directly to my card base.
- I adhered my mason jar to my card with foam adhesive – being careful to leave room to tuck my lavender and leaves in the opening and behind the jar. I doubled my foam adhesive to accommodate the stacked die cuts I had created for the stem and stalks.
- I tucked my lavender into the jar opening and adhered them with liquid glue and some foam adhesive where needed.
- I adhered my sentiment over the jar so that it hung over just a bit.
- Lastly, I added a few clear gems for some sparkle.
I hope this card inspired you. I appreciate you stopping by my blog and I truly hope you have a wonderfully creative day!

")


Beautiful Jean I have actually got this die out and ready to cut, love what you have designed this beautiful set here,, xx
Thank you ♥️♥️
I also love the simplicity of your card. All of the white space with a beautiful mix of little flowers.
Thank you so much! I love a CAS design and I think that it works so well for 3-dimensional flowers. It’s a great way to let the flowers shine!