Hi everyone!
By now you’ve probably figured out that I have an affinity for birds – especially robins. A week ago, despite it still being cold and a bit snowy, I saw my first robin of the year. It’s a harbinger of spring for us here in Wisconsin and it always makes me smile when I see it.
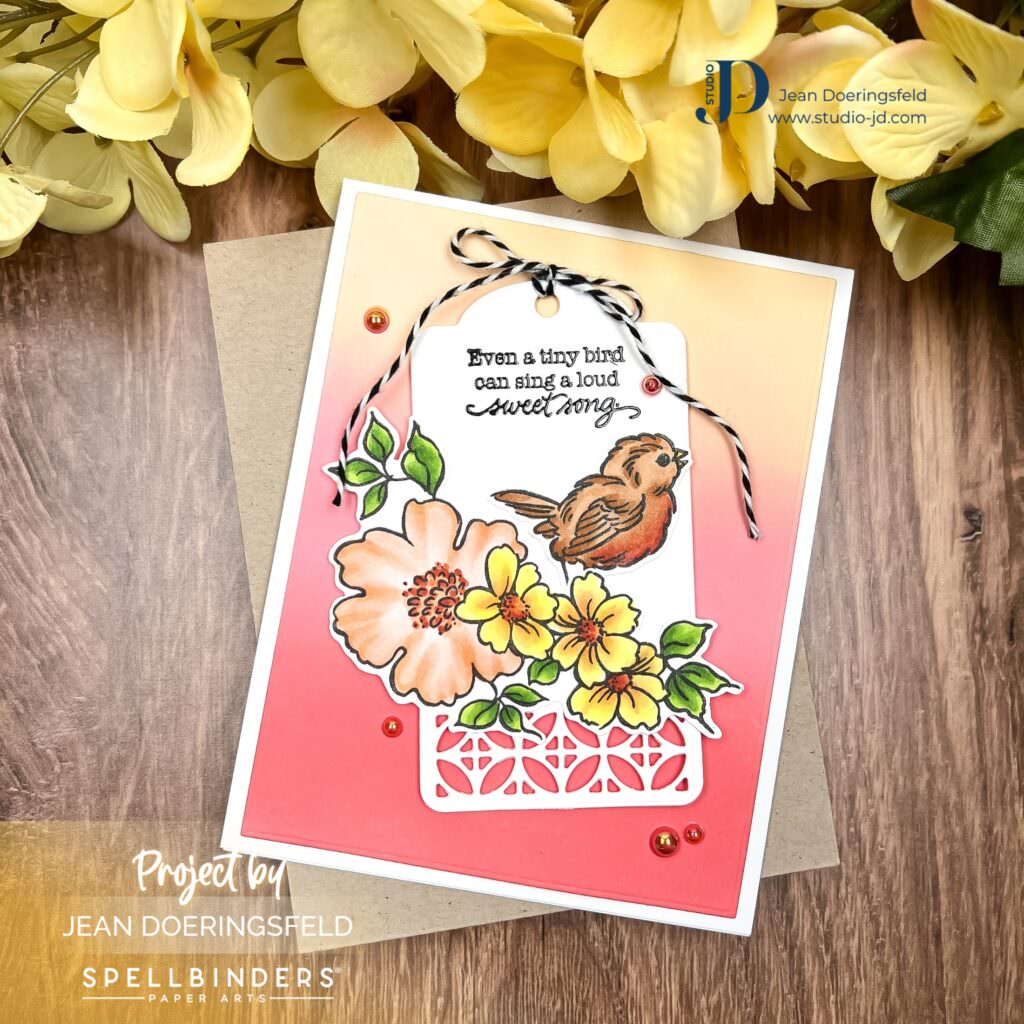
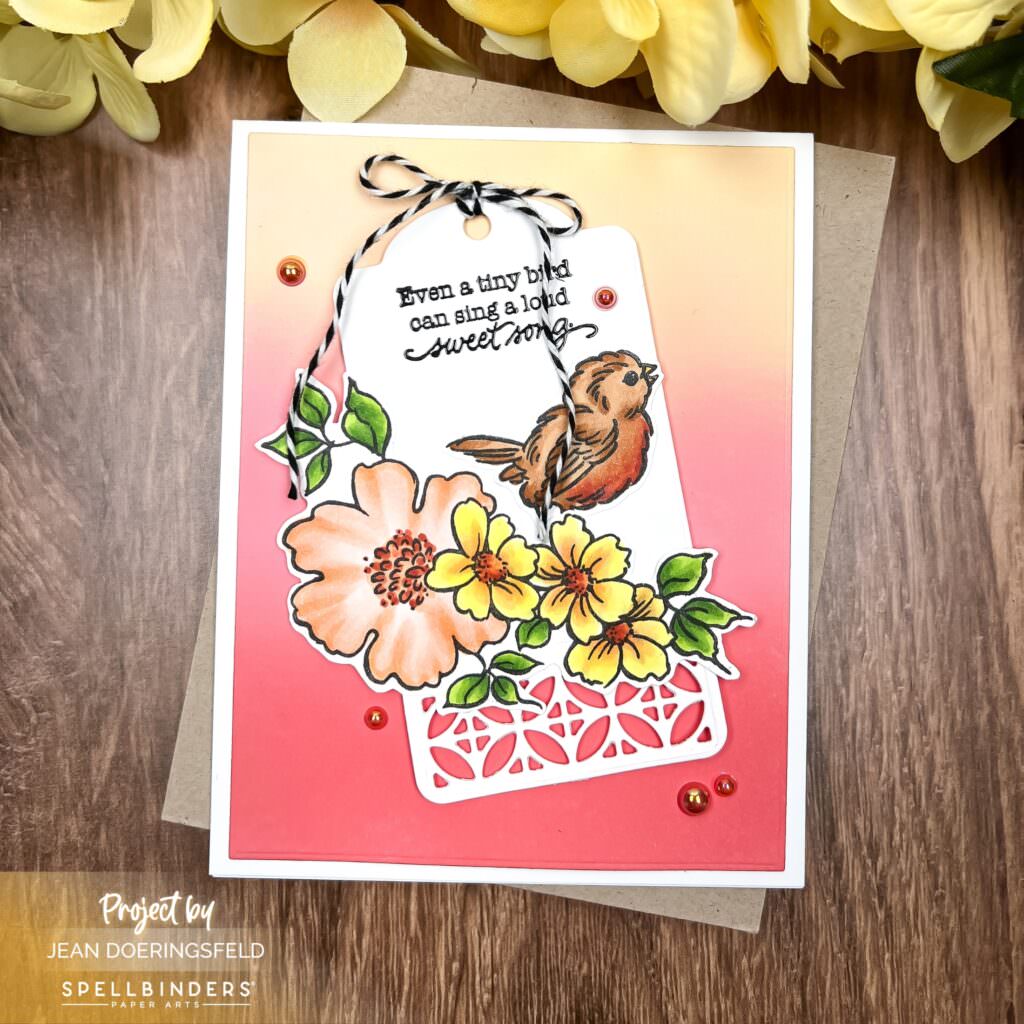
So, today’s card is dedicated to that first robin in the hopes that it grows big and fat and makes little baby robins to fill my yard and trees and eat all the worms (of which there are plenty!)!

To make this card:
- 1.Ink-blend a cardstock panel using Scattered Straw, Worn Lipstick, and Festive Berries Oxide inks and set the panel aside to dry or heat it a bit with a heat gun. Letting the panel dry helps to prevent the risk of it smudging when you touch it.
- Once dry, cut the panel down a bit (I cut mine to 4 x 5 1/4 ) and adhere it to your card base. I used adhesive tape runner.
- Die cut a tag using the “Create a Decorative Tag” die set. You can use any of the decorative dies in the set for the bottom of the tag.
- Heat emboss the sentiment from the Sweet Song stamp set at the top of the tag and set the tag aside.
- Stamp the bird and the flower swag using Copic-friendly ink and color them with your Copic Markers. I did my flowers in oranges and yellows to match my die cut panel but blues or purples would also be lovely.
- I used my Scan-N-Cut machine to die cut my colored images since the set does not come with coordinating dies. You could also fussy cut them, but as I’ve mentioned before, my fussy cutting skills are not that great and my Scan-N-Cut works flawlessly.
- Assemble the bird and flowers on the tag and adhere them with liquid glue.
- Add a piece of twine to the tag.
- Adhere the tag to your ink blended panel/card base using foam adhesive. Be sure add foam adhesive behind any parts of the flower that hang over the edge of the tag to give them a bit of sturdiness once they are adhered.
- Finish the card by adding a few pearls for some shine.

Even though I rarely use this much color on my cards, I have to say that I’m so happy with how this card turned out. I hope you like it – and that whatever harbinger of spring you have in your area shows up for you like the little robin did for me!
Have a wonderfully creative day!


0 Comments