Hi everyone!
It’s Spellbinders’ 20th birthday and I am super excited to be sharing in the celebration! Twenty years? How awesome is that?
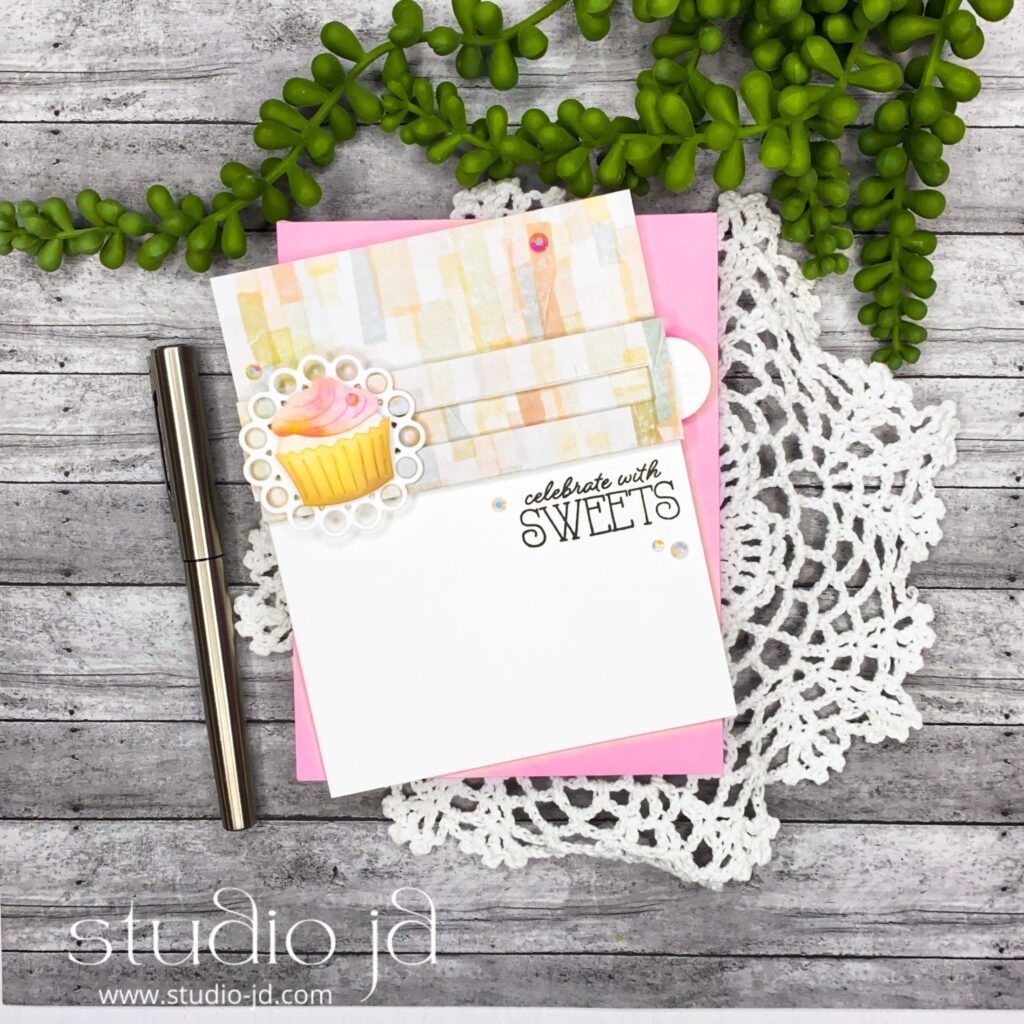
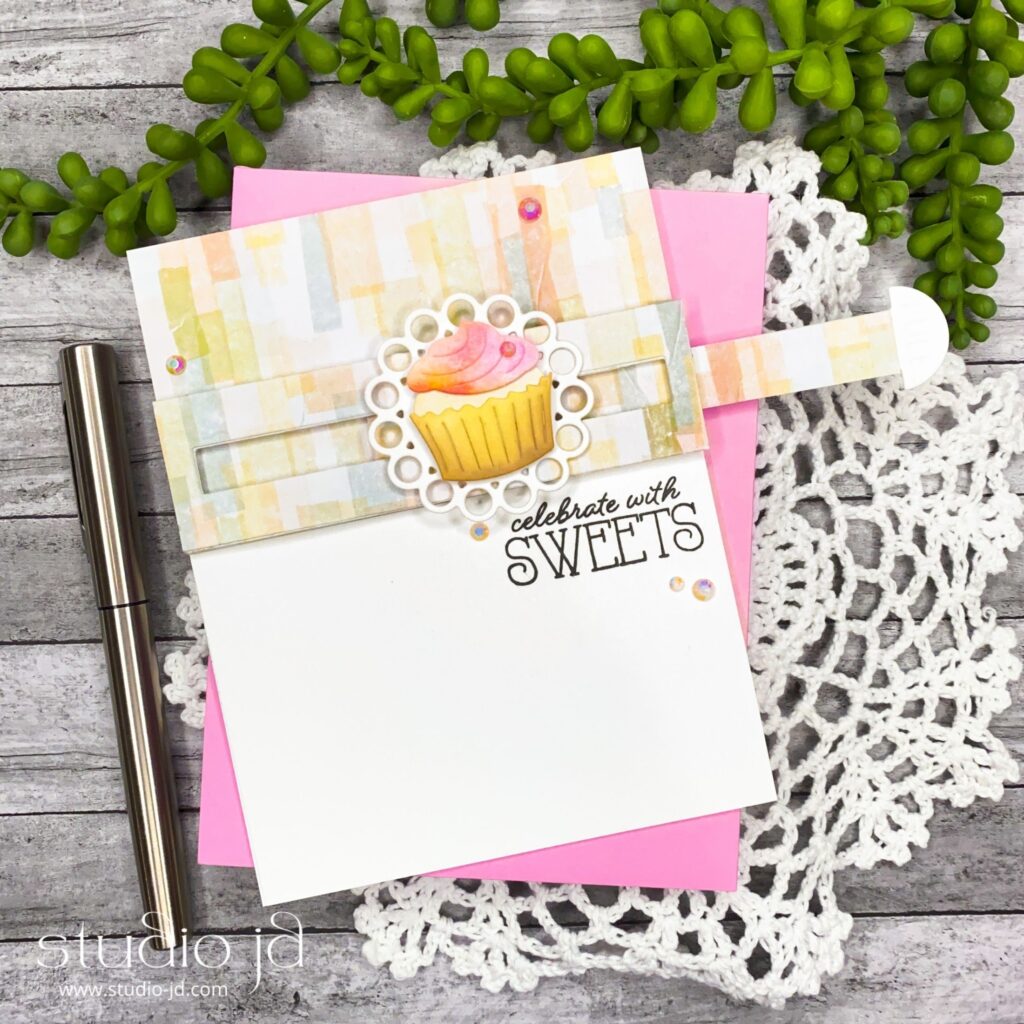
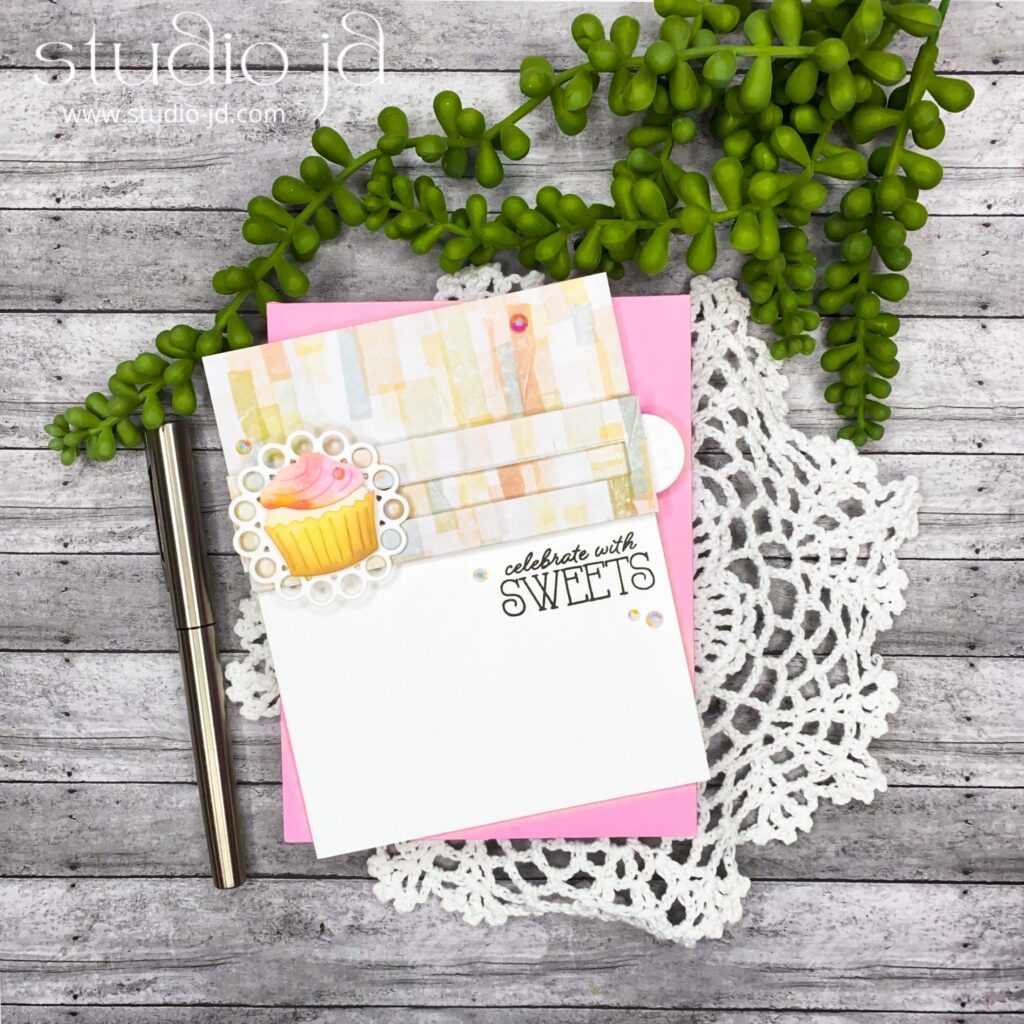
For my contribution to the party, I decided to create my very first slider card. This was such a fun card to make and so easy to put together!
I started by creating the cupcake: die cutting the pieces, ink-blending them, and assembling them. I used a small piece of foam to mount the finished cupcake on a pretty circle die cut with loops around the edges (called “Rings Around A Circle” by Spellbinders). Once that was ready, I set it aside and focused my attention on the slider mechanism.

I found a piece of patterned paper that I thought complemented the colors in my cupcake. I wanted the pattern of the paper to be seamless across the slider mechanism, even when it was slid to the right. It took a bit of work to get the pieces lined up but thankfully, the patterned paper worked out great and was pretty forgiving in the places where I wasn’t exact. It didn’t end up being seamless, but I am super happy with the results.
I assembled the slider using foam tape under the frame portion and at the ends to keep the slider itself from being pulled out completely.

I stamped my sentiment on the card front before attaching the slider to it. I used a bit of foam to attach my cupcake to the slider mechanism so that the cupcake would move across the front of the card when the slider was pulled.
I added a few iridescent gems to my card, being careful not to put them where they would block the slider from moving.
And…ta da! My very first slider card! Why did I wait so long to make one?!?!?!

I hope you like this project and that you’ll join me in wishing Spellbinders a Happy 20th Birthday!
Have a wonderfully creative day!


0 Comments