Hi everyone!
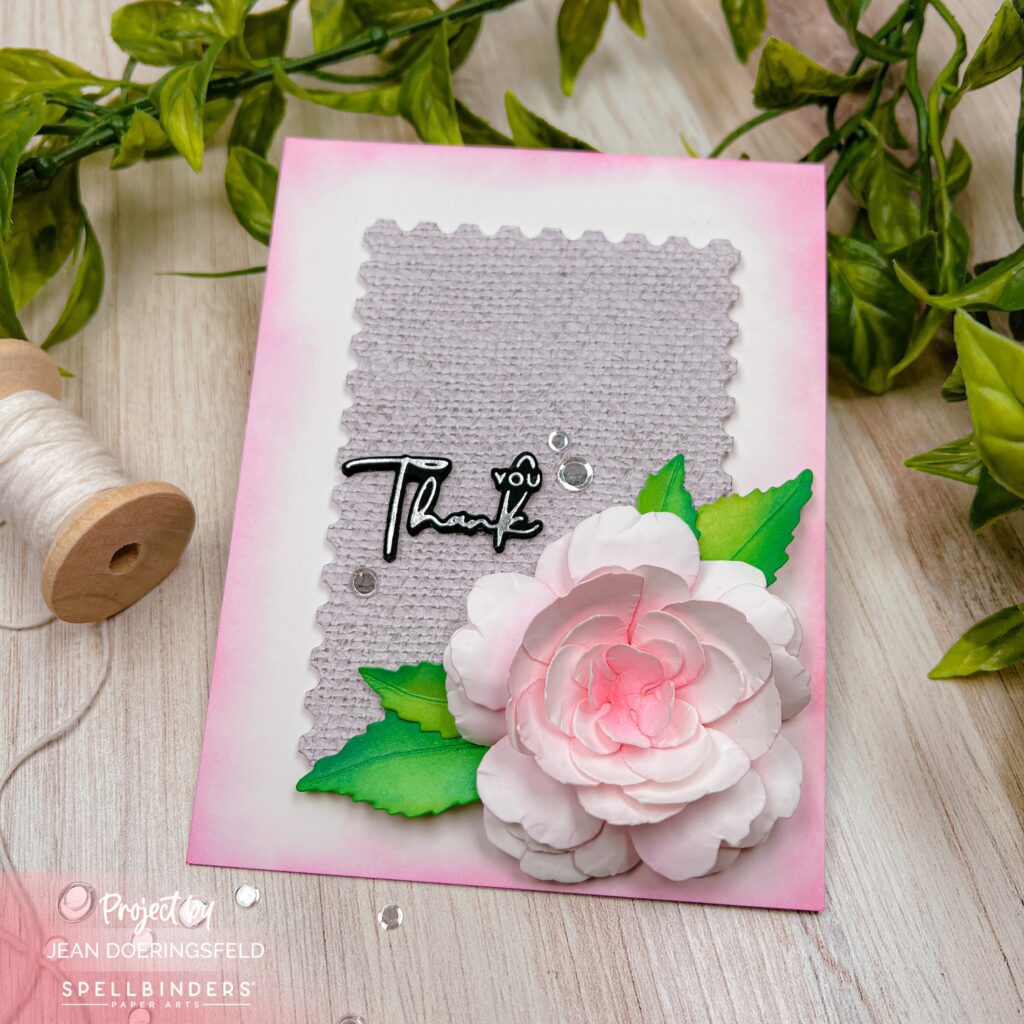
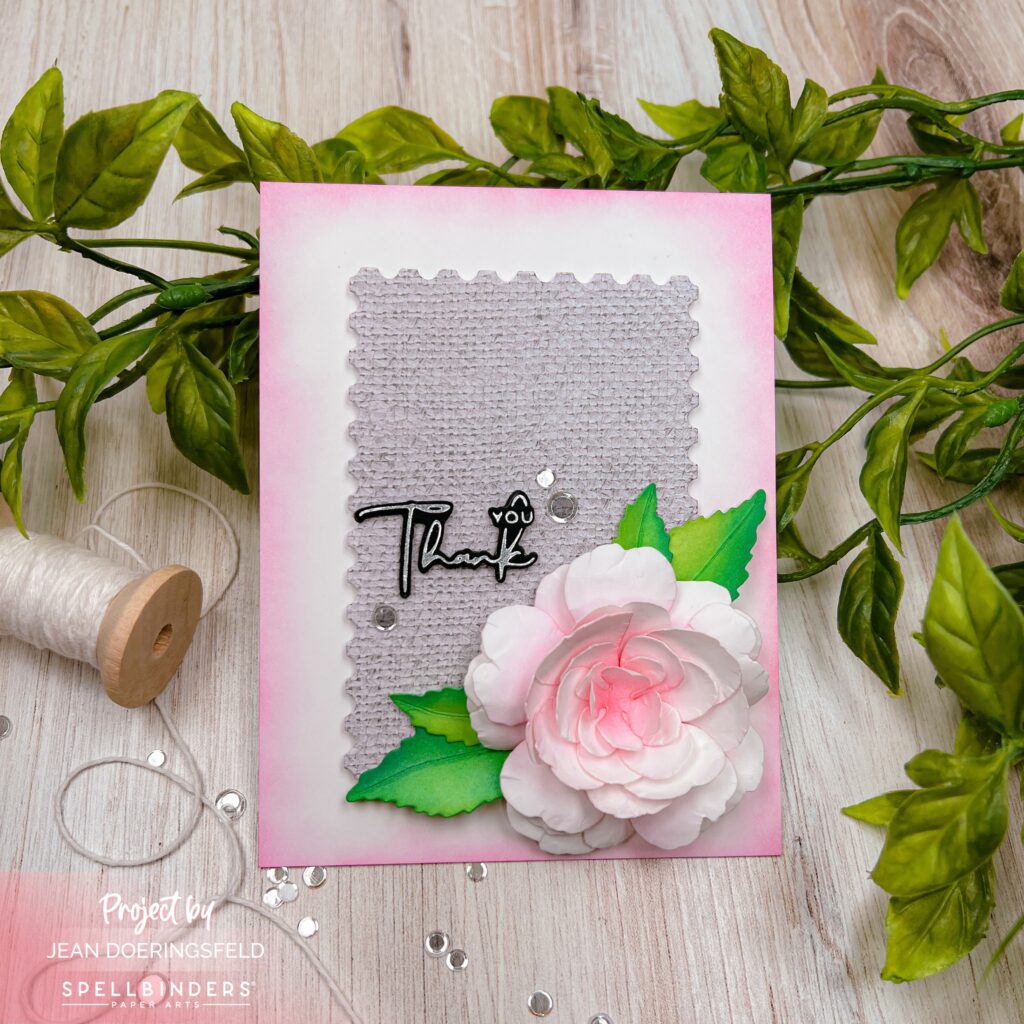
Today I’m sharing a card I made using the gorgeous Camellia dies from the Victorian Garden Collection at Spellbinders!
Just a few fun facts about Camellia before I jump into how I made my card:
Camellia grows in shrub form and is considered an evergreen – staying green even in winter. If you’re from the United States you probably know that Camellia is state flower for Alabama, but did you know that Camellia is also called the “tea plant” because it is commonly used to make tea – including the iced tea you are probably most familiar with? And… it is also used for tea oil, which is a common cooking oil in China!
Pretty cool, huh?
If you would like to see a quick video “reveal” of this card, check out the video below (psssst: if you go to my YouTube Channel you’ll find reveals of past cards I’ve made! I’d love for you to subscribe!):

Ok…back to my card. Even though the flower has lots of petals, it is surprisingly simple to make! Spellbinders has a video with instructions here: https://www.youtube.com/watch?v=O2HRdch5DR8
To make this card:
- Die cut all the pieces for the flowers and the leaves. The dies have numbers on them to tell you how many times to cut each one, which makes it super easy!
- Ink-blend the die cut pieces using the color of your choice so that you get a darker color in the center and lighter to the outside edge. You could also do this the opposite (lighter to darker) and you would get amazing results.
- Form your pieces and assemble the flower. Keep the leaves separate as they are easier to add in at the end (see step 9).
- Ink-blend the outside edge of your card base using the same color as you used on the flowers.
- Die cut a panel out of pattern paper using the postage edge dies – I used a gray linen piece of patterned paper from my stash – you can use any pattern or color that you think goes well with your flower!
- Hot foil your sentiment using silver foil on black cardstock and die cut it with the matching die. I die cut several more pieces from black so that I could layer the sentiment and give it dimension.
- Add foam adhesive to the back of your pattern paper and adhere it to your card base.
- Adhere your Camellia to the card.
- Adhere your leaves by tucking them under your Camellia.
- Adhere your sentiment.
- Add a few gems for some additional shine!
I just love how this flower turned out – how about you? Simple, yet stunning.

Thank you for stopping by my blog today!
I hope you have a wonderfully creative day!


Oh my gosh, this is beautiful!! Here’s a fun fact, we had a camellia bush in the front yard growing up. The flowers were originally white with red stripes and 21 years later when we moved it was mostly red flowers with some white stripes. AND one summer my friend and I wanted to make Hawaiian leis with the petals, sooooo we pretty much stripped the street side of the bush to make that happen. LOL
Oh how fun! I think it’s interesting that the flowers changed as the bush got older (but then again, don’t we all)! I love that you have some wonderful memories from your Camellia. They are such a gorgeous flower! Thank you for stopping by my blog and leaving your comment!