Hi there!
The moon and stars aligned perfectly over the holiday, and I was able to grab some new products from Simon Says Stamp AND have time to play with them! This is such a rare treat for me!
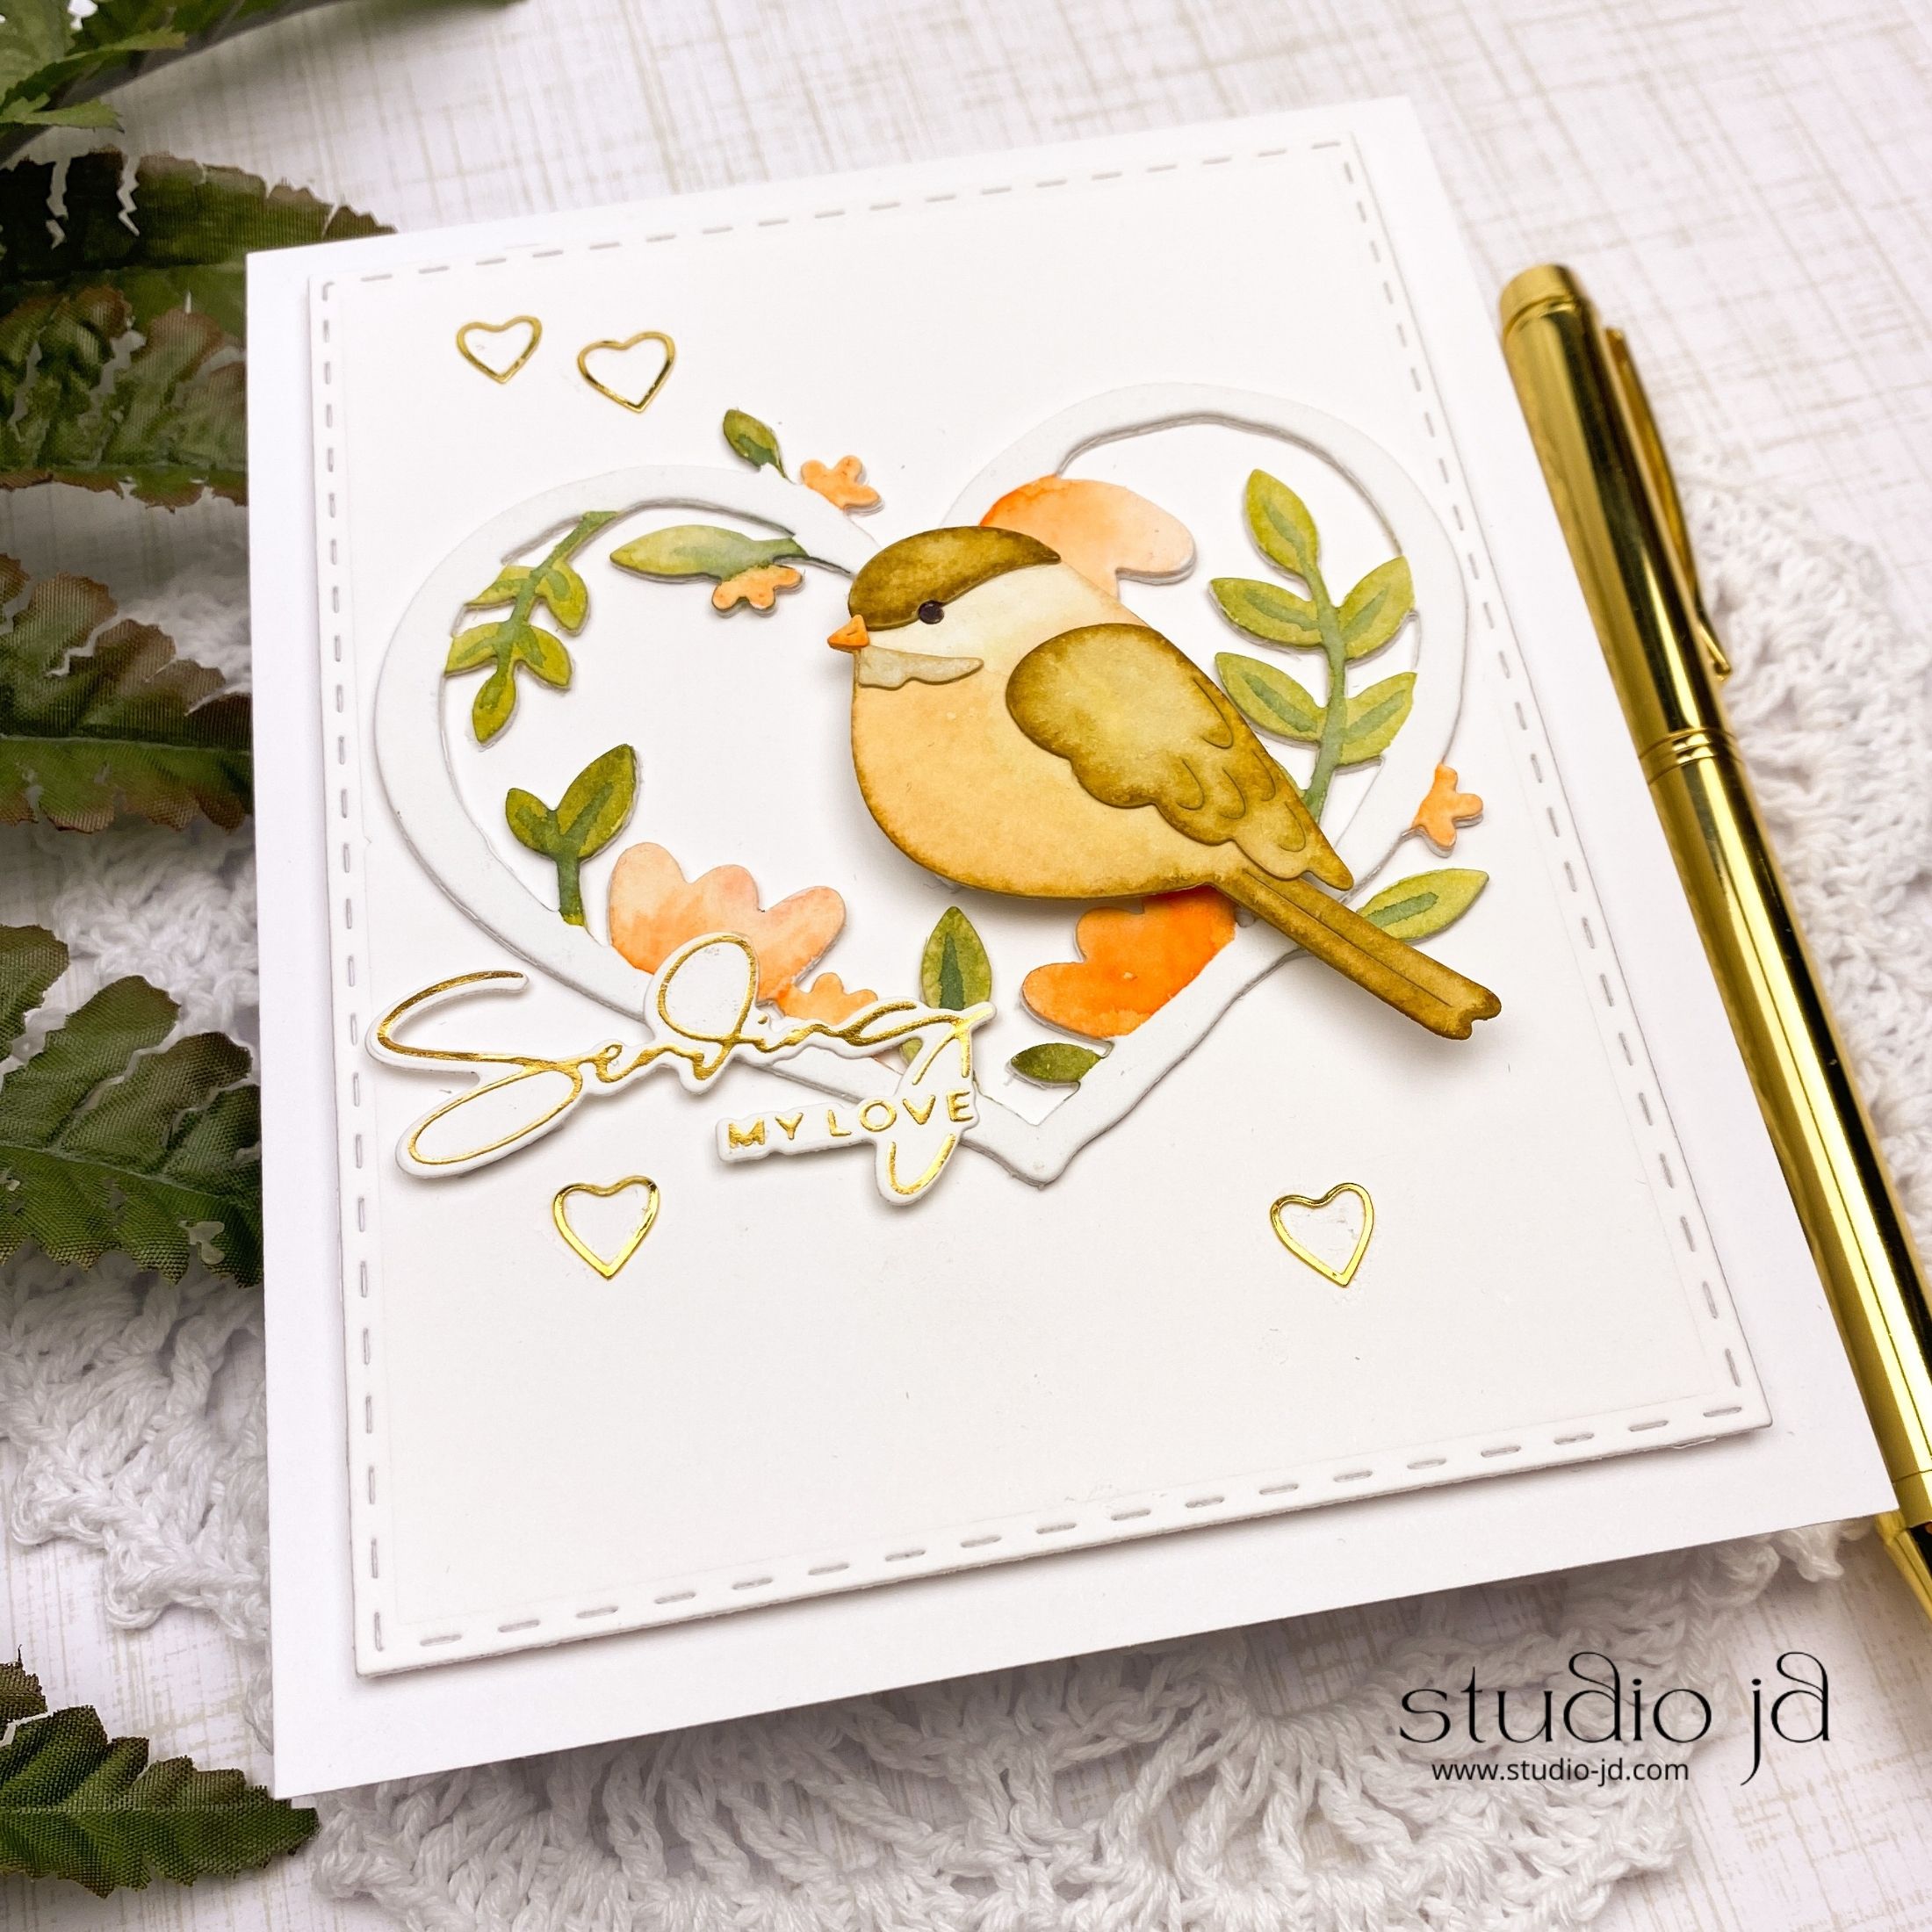
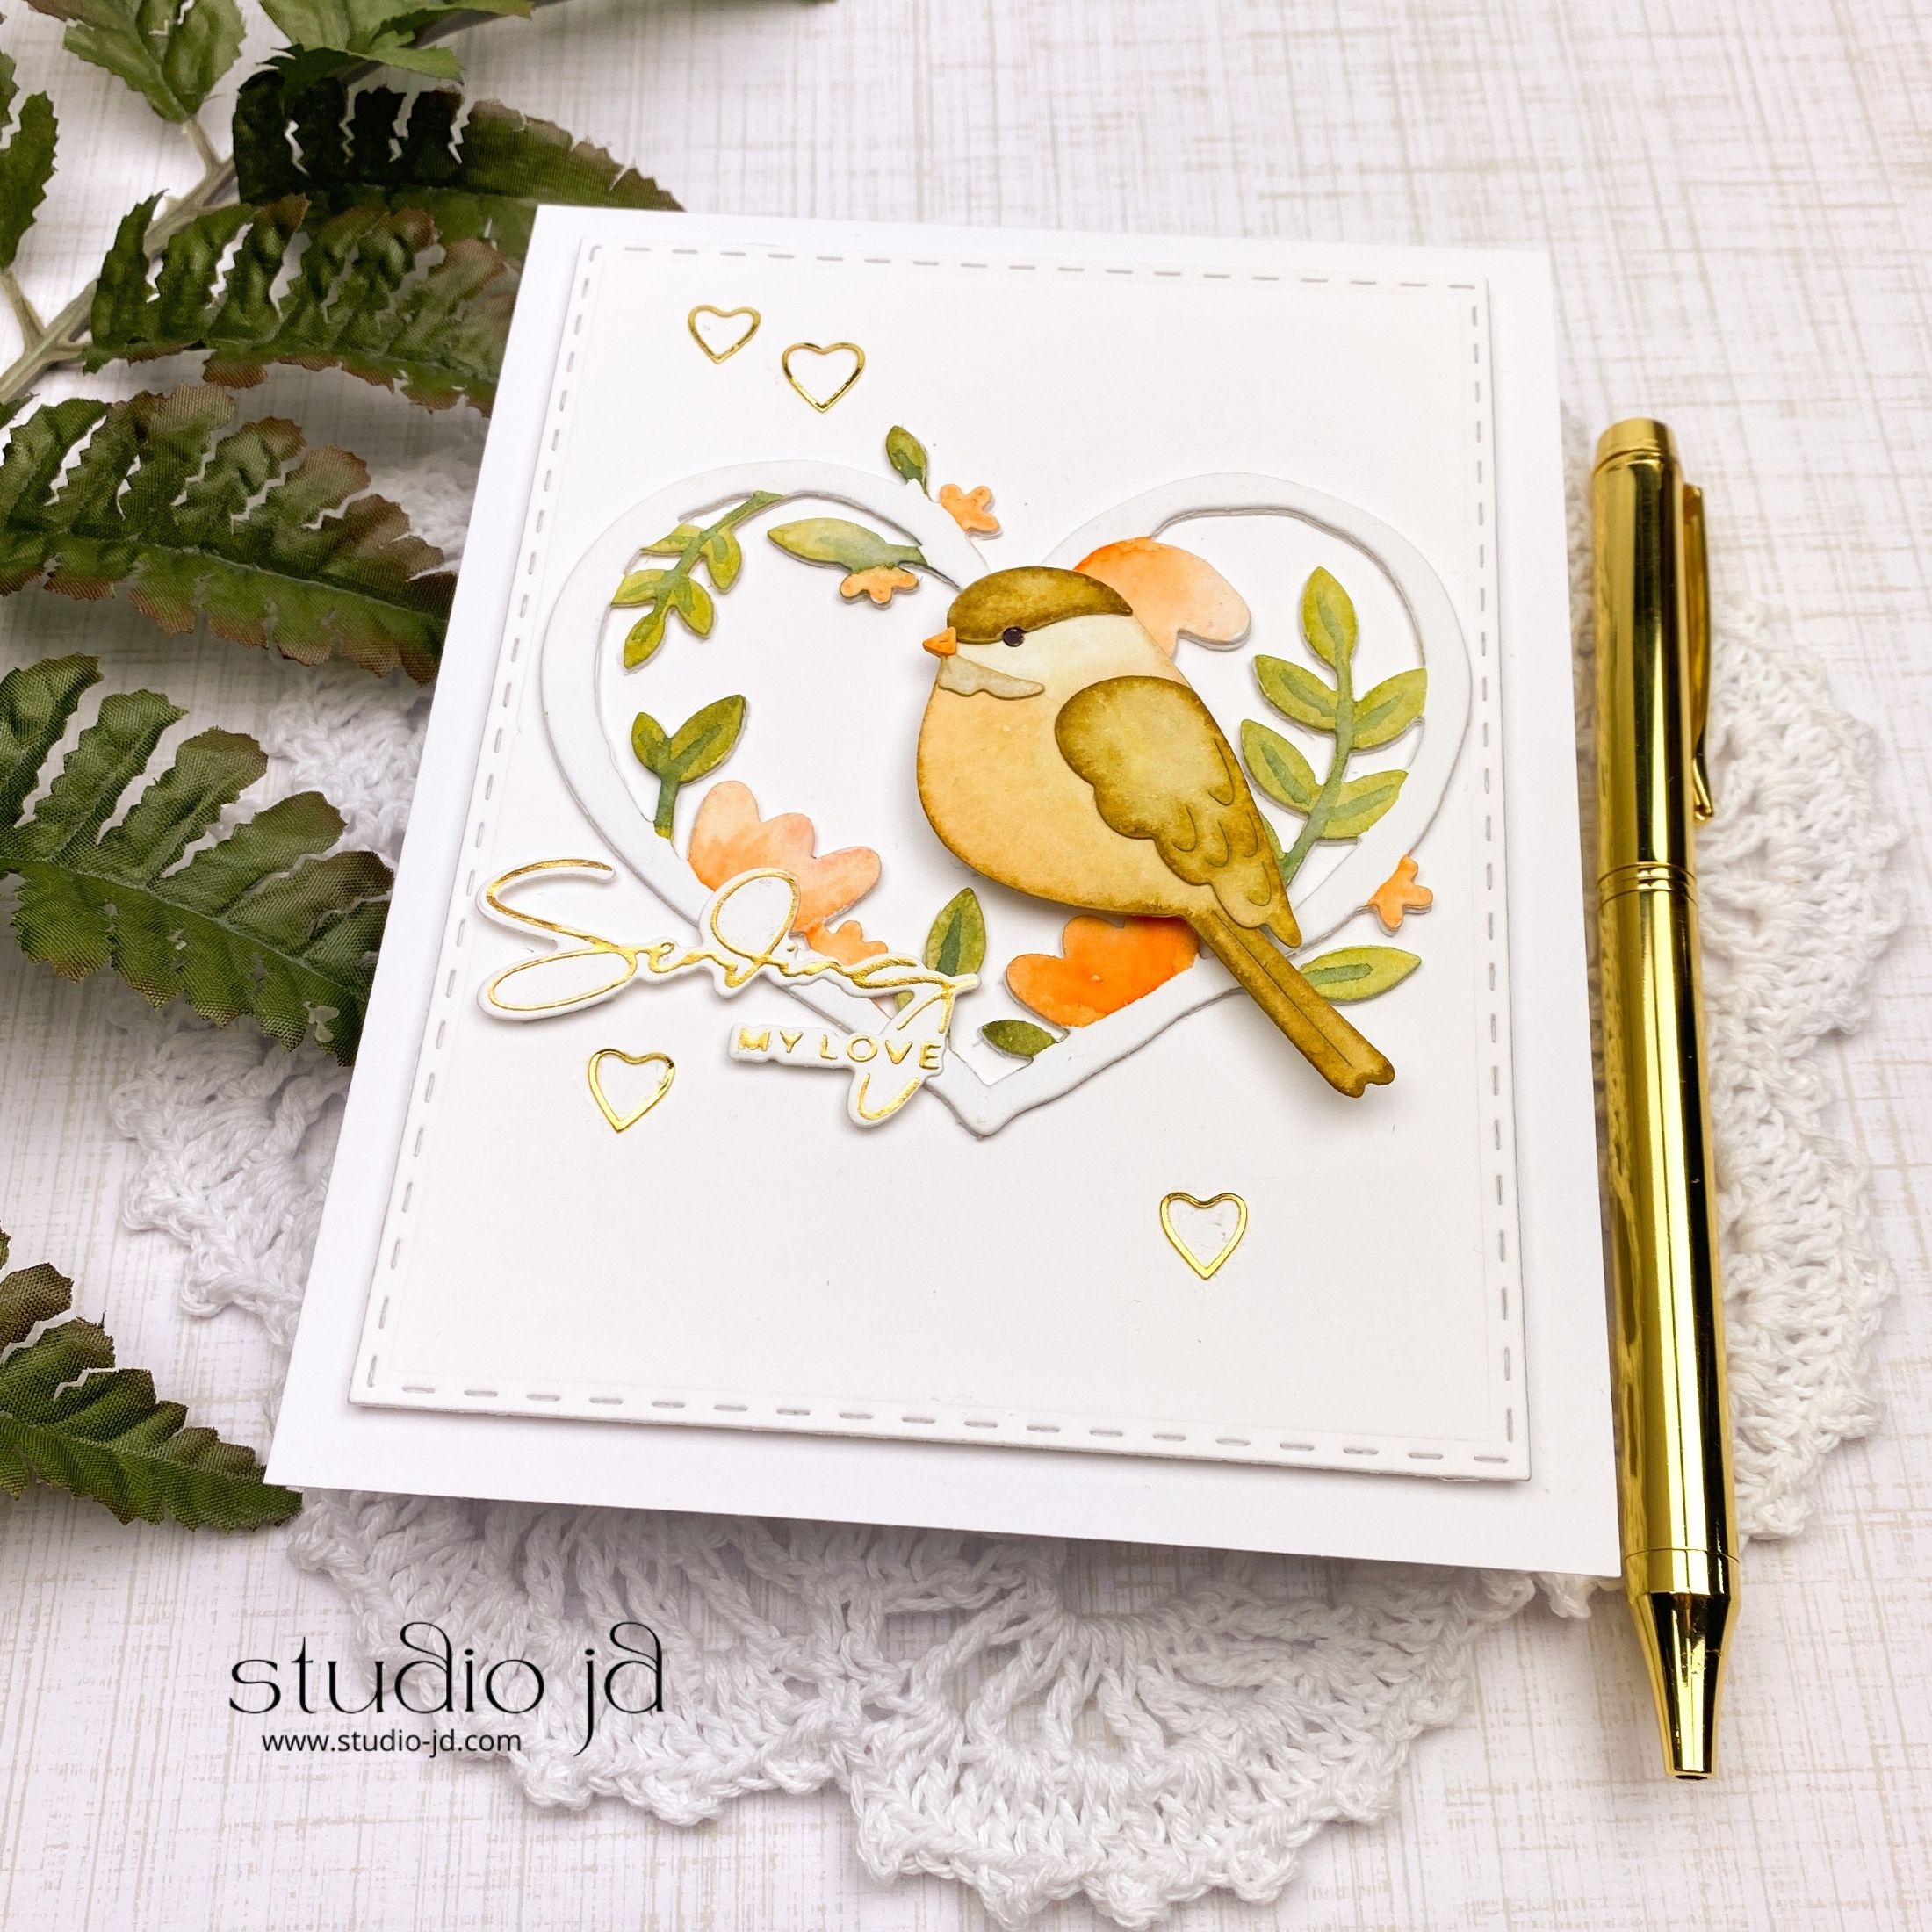
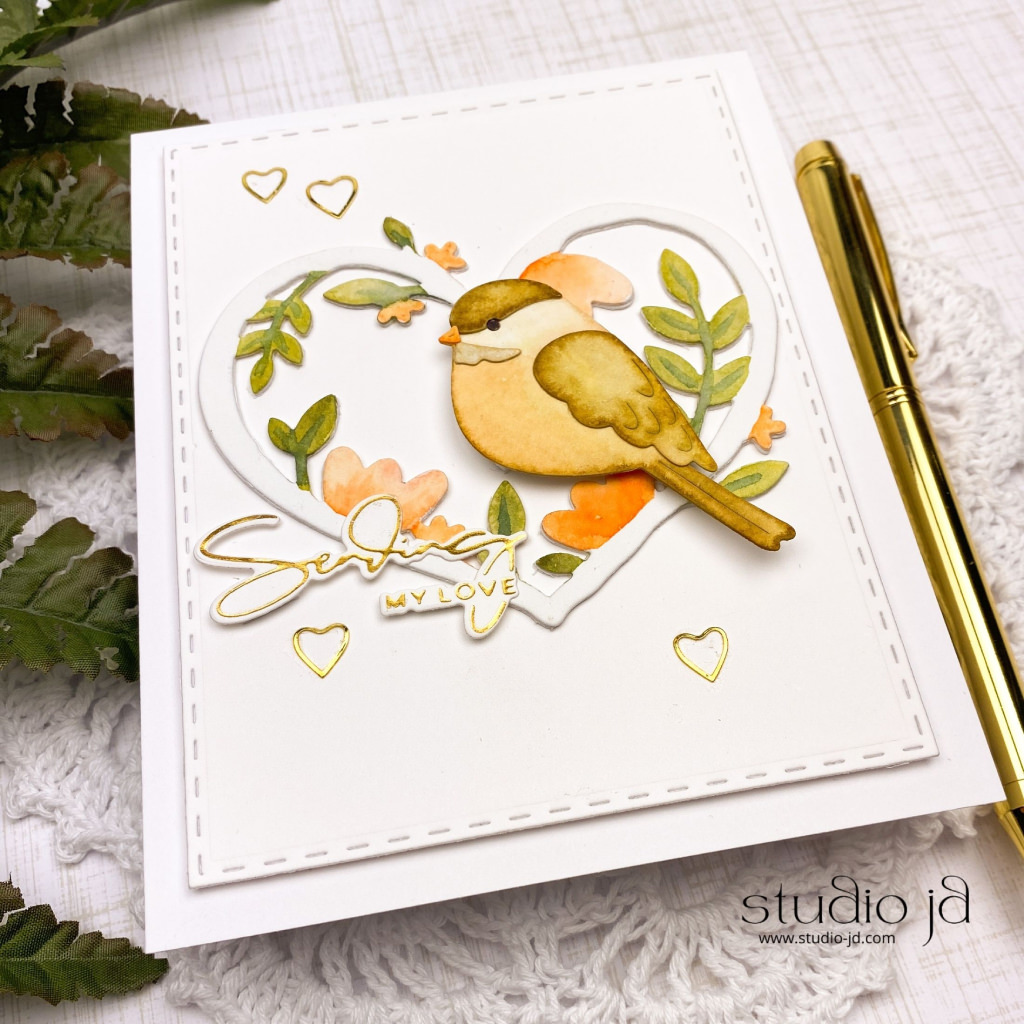
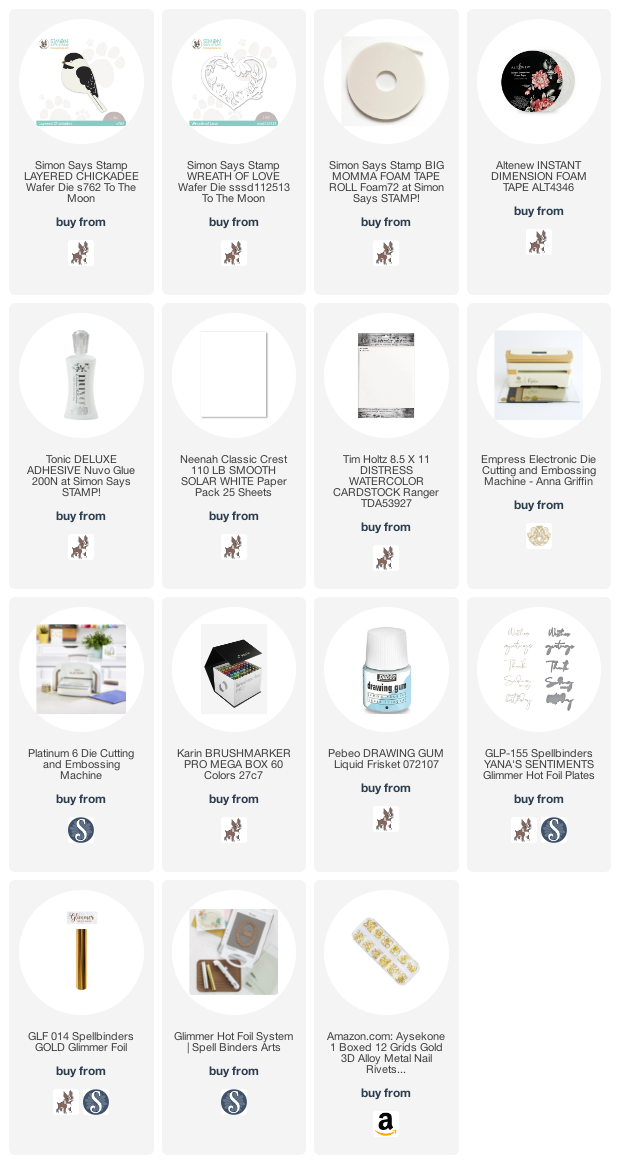
Today’s card features two die sets from the Simon Says Stamp “To the Moon” release: Wreath of Love and Layered Chickadee. I knew I would love these dies the minute I saw them and I was right! Have you ever had love-at-first-sight with a stamp or die set?
I hadn’t played with my Karin markers lately, so I dusted them off and gave them a go. I started with the chickadee but took a bit of creative license and painted it in not-so-chickadee colors.
Sometimes, if I want more intense color, I will risk bringing the marker directly to my project…but honestly, that risk rarely ever turns out the way I want it to…so I generally stick to scribbling. 😊
While the not-a-chickadee was drying I brought out my drawing gum and used it to paint over the heart outline on the wreath. If you’re not familiar with drawing gum, it’s a way of masking that works great with watercolors and other wet mediums where regular masking paper won’t stick or will become too saturated to actually mask the area. To use it, you paint on the drawing gum using a paint brush and let it “dry” to a gum-like texture. The gum acts as a barrier and prevents the watercolor paint from getting onto the areas where the gum is. It’s a bit of magic if you ask me.
Once my drawing gum was ready, I used my Karin markers again to paint in the leaves and flowers.
Next, I foiled my sentiment and cut it out with the coordinating dies. I thought “Sending My Love” went well with the heart wreath and the up coming Valentine’s holiday.
I assembled everything on a stitched panel, raised it up with some foam adhesive, and adhered it to my card front.
Thanks for stopping by today!
Hope you have a wonderfully creative day!






Beautiful card!
Thank you so much!
Jean, your process explanations are the best.
Thank you so much! I’ve been trying to improve on them, so it’s nice to get some positive feedback. 🙂