
AD: DT Post
Hi there!
We have had a few really nice days this month and it has me thinking of all things Spring. I know…it’s March in Wisconsin and Mother Nature is nowhere near done with the snow and cold… but a girl can hope, right?
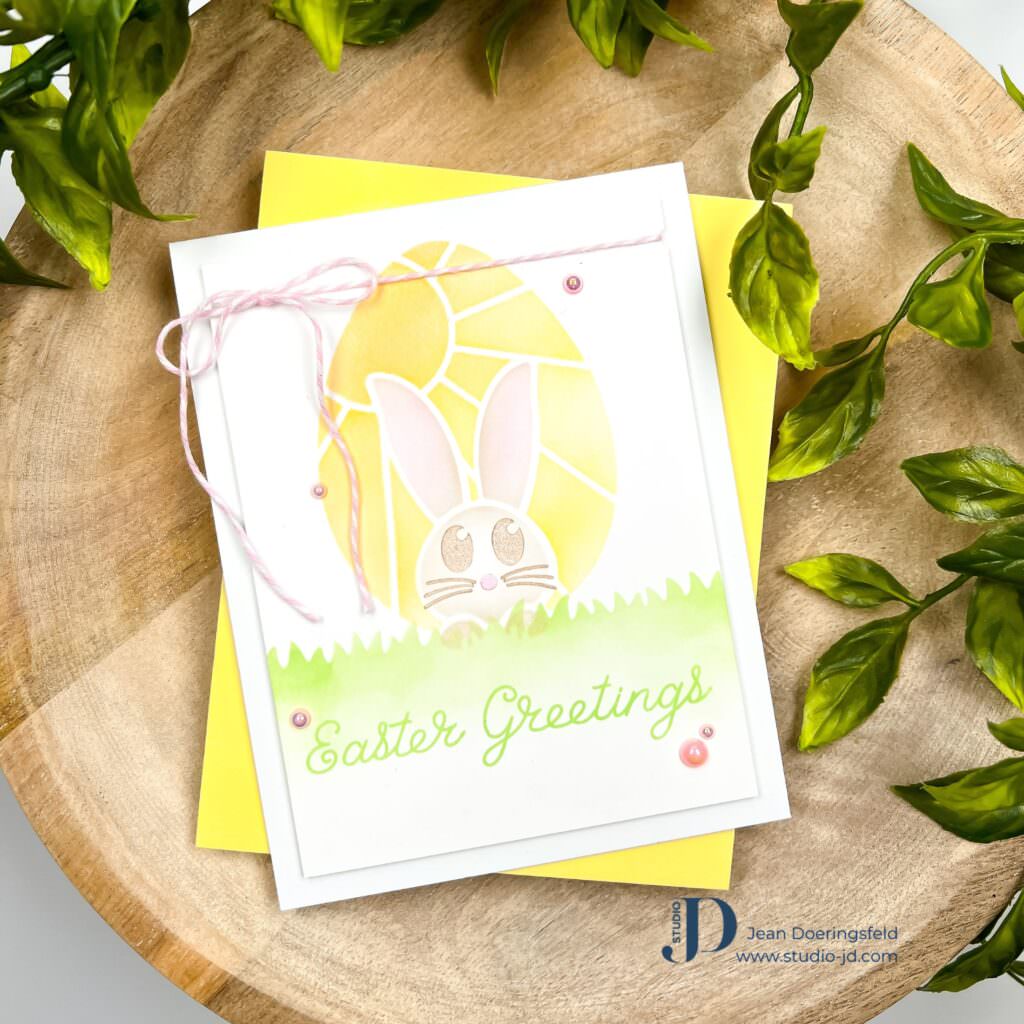
Today I’m sharing an adorable spring card made with the new Bunny Egg Stencil that is part of today’s Simon Says Stamp “Just for You” release. This is a two-part stencil that is super easy to line up and creates an adorable bunny in the sun! I added his eyes and whiskers using stamps from the Hippity Hoppity set which is also part of this release. You can find all the supplies I used in the links at the bottom of this post.
If you’re interested in a quick video revealing this card, you can watch it here or over on my YouTube channel (pssst: you can find other card reveals on my channel too, so don’t forget to subscribe)!
https://youtube.com/shorts/G_waLWnUhIw?feature=share
To make this card:
- Cut a panel of white cardstock to be 4 x 5 ¼ inches.
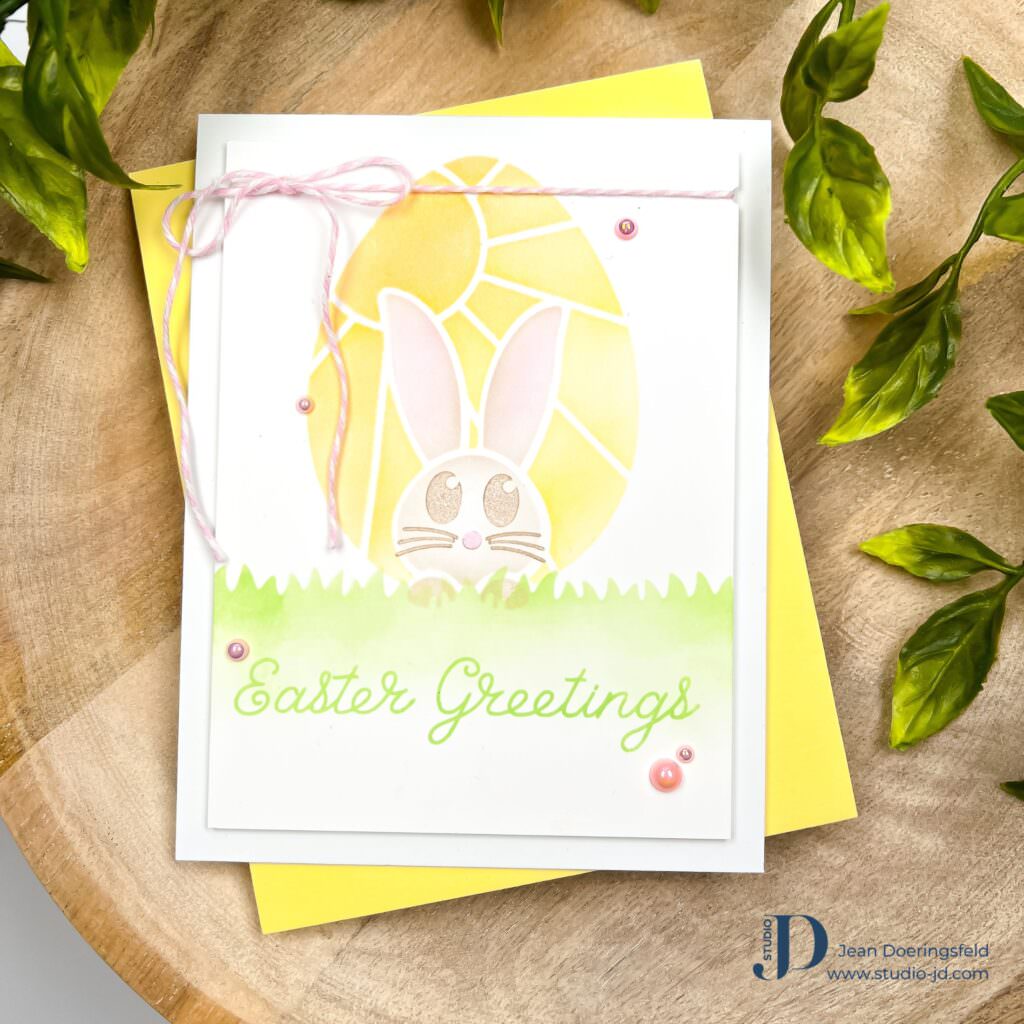
- Position the sun ray stencil from the duo near the top of your panel and ink-blend with Citrine and Mandarin Pawsitively Saturated inks.
- Remove that stencil and line up the second stencil from the duo. Ink-blend your bunny – I used Bubblegum Pawsitively Saturated ink for the inside of the bunny ears and applied it by using a small blending brush, then I went around the outside of the ears with Latte ink.
- Remove the stencil.
- I used a grass die from my stash to create a stencil for adding some grass below the bunny. I used Sprout Pawsitively Saturated ink to ink-blend the grass.
- Stamp your eyes and whiskers using Cappuccino ink.
- Use a small hole punch and light pink ink to create a nose for the bunny. I ink- blended some bubblegum ink on a piece of scratch paper and punched that with my hole punch.
- Adhere your nose to your bunny.
- Stamp your greeting in Sprout ink.
- Use a small hole punch to punch a half-circle hole on both edges of the top of your panel – this creates a small groove for your twine to sit in and keeps it secure on your card. You can see these small half circles in the photo below.
- Tie your twine around the top.
- Adhere your panel to your card base using foam adhesive.
- Add a few pearl gems for some shine!
I hope you like this card and that it inspires you to make something creative!
Have a wonderfully creative day, everyone!
")


0 Comments