
Hi everyone!
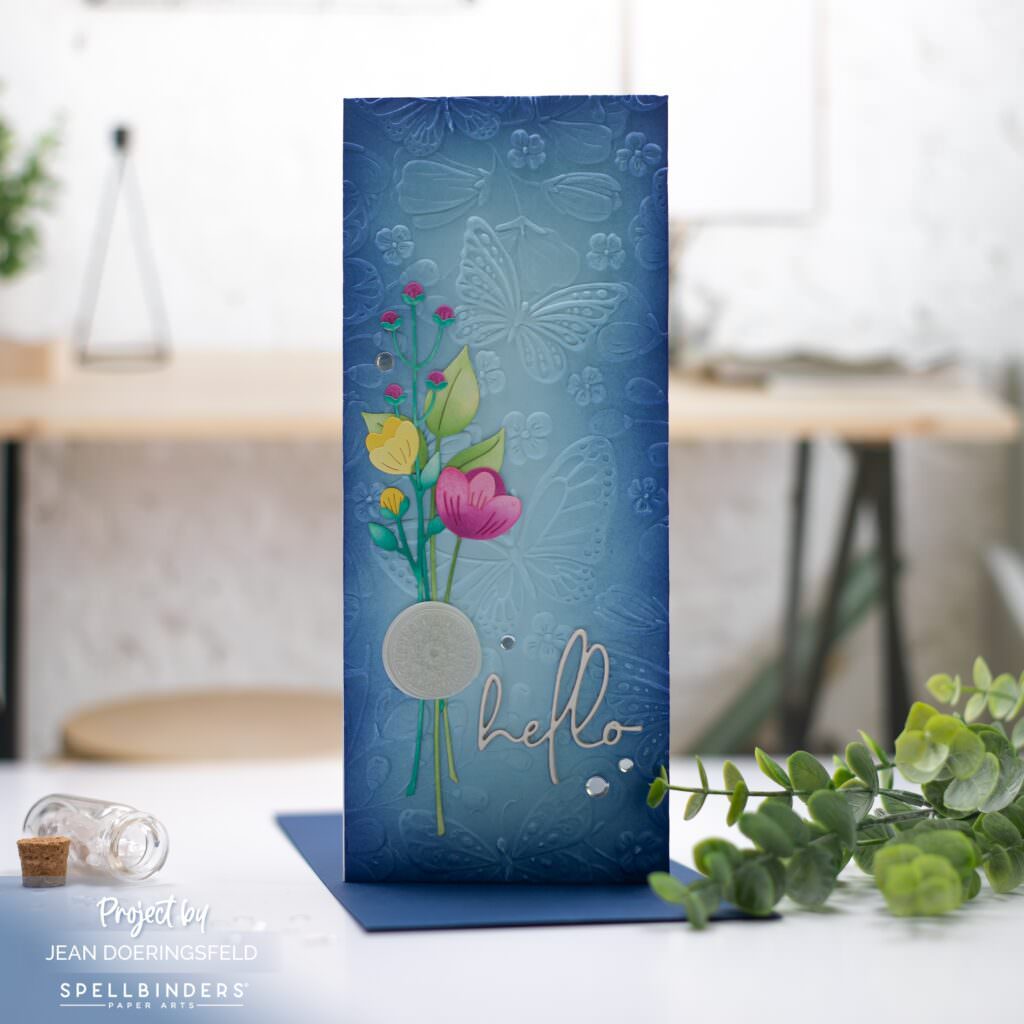
Today I have a couple of amazing textured cards to share with you! The background for these cards is the gorgeous “Beautiful Butterflies 3D Embossing Folder” from the recent Spellbinders “Stylish Ovals” collection. I just love how a little ink blending made the butterflies and flowers on these backgrounds pop! I also got a chance (finally) to play with the Wax Seals collection that was released a while ago.
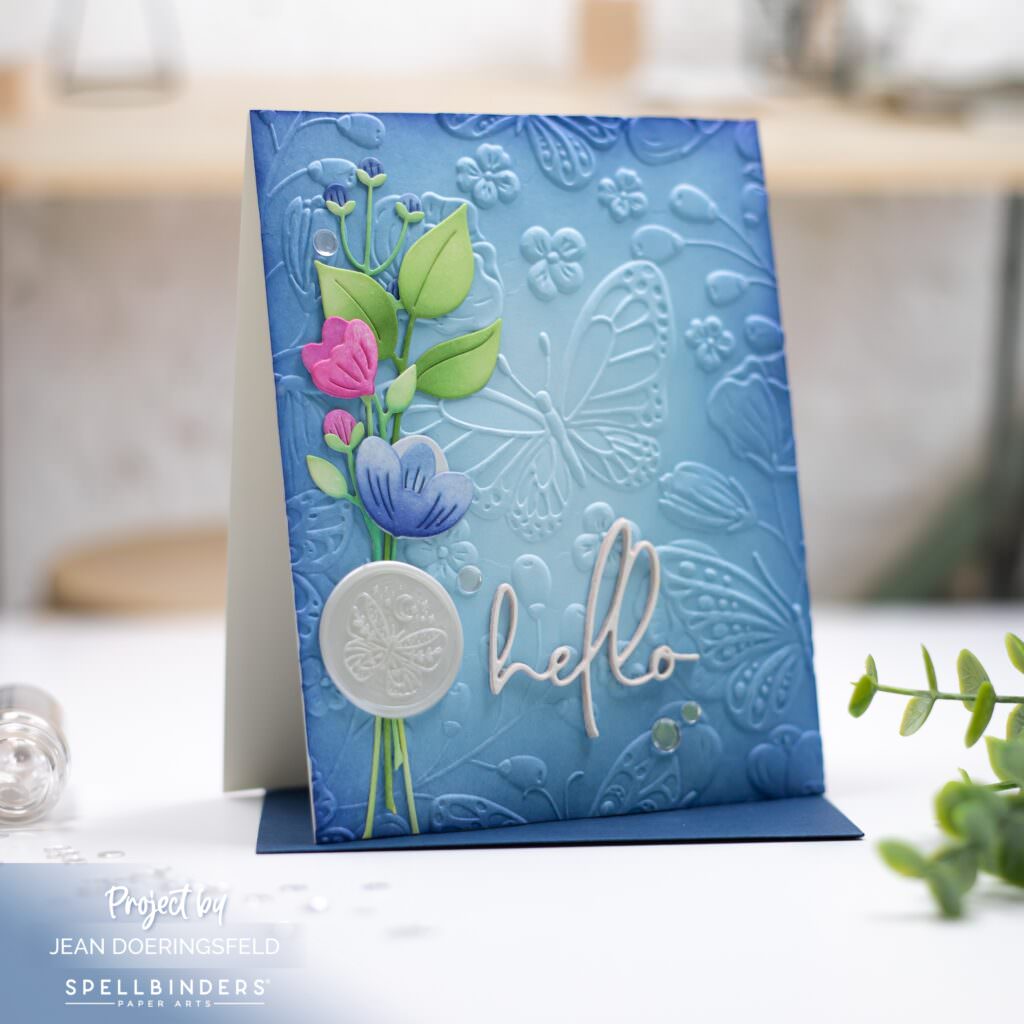
Both cards were made the same – just different sizes and a different wax seal. To make them:
- 1.Ink-blend a card panel in gradient shades of your chosen color. I used blues (see supply list for exact inks). I used a pale blue piece of cardstock as my base and left some non-blended areas in the center of the card to create depth.
- Emboss your panel using the Beautiful Butterflies 3D Embossing Folder.
- Die cut your flowers and leaves from white cardstock.
- Ink-blend them using colors of your choice. Tip: I like to put the dies back into the cardstock I cut them from and use post-it tape on the back side to hold them while ink-blending. I can do one die cut at a time and not worry about accidently getting ink on the other die cuts. You could also ink-blend a panel before die cutting, but I like to make sure I have some shadows and light areas so I ink-blended after cutting.
- Assemble your flowers and leaves and arrange them how you want them on your embossed panel. Glue them in place with liquid glue.
- Die cut your sentiment several times out of white cardstock and adhere them together with liquid glue.
- Make your wax seal on the silicone mat included in the kit and adhere it to your card panel with liquid glue. Note: If you are experienced with wax seals, you could do this directly on your card front. Since this was my first time using them, I opted for the safer route of making them separately and then gluing them on.
- Adhere your sentiment to your card panel.
- Adhere your panel to a card base.
- Add a few gems for some shine!
I had so much fun making these cards and I hope they inspire you to make something beautiful!
Have a wonderfully creative day!
")


0 Comments