Hi everyone!
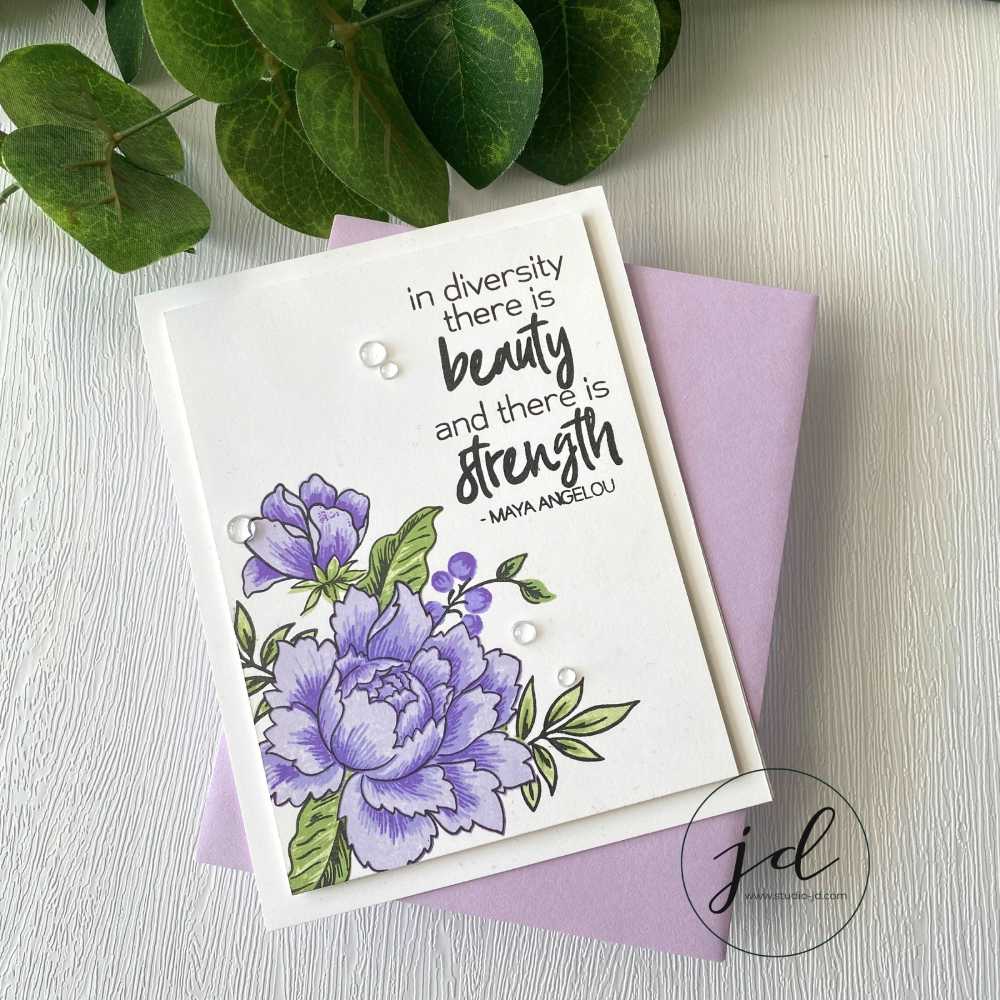
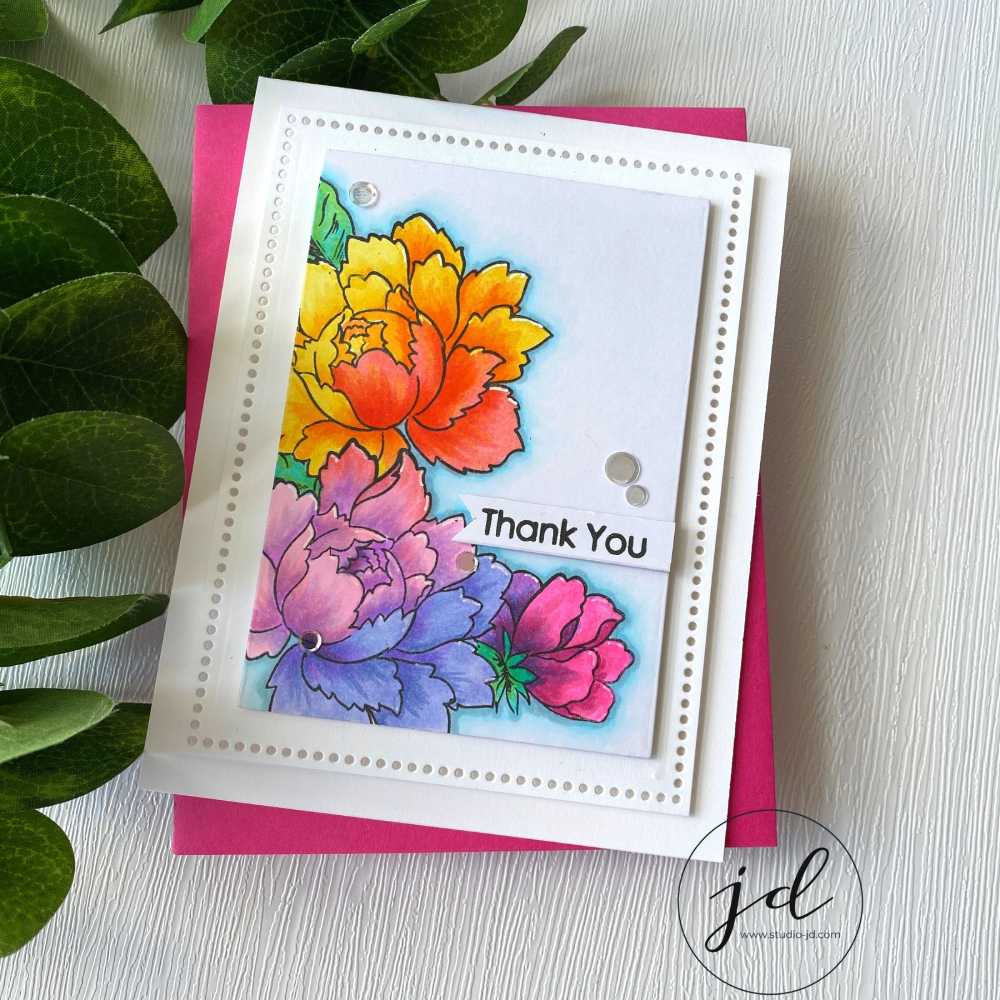
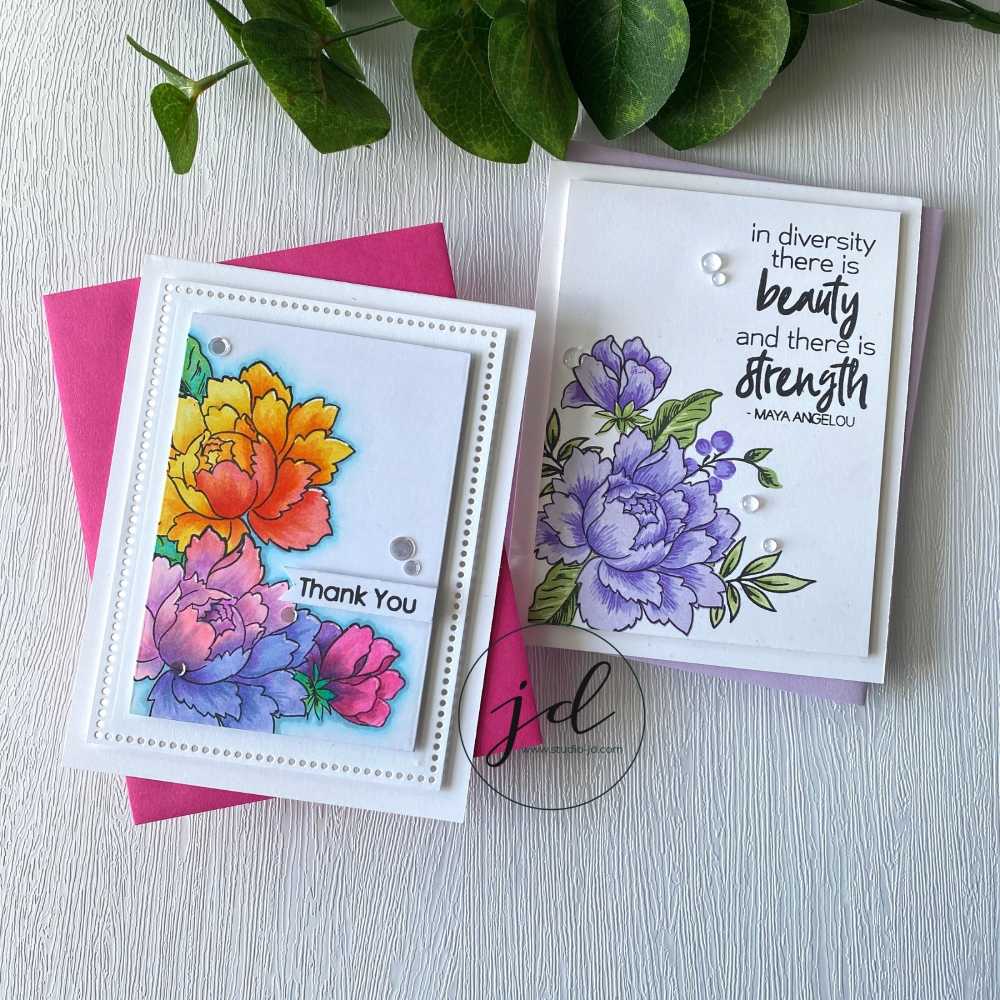
Today I’m sharing my last two cards for my AECP Level 2 coursework before I’m given my Level 2 final project. These cards are for a class that was all about masking (Masking Unleashed)! It was a great class and I learned a lot about the different types of masking mediums and which ones are better for different purposes.
I made two very different cards for this class and had a hard time deciding which one to submit for my assignment. I ended up submitting the rainbow one but it was truly a hard decision.
For the card with the purple peonies, I chose to keep the design very simple so that I could focus on creating the floral arrangement exactly the way I wanted by masking off different components as I stamped.


Prep your card front:
1. Cut a piece of white card stock to the size you want for your card front.
Build your floral arrangement:
2. Decide which image you want as your main focus (this is the image that will be “on top”). Stamp the outline for the image on your card front.
3. Stamp all the layers for the main focal flower on your card front.
Create your mask(s):
4. Stamp the same image onto a piece of masking paper (I used Masking Magic but post it paper would work – anything with a non-permanent stickiness on the back that you can put over your image temporarily).
5. Cut out the mask by cutting on the inside of the outline.
6. Stick your mask over the top of your focal flower.
Add the rest of your images for your arrangement:
7. Stamp the rest of your images where you want them. You will be stamping partially over the mask and that is perfectly ok – in fact, that’s why you have the mask! It will protect the main flower from any overlap.
Note: Depending on how many layers you want on your scene you may need to create additional masks before adding in new images. Just be sure to think through where you want each image and where you want the images to overlap.
8. Once you are done stamping all the images (and all their layers), you can remove the mask(s) to reveal your design.
Tip:
If you have any gaps in color or lines from where the mask(s) was you can go in with a paint brush or pen to fill those in. I had several places where I had gaps in my colors so I used a paint brush and my ink to carefully fill those in.
Color or stamp your images:
9. Color your images or stamp them with the layering stamps. If you choose to stamp them, you’ll need to keep using the masks.
Add a sentiment:
10. Stamp your sentiment onto your card front or create a banner.
Assemble the card:
11. Use foam tape to adhere your panel to your card base.
12. Add a few gems for some sparkle if you like!
The Copic colors I used for the rainbow peonies are:
Y13,15, and 38
YR07, 15
R22, 24
RV04, 10,19, 23, and 25
V04, 05, and 12
BV02, 04
YG03
G02
BG15
B0000
B01
C3

All the best,


These are absolutely gorgeous cards. Thank you for submitting your work to the AECP assignment gallery.
Thank you so much, Erum!