Hi there!
I only discovered alcohol markers a few years ago and have been having a great time playing with them and learning how to use them. When I found out that the Magical Marker Techniques class was one of my AECP Level 2 classes I was super excited to see what else I could do and how I could take my alcohol markers to the next level.
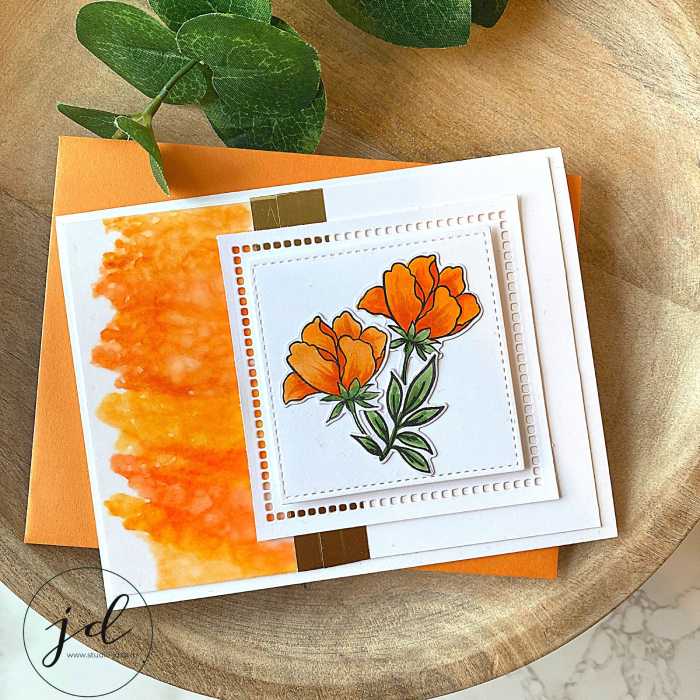
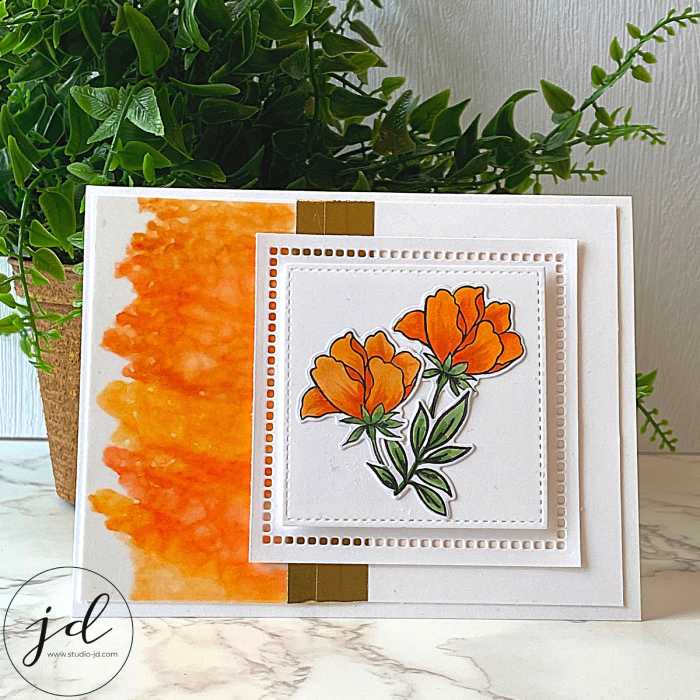
For this card, I used two alcohol marker techniques – basic coloring and blending (on the flowers) and misting alcohol inks on vellum (the bright orange in the background). If you want to learn how to do this, read through the instructions below. I assure you: it is super easy and… maybe a little addicting!

Create your background:
1. Cut a piece of white card stock to 4×3 inches. Cut a piece of vellum and a piece of double-sided adhesive the same size.
2. Scribble a few colors of alcohol markers onto your vellum. Do not worry about blending them – just scribble and let it be free form.
3. Spritz your marker-scribbled vellum lightly with rubbing alcohol (this will re-activate any ink that may have dried and will cause the colors to blend). You should be able to see the colors start to blend but if you don’t – or if you want a more mottled look – spritz it again. Once you have the look you like, set it aside to dry completely.
Prepare your flowers:
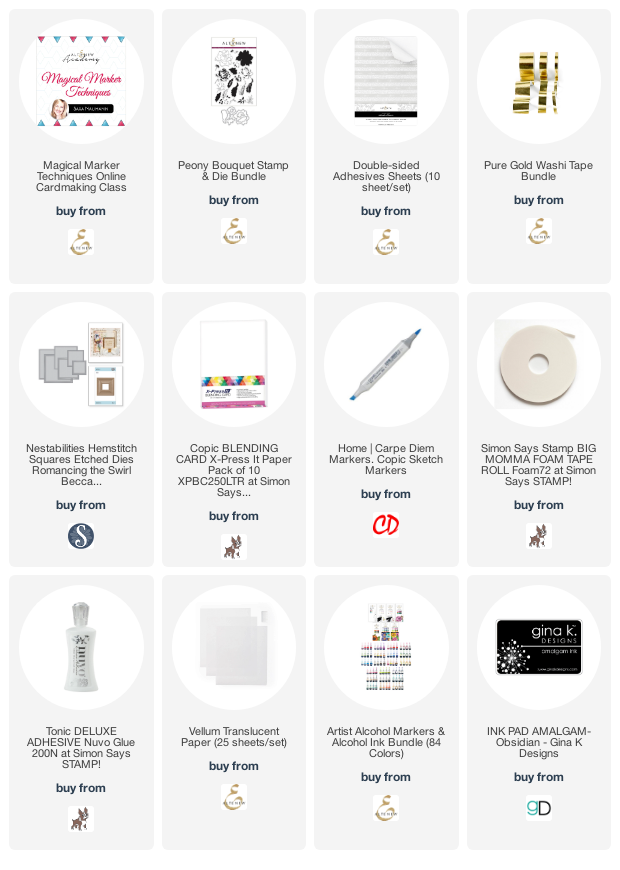
4. Stamp your flowers in an ink that is alcohol maker friendly onto a piece of Copic Xpress It cardstock. I use Gina K Designs Amalgam Obsidian black. Give the ink a minute or two to dry completely.
5. Color your flowers with your alcohol markers.
6. Cut your flowers with the coordinating die or fussy cut them.
7. Arrange your flowers and use Press-n-Seal to keep the arrangement together. Set aside.
Create your focal layers:
8. Die cut a square of white card stock with a stitched edge that will fit the flower arrangement you chose.
9. Die cut a hemstitched square out of white card stock that is slightly larger than your stitched square.
10. Glue your flower arrangement on your stitched panel, then add foam adhesive behind the panel and adhere it to the hemstitched square.
Put together the background:
11. By now, your scribbled vellum should be completely dry, but if not, you’ll want to wait until it is before moving on.
12. Decide which side of your vellum you want facing up on your card (the scribbled side or the backside). Add the adhesive sheet you cut in step 1 to the back of whatever side you decided should be up.
13. Remove the other side of the adhesive sheet and adhere your vellum to the piece of white cardstock you cut in step 1.
14. Cut a panel of white card stock to 4×5.25” and adhere the vellum strip to one end.
15. Add a piece or two of gold washi where the vellum strip meets the panel.
Assemble your card:
16. Add your focal/flower layers over the vellum/washi panel and adhere with glue or double-sided tape.
17. Add the entire panel to your card front and Voila! A gorgeous card!

This card was so much fun to make! I hope you like it and that you’ll try the alcohol marker scribble technique on one of your cards soon!
All the best,


Absolutely gorgeous. You make the most beautiful cards.
Thank you for submitting your wonderful work to the AECP assignment gallery.
Awe! Thank you so much, Erum!