Hi everyone!
Today I’m sharing a card I made for the In the Mood for Color class for the Altenew Educator Certification Program (AECP). This class was all about using color to invoke or represent the mood you want to create for the card. I absolutely love color but I often have a hard time determining which color to use on my cards – so this class provided some great ideas for making that process a bit easier!
")
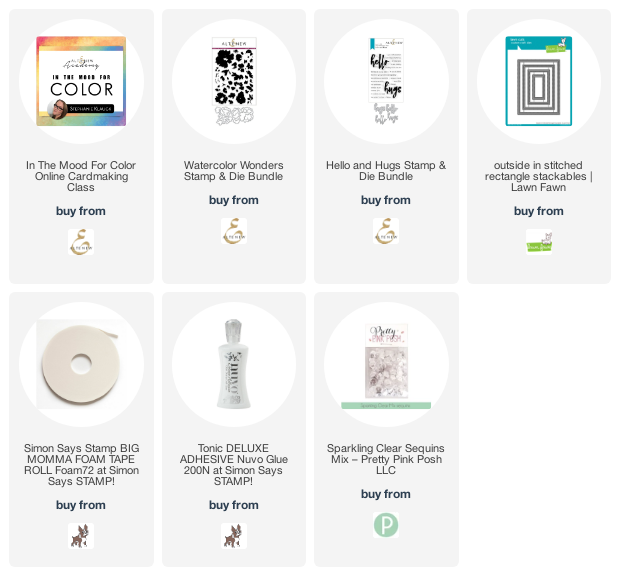
1. Use the largest Outside In Stitched Rectangle die to die cut the panel for the card.
2. Ink blend a soft turquois or blue color in the upper right corner of the panel to create a nice backdrop for your flower arrangement.
3. Use the Watercolor Wonders stamps and your favorite pink and green ink layering colors (or any colors of your choice) to stamp several flowers and foliage for your flower arrangement. The Watercolor Wonders stamps can be a bit tricky to line up – so be sure to use the layering guide that came with the stamps. There is some room for error here but you don’t want to be “off” in your alignment by too much because you will be die cutting these flowers with the coordinating dies and if the alignments are off by a lot the die cutting won’t line up… ask me how I know? LOL!
4. Die cut the flowers and foliage.
5. Arrange your flowers and foliage the way you want them on the card and cover the arrangement with Press-n-Seal to hold the arrangement in place. Then turn the entire arrangement over and glue the overlapping die cuts to each other to hold the arrangement exactly how you want it.
6. Add foam adhesive to the back side of the arrangement and set aside – but do not remove the adhesive backing or the Press-n-Seal!
7. Die cut the “hugs” sentiment from the Love & Hugs Stamp and Die Bundle out of black cardstock and adhere it to the ink blended panel with liquid glue. Tip: You can use the Press-n-Sealed flower arrangement to make sure you have the placement of the flowers and sentiments the exact way you want them.
8. Stamp the “sending lots of” sentiment from the Love & Hugs Stamp and Die Bundle above the “Hugs” die cut on the panel.
9. Remove the adhesive backing from the foam on your arrangement and use the Press-n-Sealed arrangement to place the arrangement where you want it on the ink blended panel. Once in place, you can remove the Press-n-Seal and use liquid glue to attach any loose die cuts.
10. Adhere the panel to the card front, add a few gems/sequins, and Voila! You have a gorgeous card ready to be shared!
")
All the best,
")


Oh, my stars! This is truly exceptionally gorgeous!! So refreshing!
Thank you for submitting your wonderful work to the AECP assignment gallery.
Thank you so much! It was a lot of fun to make!