Hi there!
I’m super excited to share my Altenew Educator Certification Program (AECP) Level 2 Final Challenge projects with you! I am still in awe of how wonderful this program has been and how much I’ve learned! This is a long post but I hope you’ll love the projects as much as I loved creating them!
Here is the Challenge I was given:
- Select any 3 components from the classes in Level 1 or Level 2; explain the components I’ve chosen
- Make 4 masculine cards for the following occasions:
- Birthday
- Love/Thinking of you
- Anniversary
- Encouragement
- Create an altered item/upcycled project
- Post a detailed step-by-step phot tutorial and/or YouTube video
- Complete the project within one month
I was also told they would “welcome a new technique or other way to step up the challenge” – which I tried to do and will explain below. 😊
The three class components I selected for this Challenge were:
- In the Mood For Color – For each card, I chose colors appropriate for the mood of each card occasion/theme.
- Let it Shine – Each card has something that makes it shine!
- My own mash-up of Beyond Basic Backgrounds and Magical Marker Techniques – In Beyond Basic Backgrounds, Lydia Evans discusses using foil without a laminator and in Magical Marker Techniques, Sara Naumann showed us how to use alcohol markers on vellum and how spritzing the ink with alcohol could achieve different results. I was so inspired by these two classes that I decided to create my own take on them by using Altenew alcohol ink refills and foil on 3 of the cards I made. The fourth card uses the alcohol ink refills but no foil – but don’t worry, I didn’t forget the shine. 😊 Of course, you’ll see the alcohol ink refills and alcohol markers in my Altered/Upcycled project as well.
I’m not the first to do this technique but I was so inspired by these classes that I decided to use it as a way to step up the challenge!
Of course, since the cards are all masculine cards, I also took some great ideas from the For The Guys class as well.
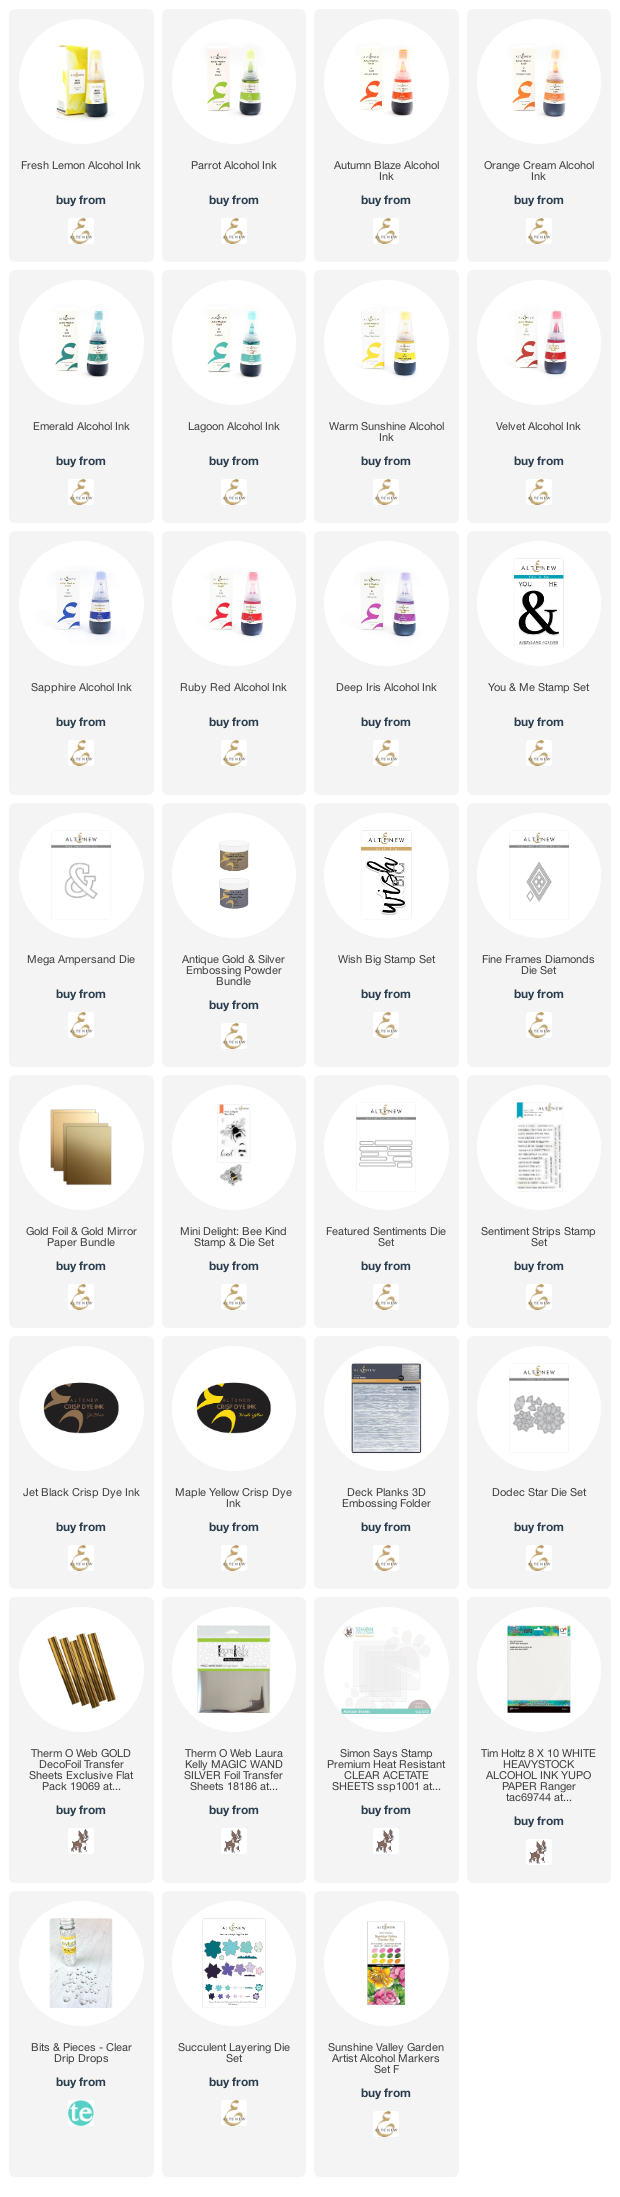
Creating the Alcohol Ink Backgrounds for all the Cards

I used Altenew Alcohol Ink Refills for all my cards and for my Altered/Upcycled project. I also used 91% rubbing alcohol and I moved the ink around by blowing through a straw. You’ll want to make sure you do this technique in a well-ventilated room to keep the fumes to a minimum. I know that there are special additives that you can use with alcohol inks – and special devices that can be used to move the ink around, but I really wanted to keep this simple so that anyone could play around and make the backgrounds with minimal supplies.
I used heat transfer foil on 3 of the 4 cards (the kind of foil you typically use with a laminator and toner ink). I don’t know if other types of foil will work, but you can certainly try it!
The alcohol ink and foiling process took a bit of practice – if you wait too long to apply the foil, the ink dries and the foil won’t stick – but if you don’t wait long enough, the ink gets all over the back of the foil and doesn’t stick either. I tried my hardest to time the process to see if there was a sweet spot and, for me, it was about 1 ½ – 2 ½ minutes, depending on how much ink I had used. The best results came when I looked at the sheet at an angle and could see just a few puddles of “stickiness”. I know – not an exact science. But if you play with it even just a couple times, you’ll figure out what works best for you, I promise!
Some tips I learned: (1) If you get alcohol ink all over the back of your foil you can simply clean it off with an alcohol prep pad or by spritzing it with alcohol and wiping it clean. It may stain the back side of the foil but it is still perfectly usable and you don’t have to worry that you wasted a piece of foil. (2) This same clean up method works on your desk surface too (guess how I know?), and (3) After you create your panel you will want to let your panels dry for several hours or overnight. I let mine dry overnight and I still had some ink transfer to my fingers when putting together the cards, but it was minimal.
Here are a few pictures of the backgrounds in-process so you can get an idea of how this technique works:

I hope you’ll try this technique! It’s an easy, fun, messy, and very affordable way to make gorgeous backgrounds!
Now for a detailed look at each of the cards I made using these backgrounds:
Card 1: Masculine Anniversary Card

Red symbolizes love and passion – the perfect moods for an anniversary card!
For this card I created a panel using Altenew alcohol ink refills in Ruby Red and Velvet. In testing out the inks, I made two panels, one on acetate and one on Yupo paper. I liked the one on Yupo for this card the best because it kept the color vibrant whereas the acetate version was lighter and softer. I’m not entirely sure if this was a result of the “paper” or because of the amount of ink I used, but since I got a similar result on the other color combinations, I’m thinking it was at least in part influenced by the “paper”.
I used gold transfer foil to add the gold marbling on the alcohol ink panel and that gold on the red is absolutely divine and…maybe a little sexy – which is perfect for an anniversary!
Card 1 Process Photos:

Card 1 Instructions:
1. Create your alcohol ink background using the process described above.
2. Die cut the mega ampersand die from a panel of white card stock that is 4×5.25.
3. Align your sentiment on the die cut panel, stamp it in VersaMark ink, and heat emboss in gold embossing
powder.
4. Arrange your alcohol ink panel behind your die cut panel and trim it so that a small amount (about 1/8th inch) of the alcohol panel shows around the outside of the die cut panel, essentially creating a frame.
6. Adhere your die cut panel to your alcohol ink panel. I used strong double sided tape.
7. Use foam tape to adhere the panel to your card front. Tip: Use the corner of your Score Buddy or stamp positioner when placing the card front on the card base to ensure the edges line up perfectly.
Here’s one more look at this card:
Card 2: Masculine Birthday Card

Rainbows symbolize happiness, cheer, optimism, energy, and growth so I thought that using rainbow colors on the birthday card would be completely appropriate. Do guys like rainbows? I had no idea. So, I posted the question to a couple card making groups on Facebook and received an overwhelming YES! Those card makers know their stuff so I figured it must be true :-).
To make the rainbow as masculine as possible I used deep, rich colors of alcohol ink (Ruby Red, Velvet, Autumn Blaze, Orange Cream, Warm Sunshine, Fresh Lemon, Parrot, Emerald, Lagoon, Sapphire, and Deep Iris). Like the Anniversary card, I used Yupo paper so that I could more easily avoid any hint of pastels. After making the full panel, I selected the part of the panel with the most “movement” and interest to use on the card.
You’ll notice that this is the only card of the four that doesn’t have foil added directly to the alcohol panel. That’s because, when I planned this card, I knew I wanted to add the shine using a decorative edge die and back it with gold card stock. Adding foil to this panel wouldn’t have been the end of the world, but I think it might have made it a bit “too much” for my liking and I don’t think I’d have gotten the same look. Sometimes it pays to plan out a card design (or at least pick your elements) right from the start. I don’t always do that but in this case, I think it paid off.
The diamonds and diamond frames were cut from gold card stock and serve as the embellishments for this card. I think their size and geometric shape make them perfect for masculine cards – nothing too dainty or jewel-like – just a bit of shine! And, of course, the bold, gold-embossed sentiment perfectly fits the style and mood for this card.
Card 2 Process Photos:

Card 2 Instructions:
1. Create your alcohol ink background using the process described above.
2. Cut a rectangle out of your alcohol ink panel using dies with a decorative edge – I used the smallest Spellbinders Hemstitch Rectangle.
3. Secure your die cut alcohol rectangle to a piece of gold metallic cardstock so that the gold shows through the decorative edge.
4. Stamp your sentiment on a piece of white card stock measuring 4×5.25 inches using VersaMark ink. Heat emboss with gold embossing powder.
5. Arrange your alcohol ink rectangle to the embossed panel.
6. Die cut the small diamonds from gold card stock. Arrange them on your card panel and adhere with liquid glue.
7. Use foam tape to adhere your panel to your card front.
Another look at this card:
Card 3: Masculine Thinking of You/Love Card
Since I went the love-and-passion route with the Anniversary card, I decided to focus this card on the “thinking of you” theme. For that, I chose yellows – which symbolize energy, cheer, and optimism – and oranges – which symbolize health, happiness, and courage.
I used the alcohol inks (Autumn Blaze, Orange Cream, Warm Sunshine, and Fresh Lemon) on acetate for this card, along with the gold foil. Oh my goodness! The colors on this panel were simply amazing! Rich and gorgeous!
I decided to use the bee from the Bee Kind Mini Delight stamp set for this card. Because…well….bees just go with yellows, oranges, and gold, right? Plus…guys like bugs, right? I think they do. Well, at least they did when I was little…
I debated on using the gems on this card because I know they aren’t typically a guy thing, but I think the fact that these ones are black make them more masculine, so I went with it.
Card 3 Process Photos:

Card 3 Instructions:
1. Create your alcohol ink background using the process described above.
2. Dry emboss a piece of 4×5.25 inch white card stock using the Deck Planks 3D embossing folder.
3. Die cut a diamond shape out of your alcohol ink background, then die cut a diamond shape, slightly larger,
out of black cards stock. You can trim the black card stock so less of the black is showing if you desire.
4. Adhere the alcohol ink acetate to the black diamond using double-sided tape. Tip: using and adhesive sheet
that fully covers your acetate alcohol background will help ensure no adhesive shows through.
5. Stamp your Bee and die cut it. Also die cut the bee shape from black card stock.
6. Adhere your bee to the black bee shape using foam tape.
7. Stamp your sentiment and die cut it.
8. Arrange your alcohol ink background, bee, and sentiment where you want them on your embossed panel and adhere them. I used double sided tape for everything except the sentiment, where I used foam adhesive.
9. Adhere your panel to your card front.
10. Add a few black gems for a bit of masculine sparkle.
A last look at this card:

Card 4: Masculine Encouragement Card

Blues – symbolizing calm and tranquil – and greens – symbolizing soothing and growth – seemed like the perfect colors for an Encouragement card.
For the panel I used Sapphire, Emerald, and Lagoon alcohol ink refills on acetate, along with silver foil. These colors blended so well and created gorgeous patterns. I love silver and blue together!
I used the Dodec Star die set for the feature of this card because of its geometric shape. My original intent was to just use the negative space of the die cut but when I placed the star over the top I realized I had to use it! It really transformed this card. I ended up gluing two of the stars together to create a bit of dimension. You can’t see it in the photos but it really adds a nice touch.
Once I put the panel together, I felt like there needed to be a bit more, so I took a risk and added some dew drop gems. Since they aren’t jewels or sequins, I figured they could be considered masculine. I asked my husband and he said they were “cool” because they looked like water drops, and that was all the reassurance I needed. 😊
Card 4 Process Photos:

Card 4 Instructions:
1. Create your alcohol ink background using the process described above.
2. Die cut the Dodec Star die from the middle of a 4×5.25 inch panel of white card stock.
3. Die cut the the Dodec Star a second time from white card stock and adhere the two star die cuts together for a bit of dimension.
4. Arrange your die cut panel over your alcohol ink background and trim the background as needed.
5. Adhere the alcohol ink background to the panel using foam tape. Tip: you don’t really need to use foam tape for this step. I was thinking it would add more dimension but I don’t think it actually did what I was hoping. You can just adhere the alcohol ink background to your panel using double-sided tape if you prefer.
6. Adhere the panel to the card front.
7. Adhere the die cut Dodec Stars to the card front. I offset the stars from the negative space but you could do it either way.
8. Stamp your sentiment using VersaMark ink and heat emboss it with silver embossing powder. Die cut it using the sentiment strip die.
9. Adhere the sentiment to the card front using foam tape.
10. Add a few dew drop style gems.
Here’s another look at this card:
Altered or Upcycled Project: Succulent Planter

I thought it might be fun to continue my experiments with Altenew alcohol ink but also find a way to use the Altenew alcohol ink markers. I decided to repurpose a porcelain soup mug as a planter and then fill it with succulents.
For the mug, I used the alcohol inks the same way I did for the four cards.
Once the mug was dry, I filled it with floral foam and glued some green moss to the top of it to cover the foam and make a nice base for my succulents (see pictures).
For the succulents, I used the Altenew Succulent Layering Die Set. I cut out the dies from Copic XpressIt cardstock but left them in their negative space and held them in place with post it tape (see photo). This made coloring them easier. I used Altenew Artist Markers to color in the different layers of each succulent. The Altenew Artist Markers are alcohol ink markers and blend beautifully. It did take a lot of coloring to get these completed because of the surface area of the dies, but I am really pleased with how they turned out.
Once the dies were colored, I used a stylus to gently shape the petals (see picture) so that they were 3 dimensional (3D). I assembled each layer by adhering them together with foam tape so that they had space between them and, along with the shaping, looked a bit more realistic. I then put a pin through the middle of each one so that I could more easily secure it to the foam in the mug.
I placed my 3D succulents on the top of the moss by pushing the pin into the moss and the foam. I then added a few more artificial succulents to the mug to fill out the space and add more dimension.
I am so excited about how this succulent planter turned out! It was fun and easy to make and will look fantastic sitting on the shelf in my living room!
Altered Item – Succulent Planter: Process Photos:

Card 5 Instructions:
1. Use 91% rubbing alcohol in a dropper to wet the outside of the porcelain mug.
2. Add your ink, then more alcohol – letting the ink run down and around the cup. Keep adding ink and alcohol until you have the look you want. Tip: If you make a mistake, just wipe it off with a paper towel that has rubbing alcohol on it – it will come off easily and you can start over!
3. Let the cup sit overnight to dry fully. Note that I did not seal the alcohol ink on the mug. Since I’m not using the mug to eat or drink out of, I didn’t feel that sealing it was necessary, but if you decide to do this technique on a mug that you will use for food or if you think it will need to go in the dishwasher, you will want to seal it with ModgePodge (the one that is food safe). 2. Once the mug is dry, fill it with floral foam and glue some green moss to the top of it to cover the foam and make a nice base for the succulents.
3. Cut out the Altenew Succulent Layering dies from Copic Xpress cardstock. Tip: If you leave the die cuts in
their negative space and hold them in place with post it tape it will make coloring them easier (see picture).
4 Use Altenew Artist Markers to color in the different layers of each succulent. The Altenew Artist Markers are
alcohol ink markers and blend beautifully. It does take a lot of coloring to get these colored because of the large surface area of the dies, so be patient! I added a tiny bit of pink around the edge of one of my succulents, but left the other shades of green.
5. Color the back side of the dies. Since these will not be seen, I just colored them in with one of the green alcohol markers and did not worry about blending or using more than one color.
6. Use a stylus to gently shape the petals of the succulents so that they are 3 dimensional (3D).
7. Adhere the petals to each other using small pieces of foam adhesive in their center. Use the layering guide to ensure you adhere them in the correct order.
8. Put a pin through the middle of each completed flower so that you can easily secure it to the foam in the mug.
9. Place your succulents on top of the moss, pushing the pin into the foam.
10. Add in more artificial succulents to fill in the space and add more dimension.

Whew! If you’re still here, thank you for bearing with me on this long post. This Level 2 Challenge Project was so much fun and was a great way of showing off some of the new tips and techniques I learned in all of my classes so far. I just love how everything turned out but I’d love to hear what your favorite is?!
All the best,

")


Jean, you always blow me away with your stunning creations and this post is no reception! Marvelous work! Keep it up! Thank you for also sharing the steps.
Thank you so much, Erum!
I am so impressed!! These cards are gorgeous! I am almost ready to start the academy. You have given me some courage to get started. First I need to start a blog, though! LOL!
Thank you so much! You will love the AECP program! It is so much fun and I have learned so much! Good luck! And I hope to see your blog soon!