Hi there!
My Altenew Educator Certification Program (AECP) Final Challenge Project for Level 1 was accepted (Woooo Hooo!) and I’m now able to move on to Level 2!
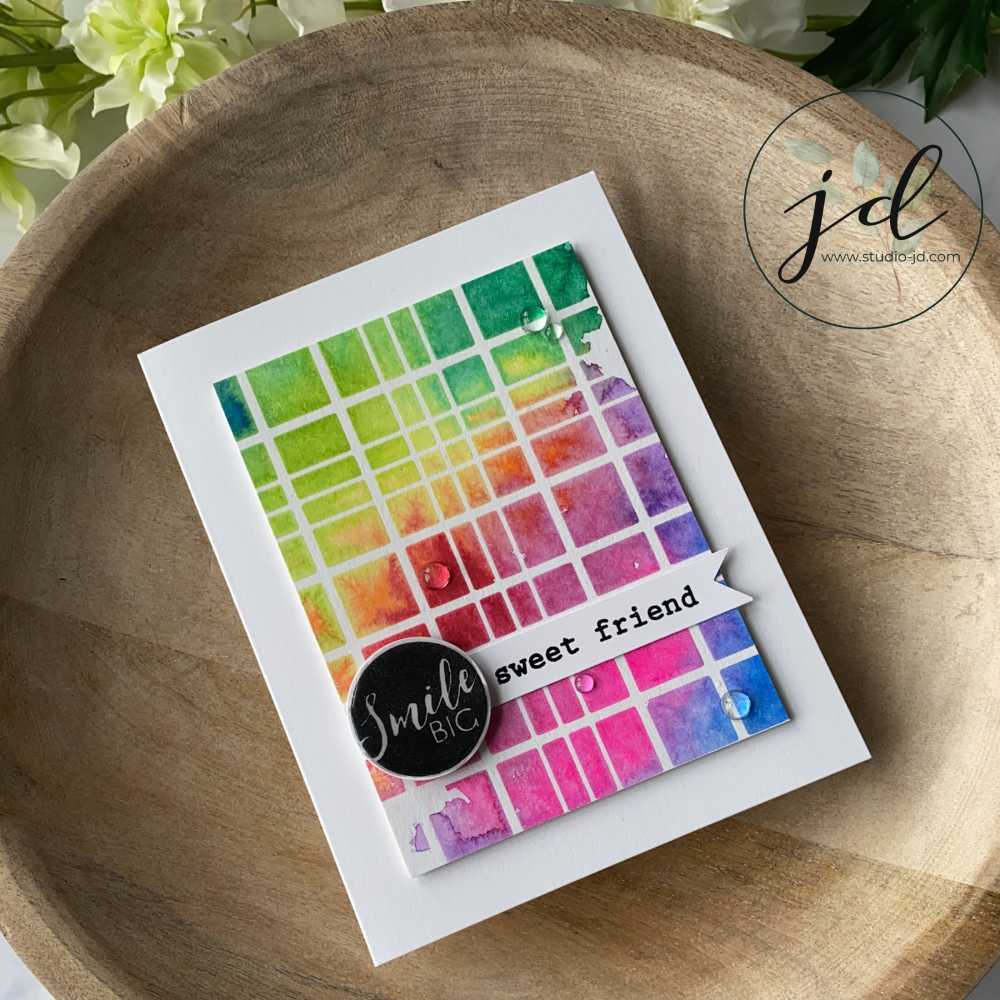
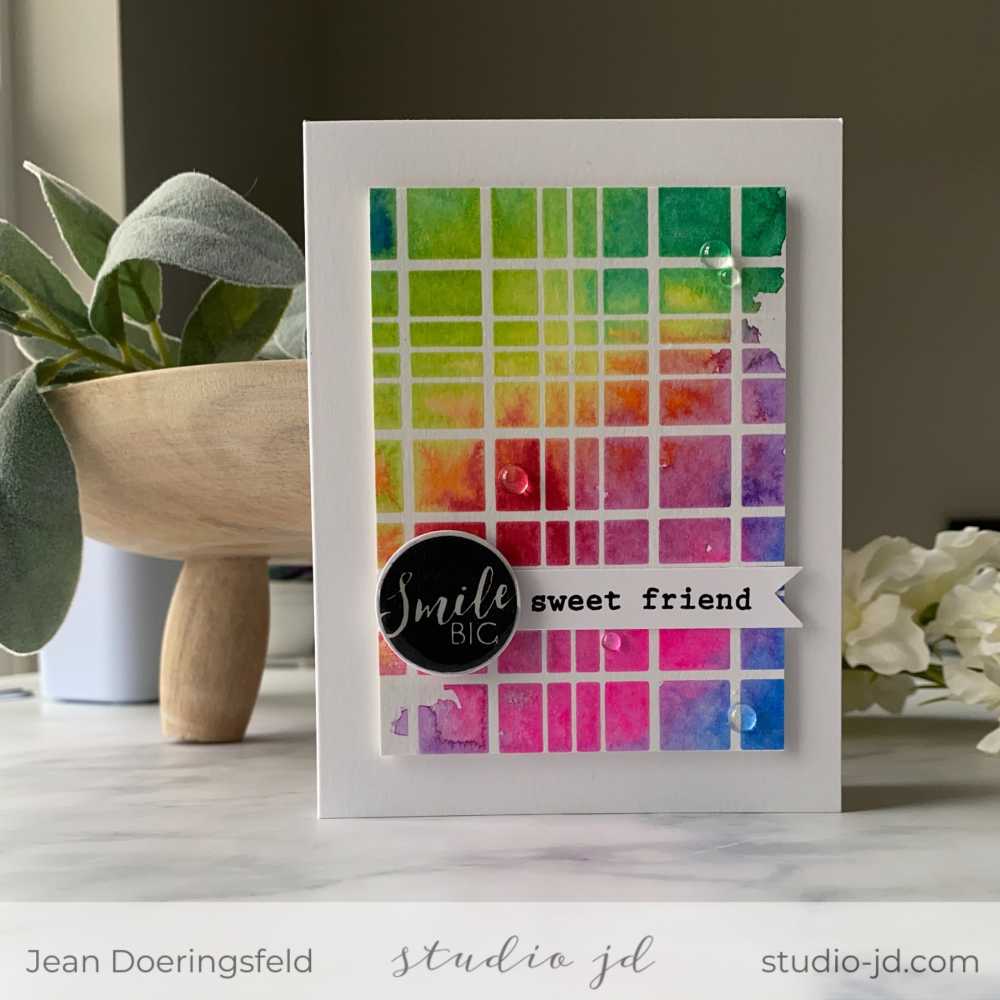
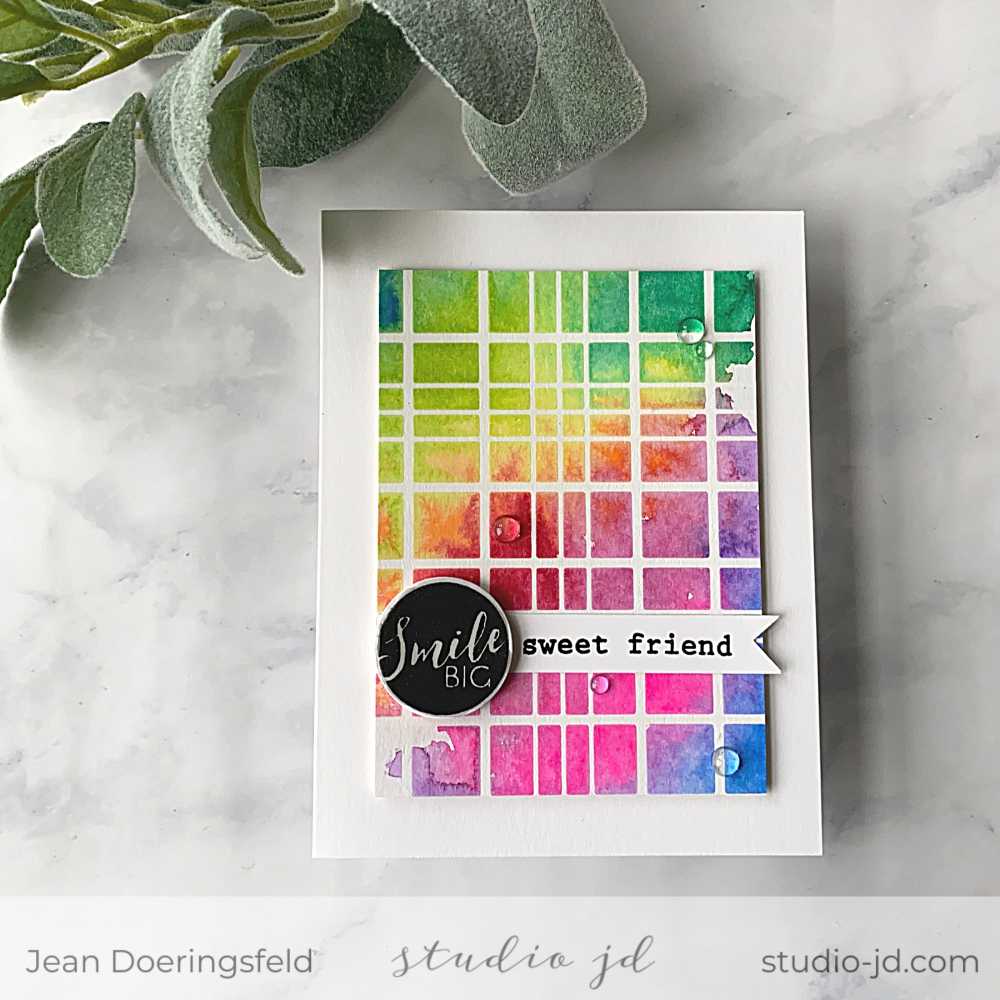
My first Level 2 class was called “Beyond Basic Backgrounds” and taught some fun techniques for taking my backgrounds to the next level. There was one technique in this class that I’d never even heard of before – using freezer paper as a stencil – so I decided to try my hand at it and see if I could create something fun. You’ll have to tell me what you think!

My attempts to use this technique for a more subtle background failed miserably. Watercolors are still fairly new to me, so I haven’t quite gotten the hang of lighter shades and getting the water mix just right. That said, this class was not about water coloring – so I decided to give myself a little grace and make my heavier hand work.
Supplies:
This list may contain some affiliate links, which means I’ll receive a commission if you purchase through my links, at no extra cost to you.
- Altenew Layered Plaid (B) Cover Die
- Altenew Circled Sentiments Stamp and Die
- Altenew Frosted Garden Stamp Set (for the “sweet friend” sentiment)
- Watercolors
- Freezer Paper
- Taylored Expressions Drip Drops
- Adhesive
- Heat Gun
- Laminator or Heidi Swapp Minc

1. Die cut the Plaid cover plate out of freezer paper.
2. Place the plaid background over a piece of watercolor paper, making sure the shiny/waxy side of the freezer paper is facing the watercolor paper.
3. Place the plaid/watercolor sheets inside a carrier and run them through your laminator or Heidi Swapp Minc so that the wax on the freezer paper binds/adheres to the watercolor paper. Note: Even on my highest setting and running it through multiple times, I could not get my laminator hot enough for the freezer paper die cut to “stick” to the watercolor paper; however, I have a very old laminator so you may be able to make this work. I ended up using my Heidi Swapp Minc on the highest setting (5) and running it through twice.
4. Put down a layer of clear water over your plaid/watercolor background and then gently drop in colors. I did mine in a rainbow fashion using bold colors. Use your brush to move the color or add more water as needed. Once you are happy with the color, set the panel aside to dry.
5. While the panel is drying, stamp the Circle Sentiment in black ink and cut it out with the coordinating die.
6. Cover the circle sentiment with Journey Glaze and set it aside to dry. Note: Journey Glaze will be cloudy until it dries.
7. Heat emboss the banner sentiment (“sweet friend”) on a strip of white paper and make a banner on one end.
8. Once you panel is completely dry, you need to remove the freezer paper by using your heat gun to loosen the wax. Work in small sections, heating and then gently pulling the freezer paper off the watercolor cardstock.
9. Trim your panel to your desired size for your card front and pop it up on the card base using foam tape.
10. Adhere your banner sentiment directly to the card front, and, once it’s completely dry, adhere the glazed circle sentiment with foam adhesive.
11. Add a few clear gems for added shine.
Since my background for this card was so colorful and bold, I didn’t want to detract from it by using another focal image so, instead, I used simple black and white sentiments with a bit of shine to make the card complete.

All the best,


Congrats on your AlteNew Shout Out … and for pushing through your creative discomfort to find a winner … love when that happens.
Thank you so much💕
This is so so so brilliant Jean!! I am your newest fan!
Thank you for submitting your wonderful work to the AECP assignment gallery and brightening my day.
Thank you so much, Erum! I really am having a lot of fun with the AECP program and I love how it is challenging me to try new things and step out of my comfort zone! Thank you for offering and managing such a great program!
Great work! Thank you for the great instructions! Gorgeous card! Best of luck with your next Level!
Thank you so much, Sherry!
Gorgeous!! Love this. What is freezer paper? What brand of freezer paper did you use?
Hi Irene! Thank you for your comment! Freezer paper is generally used to wrap meat or other items to prevent freezer burn in the freezer. It is shiny on one side and paper-like on the other. It is not the same as wax paper which has wax on both sides. You can find freezer paper by the aluminum foil and Saran Wrap at your grocery store. For this project I used Reynolds Freezer Wrap. Hope that helps!
Absolutely stunning! I learned another technique from you ! Thank you for sharing!!!!
Thank you so much, Samantha!
Question: Would using a regular iron over the freezer paper work? I don’t own a Minc or a laminator. I love your card. The colors a bright and cheerful and the sentiment pops.
Thank you for your kind words! I am not sure if an iron would work or not. The laminator and the Minc apply a bit of pressure in addition to the heat. I would worry that to get the same effect an iron could catch the paper on fire. If you try it, please be careful!