Hi everyone!
Today’s card is my project submission for the Altenew Educator Certification Program (AECP) class “Irresistible Inking Techniques”. This was a fun class that taught interesting ways to use your inks beyond just stamping.
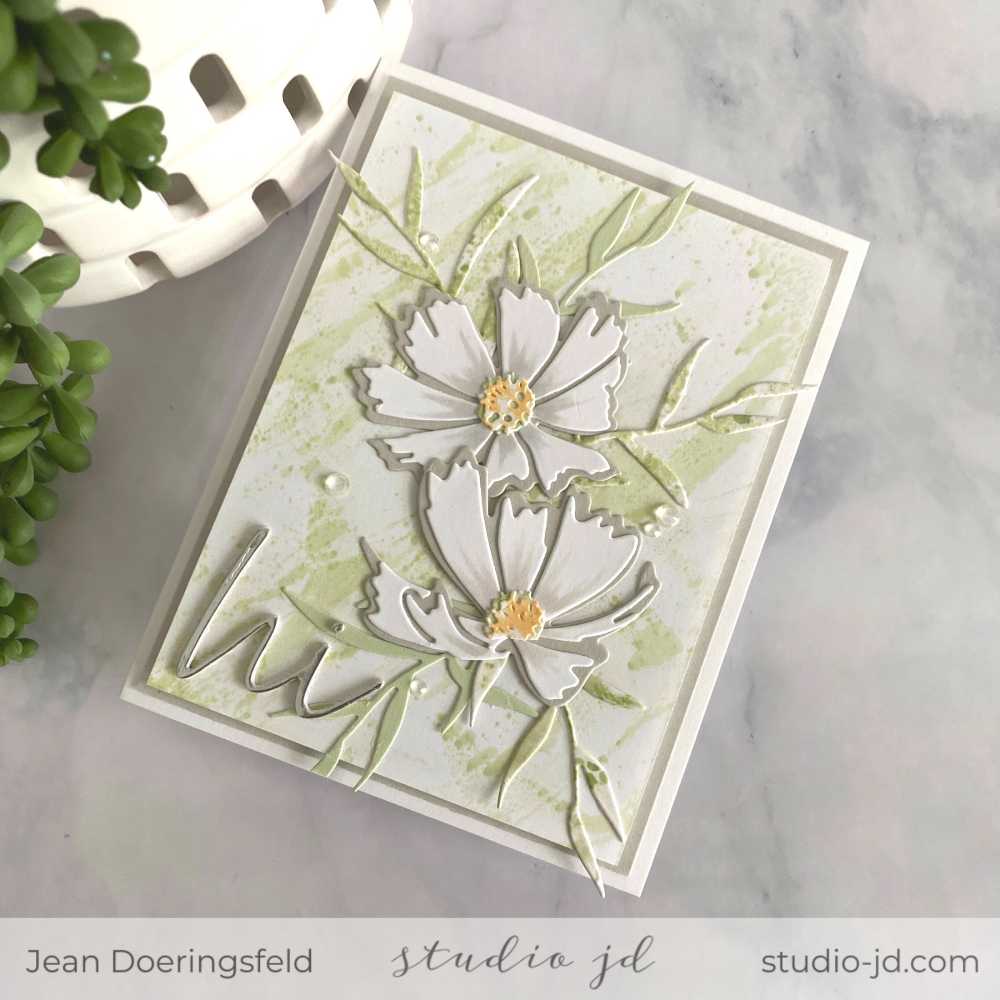
For this project, I thought I’d try using my inks with water and a brayer to create an interesting background. To start, I smooshed some dye ink directly to my glass craft mat and spritzed it with a bit of water. I rolled my brayer through the ink several times to make sure it was coated in ink, and then rolled it across my paper. I did this several times and created a fun, messy, water-colored background for my flowers.
When I was finished with the background, I had some ink-water left over so I did the same technique one more time on a piece of cardstock I later used to die cut some of the leaves for my flowers.
For the flowers, I used the Altenew Craft-a-Flower: Cosmos layering die set to cut the first 2 layers of the flowers with Simon Says Stamp Fog Gray and Neenah Solar White card stock. I die cut the centers from soft green and yellow cardstocks in my scraps. I then die cut the leaves from the left-over ink-water sheet and from another piece of soft green cardstock.
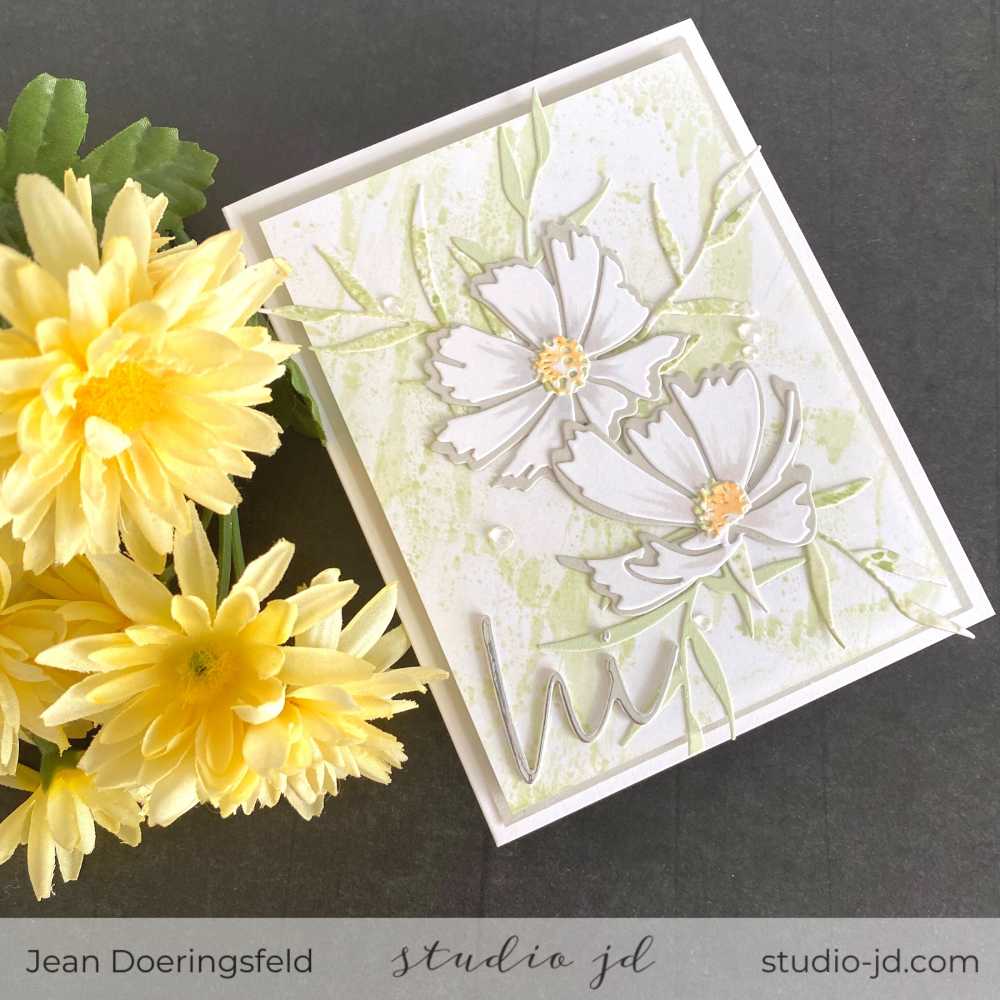
I used my Copic Markers to add a little shading to the flower petals, and then added a bit of shimmer using my Wink of Stella pen.
I trimmed down my background so that I could layer it on Simon Says Stamp Fog Gray card stock using fun foam and Elizabeth Craft’s Creative Tape.
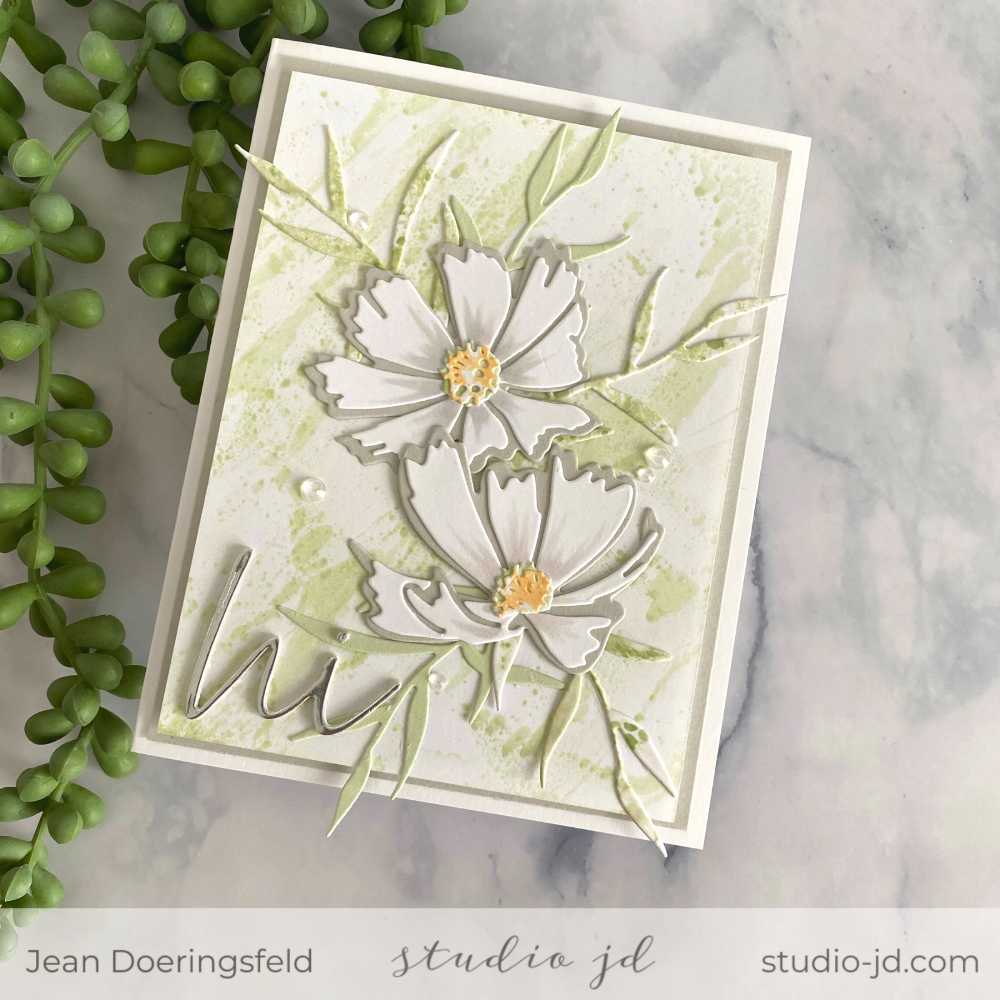
I arranged my leaves and flowers and used Press-n-Seal to hold the arrangement while turned it over and applied liquid glue and then put in place on the background.
I die cut the “Hi” from Brutus Monroe’s Christopher’s Sentiments dies out of Tim Holz’s Metallic Kraft Stock in silver. I die cut the same sentiment two more times out of scrap white card stock and then layered them all together to give the sentiment a bit of dimension.
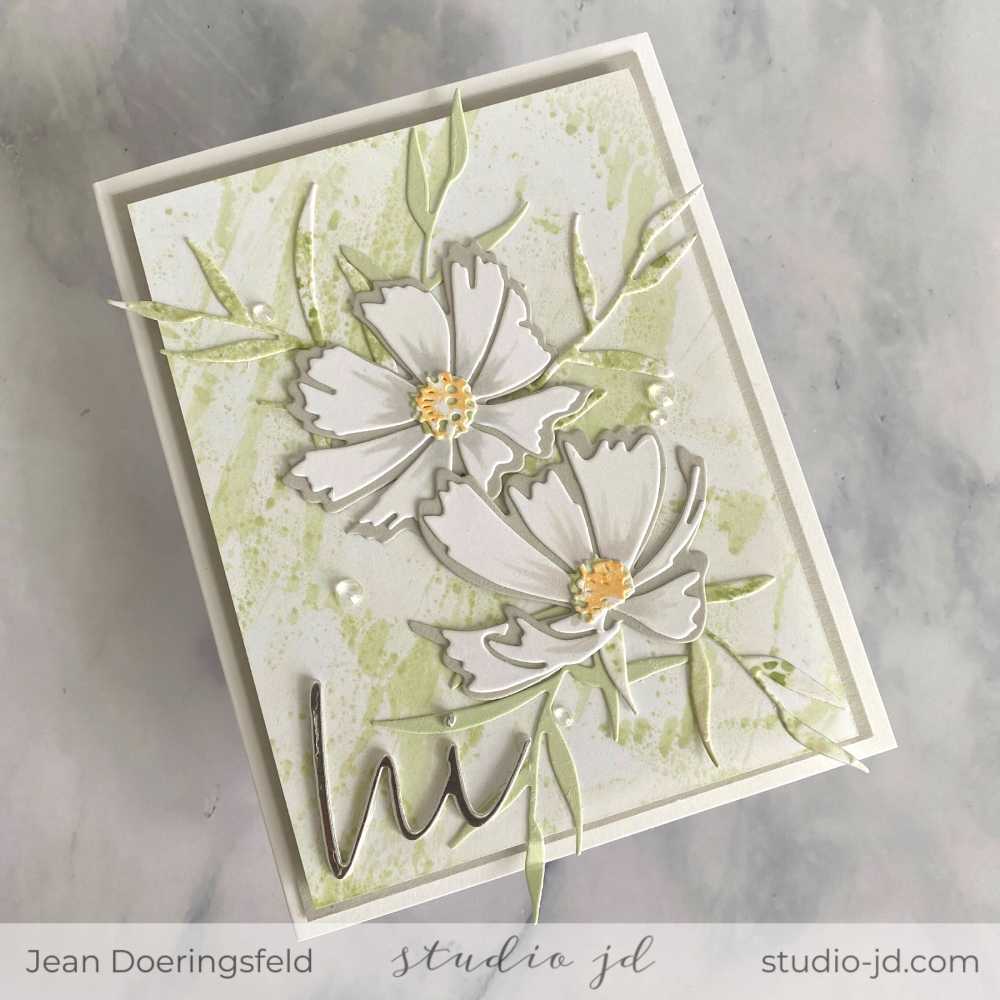
I added the sentiment to my card front and applied the card front to the card base.
Of course, I added few clear gems to add some additional sparkle.
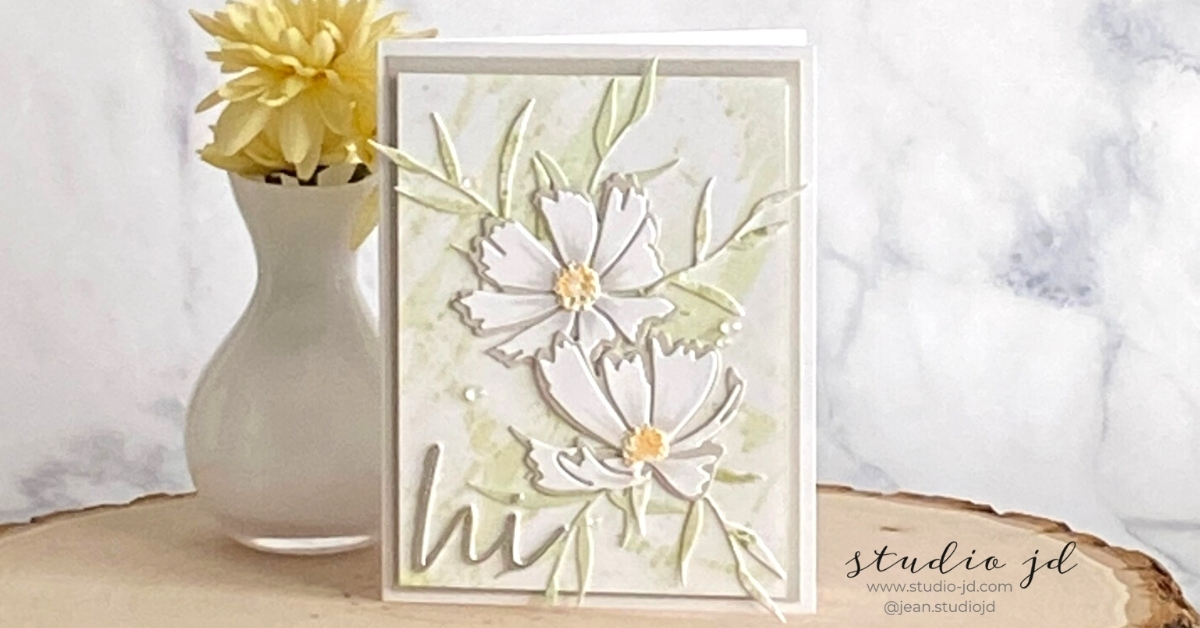
This card ended up having a really soft look (seems to be a bit of a theme for me with my floral cards these days). But…I think the simplicity of the flowers helps to highlight the unique background and the inking technique I learned from the class. I hope you enjoy it!
All the best,






Beautiful, gorgeous, stunning!! Top job!
Thank you for submitting your wonderful work to the AECP assignment gallery.
Awe! You are so sweet! Thank you!
This card is gorgeous!
Thank you so much!